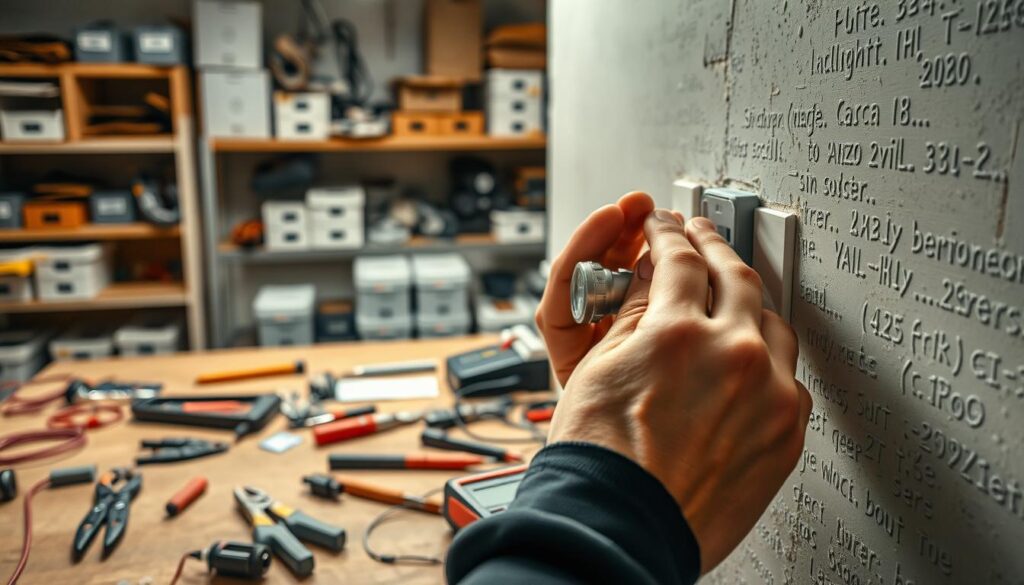
Are you tired of relying on extension cords and trailing sockets to power your home appliances? Do you wish you had more power sockets in your living room or kitchen?
Adding a spur socket can be a practical solution, allowing you to tap into your existing electrical circuit and provide additional power where you need it.
In this comprehensive guide, we’ll walk you through the process of wiring a spur, covering the essential rules and UK regulations you need to follow.
Key Takeaways
- Understand what a spur socket is and its benefits
- Learn about UK regulations governing DIY electrical work
- Discover the essential tools and materials needed
- Follow step-by-step instructions for planning and executing your spur installation
- Ensure your installation is safe and compliant with building regulations
Understanding Spur Sockets
Understanding the role of spur sockets in your home’s electrical circuit is vital for safe and efficient power distribution. A well-designed electrical system not only meets your power needs but also ensures safety and convenience.
What Is a Spur Socket?
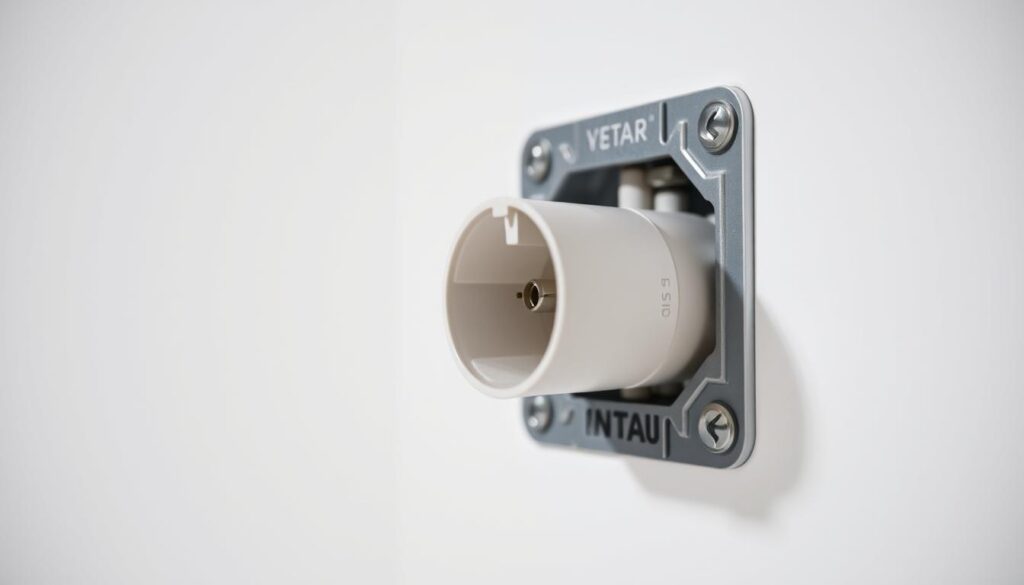
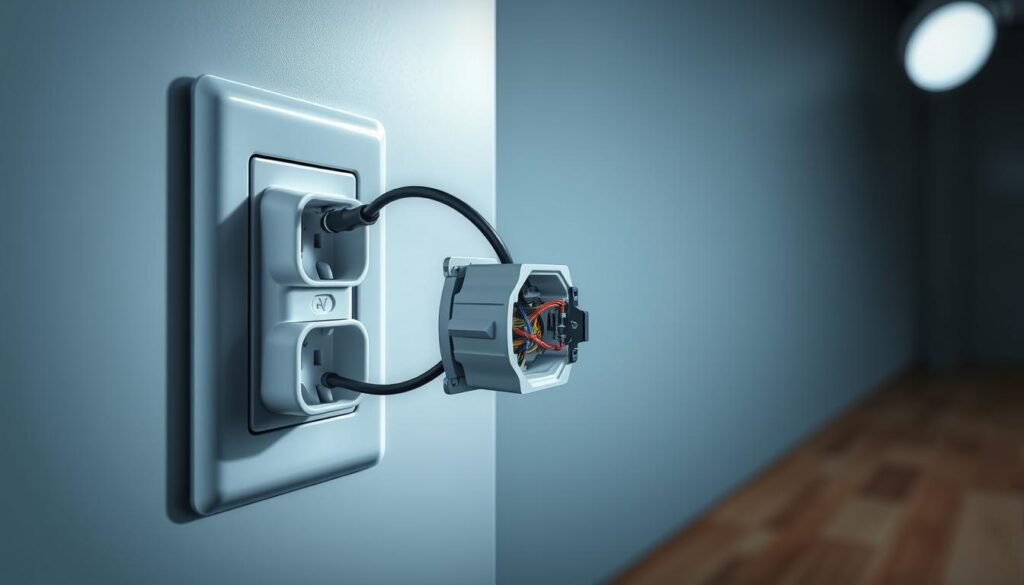
A spur socket is an additional socket that is connected to an existing ring main circuit, typically via an existing socket outlet. This connection allows for the installation of an extra socket in a location where it’s needed, without the necessity of running a new circuit from the consumer unit.
Benefits of Adding a Spur Socket
Adding a spur socket provides several benefits, including:
- Eliminating the need for hazardous extension leads, thus reducing trip hazards and fire risks.
- Providing a permanent, safe solution for powering additional appliances without overloading existing outlets.
- Being generally less disruptive and less expensive than adding a completely new circuit.
The advantages of installing a spur socket are summarized in the following table:
| Benefit | Description |
|---|---|
| Safety | Reduces the need for extension leads, minimizing trip hazards and fire risks. |
| Convenience | Provides additional power points exactly where needed. |
| Cost-Effectiveness | Less expensive than installing a new circuit from the consumer unit. |
By understanding and utilizing spur sockets, homeowners can enhance their home’s electrical infrastructure, ensuring it is both safe and functional.
Safety and Legal Considerations
When undertaking DIY electrical work, such as wiring a spur from an existing outlet, it’s crucial to be aware of the safety and legal considerations. Ensuring you’re compliant with UK regulations and understand when to seek professional help can prevent accidents and legal issues.
UK Regulations for DIY Electrical Work
In the UK, DIY electrical work is subject to specific regulations to ensure safety. You must comply with the Building Regulations and the Electrical Safety Standards in the Private Rented Sector (England) Regulations 2020. If you’re planning to wire a new socket or modify an existing circuit, it’s essential to understand these regulations. For any electrical work, especially in areas like kitchens or bathrooms, the rules are stricter. If you’re unsure, consulting a qualified electrician is advisable to avoid any potential risks or legal repercussions.
When to Call a Professional Electrician
While DIY electrical projects can be cost-effective, there are situations where calling a professional electrician is the safest and most prudent decision. You should consider hiring an electrician if you’re unsure about the type of circuit (ring or radial) you’re working with or if your consumer unit or fuse box lacks RCD protection. Additionally, if you’re dealing with old wiring that doesn’t match current colour codes, or if you’re working in special locations that require stricter regulations, professional help is recommended. Always consult a professional if you encounter unexpected issues during installation, such as signs of damage to the circuit or existing spurs.
- Uncertainty about the correct circuit type you’re spurring from.
- Lack of RCD protection in your consumer unit or fuse box.
- Working in areas with stricter regulations, like kitchens or bathrooms.
- Dealing with old wiring that doesn’t comply with current standards.
- Encountering unexpected issues during the installation.
If you’re in any doubt, it’s always best to check with a qualified electrician. Ensuring the safety of your electrical work is paramount.
Essential Rules for Wiring a Spur from an Existing Outlet
Wiring a spur from an existing outlet demands attention to detail and adherence to specific regulations. Understanding these rules is crucial for a safe and successful installation.
Maximum Number of Spurs Allowed
When wiring a spur, one of the key considerations is the maximum number of spurs allowed. The regulations clearly state that there should be no more than one new socket on the spur. This means you can only install one socket outlet (single or double) on each spur.
Cable Requirements and Limitations
The type of cable used and its installation are critical. Cables may be placed in floor or ceiling voids, but they must not be placed amidst or wrapped in insulation, as this can cause overheating. When burying cables in walls, they must run vertically, not horizontally, to reduce the risk of future damage.
Installation Restrictions
There are specific installation restrictions to be aware of. For instance, buried cables should be at least 50mm deep in the wall or protected by a metal plate if shallower. Additionally, when positioning your new socket, maintain minimum distances from corners and floor level.
| Installation Aspect | Requirement |
|---|---|
| Maximum Number of Sockets per Spur | 1 |
| Cable Placement in Walls | Vertical, not Horizontal |
| Depth of Buried Cables | At least 50mm or protected by a metal plate |
| Socket Positioning from Corners | Typically 150mm |
| Socket Positioning from Floor Level | Between 450mm and 1200mm |
By following these guidelines, you can ensure a safe and compliant installation of a spur from an existing outlet.
Tools and Materials Needed
The key to a successful spur wiring project lies in the tools and materials you use. To ensure a safe and efficient installation, it’s essential to have the right equipment.
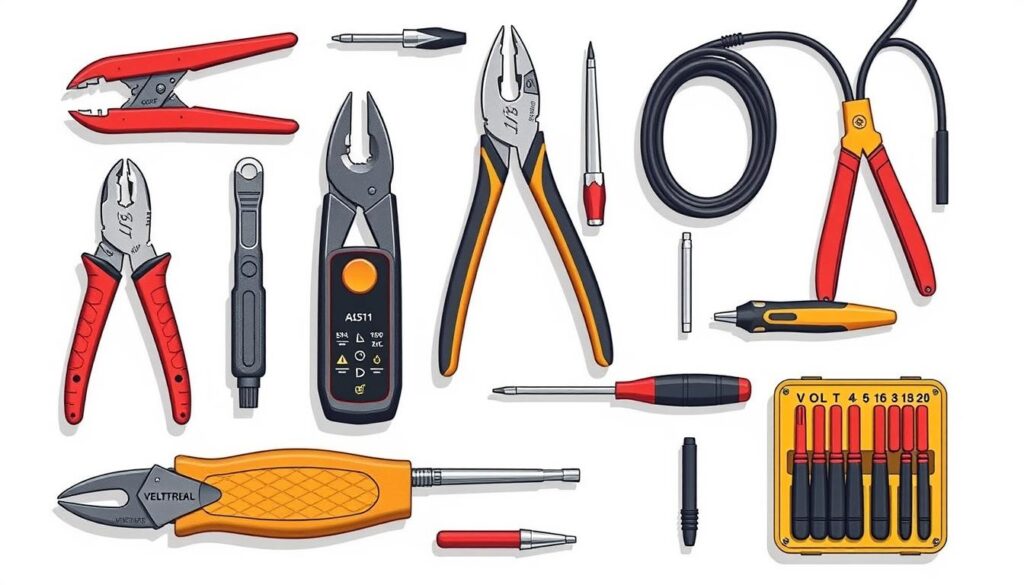
Essential Tools for the Job
You’ll need a set of basic electrical tools to wire a spur from an existing outlet. These include a screwdriver set, cable strippers, and a voltage tester to ensure your safety while working with electrical systems.
Having the right tools is vital for a successful installation. A good quality screwdriver set will help you secure the back box and other components firmly in place.
Required Materials and Components
The materials needed include a suitable length of 2.5mm² twin and earth cable to run from your existing circuit to the new socket location. A 30-amp junction box is required if you’re creating your spur by tapping into the circuit wiring.
- A suitable length of 2.5mm² twin and earth cable to run from your existing circuit to the new socket location.
- A 30-amp junction box is required if you’re creating your spur by tapping into the circuit wiring rather than connecting to an existing socket.
- The appropriate back box for your wall type is essential—metal boxes for solid walls and plastic boxes designed for plasterboard for cavity walls.
- Screws and wall plugs suitable for your wall type will be needed to secure the back box and junction box firmly in place.
- You’ll also need a new socket faceplate (single or double) that matches your existing sockets for a consistent appearance.
Step-by-Step Guide to Wire a Spur from an Existing Outlet
To extend your electrical circuit with a new socket, you’ll need to wire a spur from an existing outlet, a task that requires careful planning. This guide will walk you through the process, ensuring that you can safely and effectively add a new socket to your circuit.
Planning Your Spur Installation
Before starting, it’s crucial to plan your spur installation carefully. Consider the location of the new socket and the existing electrical circuit. Ensure that the new socket will not overload the circuit and that it is positioned in a convenient and safe location.
Preparing the Work Area and Safety Measures
Safety first: isolate the circuit you’re working on at the consumer unit or fuse box. Place a note to warn others that you’re working on the circuit. Ensure your work area is well-lit and clear of clutter.
Installing the Back Box
Choose a suitable location for your new socket and install the back box. Ensure it is securely fixed to the wall to provide a stable base for your new socket.
Running the Cable
Run the new cable from the existing outlet to the new socket location. Be mindful of the cable’s route to avoid damage and ensure it is safely secured.
Connecting the Socket
Once the cable is in place, connect the new socket. Follow the manufacturer’s instructions to ensure correct wiring. Typically, this involves connecting the live (brown), neutral (blue), and earth (green-yellow) wires to their respective terminals.
Wiring the Junction Box
To complete the circuit, you’ll need to wire a junction box. Cut the existing circuit cable and strip the outer sheath to expose the inner cores. Strip approximately 10mm of insulation from the end of each core wire and connect them to the appropriate terminals in the junction box: all live wires to one terminal, all neutral wires to another, and all earth wires to the third. Secure the junction box cover and ensure it’s firmly fixed.
- Locate a suitable position for the junction box that is accessible but not conspicuous.
- Cut the existing circuit cable, ensuring enough slack to work comfortably.
- Strip back the outer sheath of the cables to expose the inner cores.
- Connect the wires to the appropriate terminals in the junction box.
- Secure the junction box cover and fix it to a suitable surface.
By following these steps, you can safely and effectively wire a spur from an existing outlet, adding a new socket to your electrical circuit.
Conclusion
Wiring a spur socket from an existing outlet can be a straightforward process if you follow the essential safety rules and guidelines. By doing so, you can enhance the functionality of your living space by providing additional power points exactly where you need them.
To ensure a safe and professional installation, make sure to use the correct cable size, limit the spur length to 3 metres, and never exceed the maximum number of spurs allowed on a circuit. Before restoring power at the consumer unit, double-check all your connections to ensure wires are securely fastened in their terminals.
If you’re unsure about any aspect of the installation, consider consulting a qualified electrician to avoid potential risks. With careful attention to detail and the knowledge gained from this guide, you can successfully add spur sockets to your home’s electrical system, saving money and ensuring a safe installation that will serve you well for many years to come.
Finally, remember to label your new spur socket at the consumer unit and keep records of your work, including photographs of the installation, to facilitate any future electrical work or property sale.
