Are you tired of inaccurate markings ruining your woodworking projects? A combination square is a multi-use measuring instrument that can dramatically improve your project’s accuracy. It ensures the integrity of a 90° angle, measures a 45° angle, and can even find the centre of a circular object.
This versatile tool is considered “worth its weight in gold” by professionals for precision work. By understanding how to properly use a combination square, you can eliminate errors that can ruin projects before they even begin. Its importance cannot be overstated, especially when it comes to measuring and marking with precision.
Key Takeaways
- Understand the importance of a combination square in woodworking.
- Learn how to improve project accuracy with proper marking techniques.
- Discover why professionals consider a good combination square invaluable.
- Master the basic and advanced applications of this indispensable tool.
- Eliminate errors by using a combination square for precise measurements.
Understanding the Combination Square and Its Components
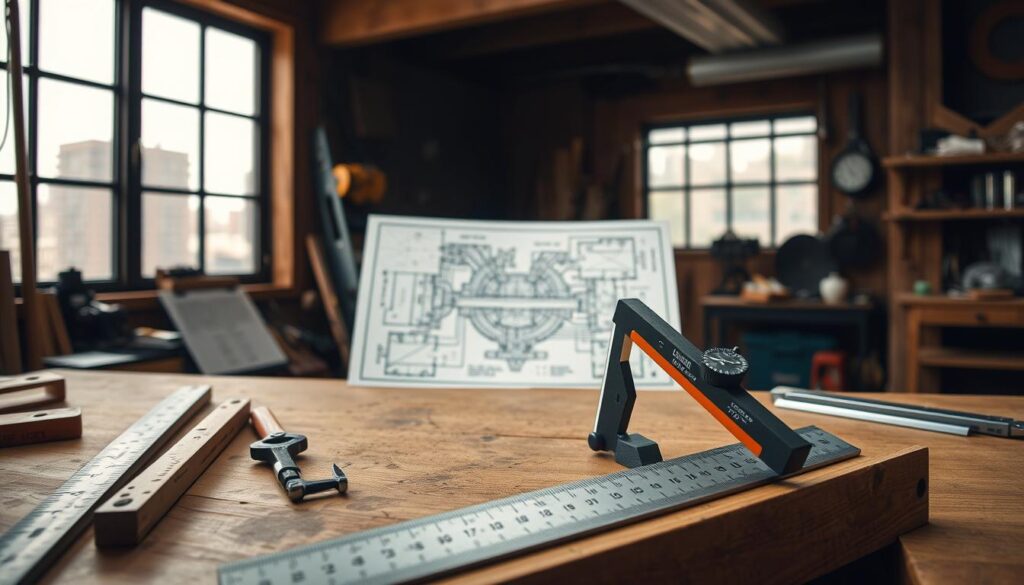
To master the art of accurate marking, it’s essential to understand the combination square and its various components. A combination square is a multi-use measuring instrument primarily used for ensuring the integrity of a 90° angle, measuring a 45° angle, measuring the centre of a circular object, finding depth, and simple distance measurements.
What Is a Combination Square?
A combination square is an indispensable tool for professionals and DIY enthusiasts alike, serving multiple purposes in various projects. It typically consists of a ruler or blade with etched markings and a sliding head that can be locked at different positions.
The Anatomy of a Combination Square
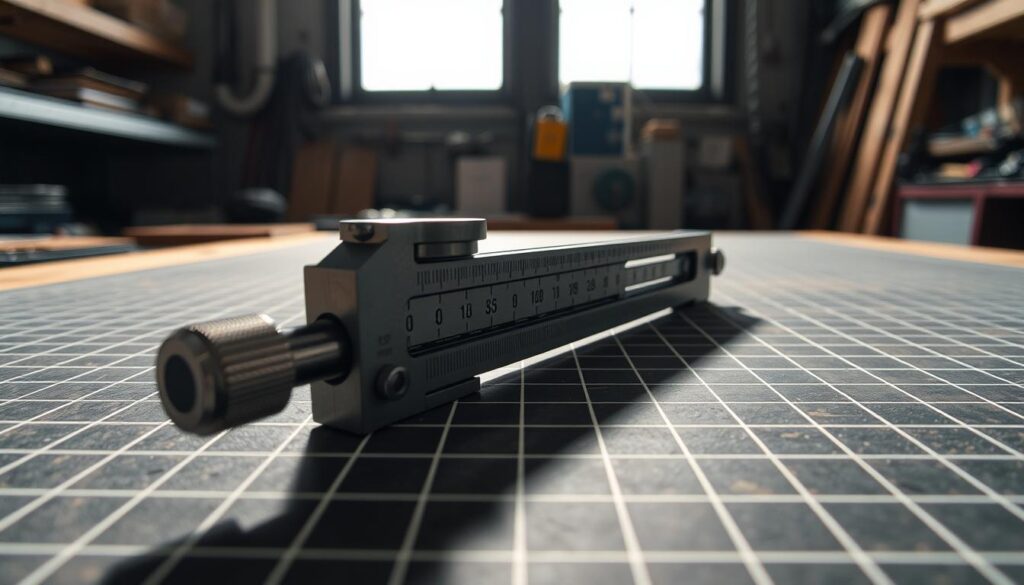
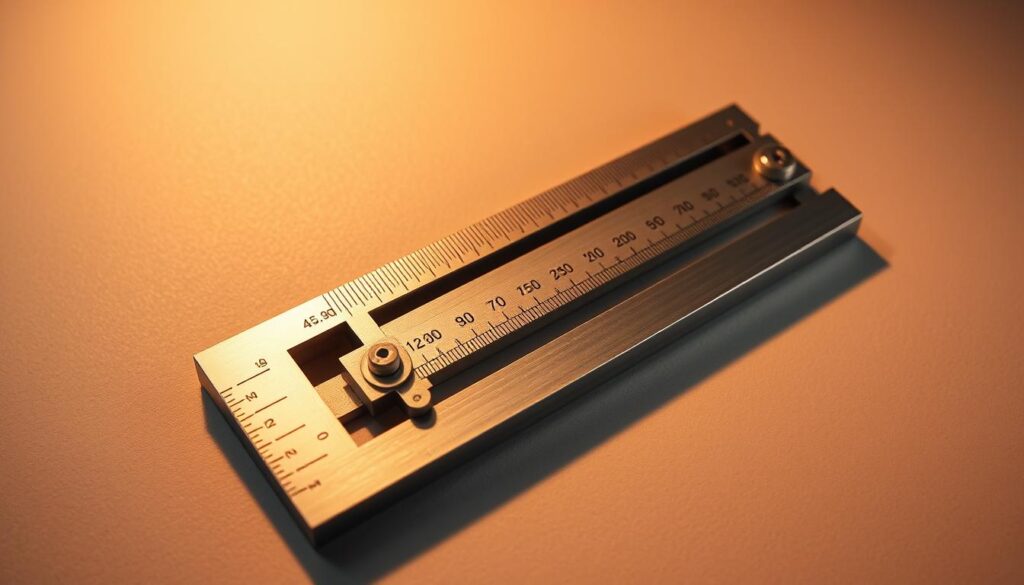
The anatomy of a combination square includes several key components. The blade, usually made of hardened steel, provides durability and accuracy. The etched markings on the blade ensure that measurements remain clear over time. The sliding head, often featuring a 90° and 45° face, allows for versatile measuring capabilities.
Types of Combination Squares Available
Combination squares come in various sizes, with 6-inch and 12-inch being the most common for general woodworking and DIY projects. You can find different products tailored to specific needs, including professional-grade and budget-friendly options.
| Type | Size | Features |
|---|---|---|
| Professional-grade | 6-inch, 12-inch | Hardened steel blade, etched markings, centre-finding capabilities |
| Budget-friendly | 6-inch | Basic measuring capabilities, suitable for beginners |
| Multi-purpose | Various | Protractor heads for measuring various angles, additional features like depth gauges |
Understanding the different types of combination squares available will help you select the right tool for your specific marking needs. Whether you’re a professional or a beginner, there’s a combination square designed to meet your requirements.
Some specialised squares include additional measuring features for specific trades, making them invaluable for tasks that require precision and accuracy. By choosing the right combination square, you can ensure that your projects are marked with precision, serving their intended purpose.
Ensuring Accuracy: How to Test Your Combination Square
To guarantee precise marking, it’s crucial to verify the accuracy of your combination square. A combination square is a fundamental tool in woodworking and metalworking, used for ensuring that cuts and joints are made at precise angles. However, like any tool, its accuracy can drift over time due to wear and tear or environmental factors.

Testing the 90° Angle Accuracy
The 90° angle is one of the most commonly used features of a combination square. To test its accuracy, you can use a known accurate reference, such as a precision engineer’s square or a calibration block. Place the combination square against the reference, ensuring that the blade is firmly against the edge of the reference surface. Any deviation from a perfect 90° angle indicates that your combination square is not accurate.
It’s essential to check the 90° angle regularly, as small inaccuracies can lead to significant issues in your projects, particularly when making joints or assembling parts.
Verifying the 45° Angle Precision
The 45° angle feature is crucial for marking mitre joints, which are commonly used in picture framing, door frames, and other woodworking applications. To verify the precision of the 45° shoulder, you can use a known accurate 45° drafting triangle. Simply gauge the angle it makes with the blade against the triangle. If the angle between the shoulder and the blade matches that of the triangle, then your combination square is accurate for 45° markings.
Understanding how to test both the 90° and 45° angles ensures that your combination square provides reliable information for all your marking tasks. Regular testing is vital, especially if you use your combination square frequently or work in varying environmental conditions that could affect its accuracy.
- Regularly testing your combination square’s 90° and 45° angles ensures that it remains a reliable tool for your projects.
- Even small inaccuracies in angle measurement can lead to significant gaps in joinery, affecting the overall quality of your work.
- Temperature changes and physical shocks can affect the accuracy of your combination square over time, making regular checks necessary.
- By verifying both primary angles of your combination square, you can ensure consistent quality in your projects and avoid costly rework.
By following these steps and regularly testing your combination square, you can ensure that it continues to provide accurate information for your marking needs, helping you achieve professional-grade results in your woodworking or metalworking projects.
Basic Marking Techniques with a Combination Square
To achieve precision in your woodworking projects, understanding how to use a combination square effectively is key. A combination square is a versatile tool that allows you to mark accurate angles, parallel lines, and more, making it an essential asset for any woodworker.
Marking Perfect 90° Angles
Marking a perfect 90° angle is one of the most common uses of a combination square. To do this, place the anvil of the square against the edge of the workpiece and draw a line along the blade with a pencil. This ensures a precise right angle, crucial for many woodworking joints.
The accuracy of your 90° marks depends on the square’s calibration and your technique. Make sure the square is firmly against the edge and that your pencil mark is fine and clear.
Creating 45° Mitre Marks
A combination square can also be used to mark 45° mitre cuts. By flipping the square to its other side, you can align the blade with the desired angle and mark your workpiece accordingly. This is particularly useful for creating mitre joints in picture frames, mouldings, and other trim work.
To ensure accuracy, double-check that the square is set to the correct angle and that your pencil is sharp, allowing for a precise mark.
Drawing Parallel Lines to Edges
Drawing lines parallel to edges is a fundamental skill for layout work in woodworking. To achieve this, place the anvil of the combination square along the edge of the working surface. Position your pencil at the end of the blade ruler, and with gentle pressure, move the handle along the work surface, allowing the pencil to draw a line parallel to the edge.
This technique is invaluable for laying out dadoes, rabbets, and other joinery features. By maintaining the square’s head against the reference edge, you can ensure consistent distance and accuracy in your marks.
| Technique | Description | Application |
|---|---|---|
| Marking 90° Angles | Using the square to draw precise right angles | Essential for most woodworking joints |
| Creating 45° Mitre Marks | Flipping the square to mark 45° angles | Useful for mitre joints in trim work |
| Drawing Parallel Lines | Sliding the square along the workpiece edge | Ideal for laying out dadoes and rabbets |
By mastering these basic marking techniques with a combination square, you’ll enhance your precision and efficiency in woodworking projects. Whether you’re a beginner or an experienced craftsman, the combination square is an indispensable tool that will help you achieve professional results.
Advanced Uses for Your Combination Square
Unlocking the full potential of your combination square reveals a world of advanced techniques for improved accuracy and efficiency in your work. Beyond its basic functions, this versatile tool can be employed in various sophisticated ways to enhance your projects.
Setting Tool Heights and Depths
One of the advanced uses of a combination square is setting the heights and depths of tools and machinery. By using the square’s rule and head, you can accurately measure and adjust the position of cutting tools or other components. This ensures that your machinery is properly calibrated for precise work.
Aligning Machine Components
Aligning machine components is another critical application of the combination square. The tool’s ability to provide a precise 90° or 45° reference allows you to ensure that parts are correctly aligned, which is crucial for the proper functioning of machinery and the quality of the work produced.

Checking for Level and Plumb
While a combination square is not a traditional level, it can be used in conjunction with a level or other reference to check if surfaces are perfectly level or plumb. This is particularly useful in ensuring that the foundations or frames of projects are correctly positioned.
Measuring and Transferring Dimensions
The combination square excels at taking and transferring precise measurements between workpieces. By using the rule’s end as a reference point, you can mark consistent distances across multiple pieces, ensuring uniformity in your projects. The square’s head acts as a stop, allowing for more precise measuring than a tape measure, especially when working with internal dimensions or hard-to-reach areas.
| Technique | Purpose | Benefit |
|---|---|---|
| Using the rule’s end for measurements | Marking consistent distances | Uniformity across workpieces |
| Sliding the head for dimension setting | Quick and accurate dimension setting | Improved workflow efficiency |
| Combining measuring and marking operations | Reducing cumulative errors | Enhanced project accuracy |
By mastering these advanced techniques, you can significantly enhance the precision and efficiency of your work, making your combination square an indispensable tool in your toolkit.
How to Use Combination Square for Marking in Woodworking Projects
When working on woodworking projects, accuracy is paramount, and a combination square is an indispensable tool for achieving precise markings. While a marking gauge is used for making marks on workpieces, a combination square belongs to the measuring and inspection tools group, used for measuring and checking distances and angles.
To effectively use a combination square for marking in woodworking projects, you need to understand its role in conjunction with other marking tools. A combination square does not mark on its own; it requires an additional marking tool like a pencil, scribing needle, or marking knife to leave a recognizable trace on the workpiece.
Layout Techniques for Joinery
For joinery, accurate layout is crucial. A combination square helps in marking precise angles and lines. To mark a 90° angle, place the square against the edge of the workpiece and draw a line along the blade using a pencil or marking knife. For 45° angles, adjust the square accordingly and mark as needed.
When creating joints, using a combination square ensures that your marks are consistent and accurate, which is vital for the overall quality of the joinery.
Marking Stopped Cuts and Dadoes
For stopped cuts and dadoes, precise marking is essential to avoid errors. Use your combination square to mark the start and end points of these cuts. By setting the square to the required measurement, you can accurately mark the width and depth of dadoes or the length of stopped cuts.
This technique not only improves accuracy but also saves time by reducing the need for adjustments during the cutting process.
Combining with Other Marking Tools for Better Results
Combining your combination square with other marking tools creates a comprehensive marking system for complex projects. For instance, using a marking gauge in conjunction with a combination square allows for both precise measurement and accurate marking.
Professional woodworkers often use a combination of these tools to achieve efficient and accurate layout work. By understanding when to use each type of marking tool, you can improve both efficiency and accuracy in your layout work.
To further enhance your marking capabilities, consider the following techniques:
- Use your combination square to set precise measurements on adjustable marking gauges.
- Combine marking knives with your square for making fine, accurate marks.
- Employ a systematic approach to marking that reduces errors and improves consistency across your projects.
By mastering the use of a combination square in conjunction with other marking tools, you can significantly improve the accuracy and efficiency of your woodworking projects.
Conclusion: Mastering the Combination Square for Precision Work
With the knowledge gained from this article, you’re now equipped to harness the full potential of your combination square. This versatile tool, when mastered, transforms from a simple measuring device into an essential workshop companion for precision work. By understanding the various techniques and applications covered, you’ll be able to apply these marking skills to improve the quality of all your woodworking projects, from simple boxes to complex furniture.
The combination square is primarily used for ensuring the integrity of a 90° angle, measuring a 45° angle, finding the centre of a circular object, determining depth, and making simple distance measurements. By incorporating these techniques into your workflow, you’ll not only enhance your craftsmanship with precision but also streamline your working process. For more detailed information on mastering the combination square, you can refer to additional resources such as Mastering the Combination Square.
Accurate marking is the foundation of successful projects, and the combination square is your most versatile ally in this essential first step. By using the combination square effectively, you’ll be able to replace multiple specialised tools while maintaining consistent accuracy across your projects. This not only improves efficiency but also enhances the overall quality of your work.
In conclusion, mastering the combination square and understanding its full range of techniques allows you to work more efficiently and with greater precision. You’ll be able to measure distances, check angles, align machinery, and ensure your work is square from start to finish, thereby backing up your craftsmanship with the precision that comes from proper marking.


