Are you tired of being startled by the squeak of a step every time you climb the stairs?
Squeaky stairs can be a constant source of irritation, announcing every trip upstairs or down. While the noise doesn’t necessarily indicate a structural issue, it can be annoying and even frightening in the dark.
Fixing squeaky stairs is often a manageable DIY project that can restore peace and quiet to your home. Understanding your staircase structure is essential before attempting any repairs.
Key Takeaways
- Identify and resolve the common problem of creaky stairs disrupting the peace in your home.
- Learn why silencing creaky stairs is a worthwhile project that can improve your quality of life.
- Discover that most stair repairs are achievable DIY projects.
- Understand the importance of diagnosing and fixing squeaky stairs permanently.
- Gain a comprehensive approach to transforming noisy stairs into silent, sturdy structures.
Understanding the Anatomy of Your Staircase
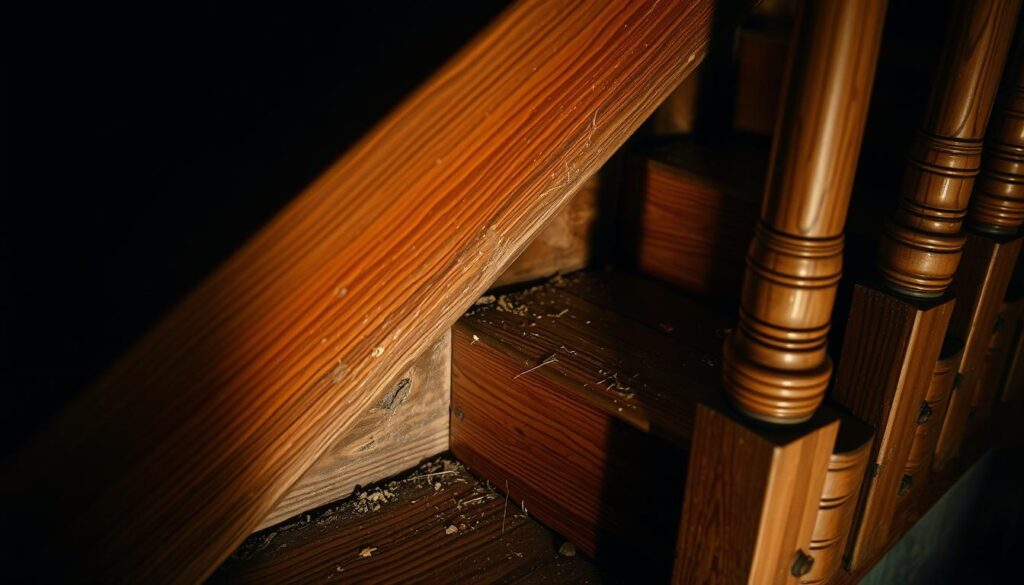
To tackle squeaky stairs, it’s essential to understand the inner workings of your staircase. A typical hardwood staircase consists of several elements: treads, risers, stringers, and fasteners like nails and screws.
Key Components of a Staircase
The key components include treads, risers, stringers, and fasteners. The treads are the horizontal surfaces you step on, while the risers are the vertical boards between each step.
- Treads: The horizontal surfaces that bear your weight.
- Risers: The vertical elements that connect treads.
- Stringers: The saw-tooth pieces that support the stairs from underneath.
| Component | Function |
|---|---|
| Treads | Horizontal surfaces for stepping |
| Risers | Vertical boards between steps |
| Stringers | Support the stairs from underneath |
How Staircases Work
When you walk on the stairs, your weight is distributed across the treads, which are supported by the risers and stringers. The joints between these components are critical, as they can be a source of squeaks if not properly secured.
Understanding how these components interact is crucial for diagnosing and fixing squeaky stairs. The natural properties of wood in staircases can contribute to the development of squeaks over time.
Common Causes of Squeaky Stairs
Over time, stairs can develop squeaks due to various factors, including wear and tear, seasonal changes, and construction issues. Understanding these causes is crucial to effectively addressing the problem.
Wear and Tear Over Time
Daily foot traffic on your stairs gradually leads to wear and tear on the stair components. As the stairs age, the joints can loosen, creating friction points that produce squeaks. Regular use can cause the wooden treads to rub against the risers and stringers, resulting in the characteristic squeaking noise.
Seasonal Changes and Wood Movement
Seasonal humidity and temperature fluctuations cause the wood in your stairs to expand and contract. This movement creates gaps between the stair components, leading to noise when the wood rubs against other parts of the staircase.
Construction Issues
In some cases, squeaky stairs are the result of construction shortcomings. Insufficient glue, improper fastening techniques, and poor-quality materials can all contribute to premature squeaking. Understanding these potential issues can help you identify the root cause of the problem.
Identifying the Source of the Squeak
To effectively fix squeaky stairs, you need to identify the source of the noise. By applying pressure to different areas of each step, you can determine where the squeak is coming from. Differentiating between front, back, and side squeaks will help you understand the underlying issue and choose the most appropriate repair method.
Tools and Materials for Silencing Creaky Stairs
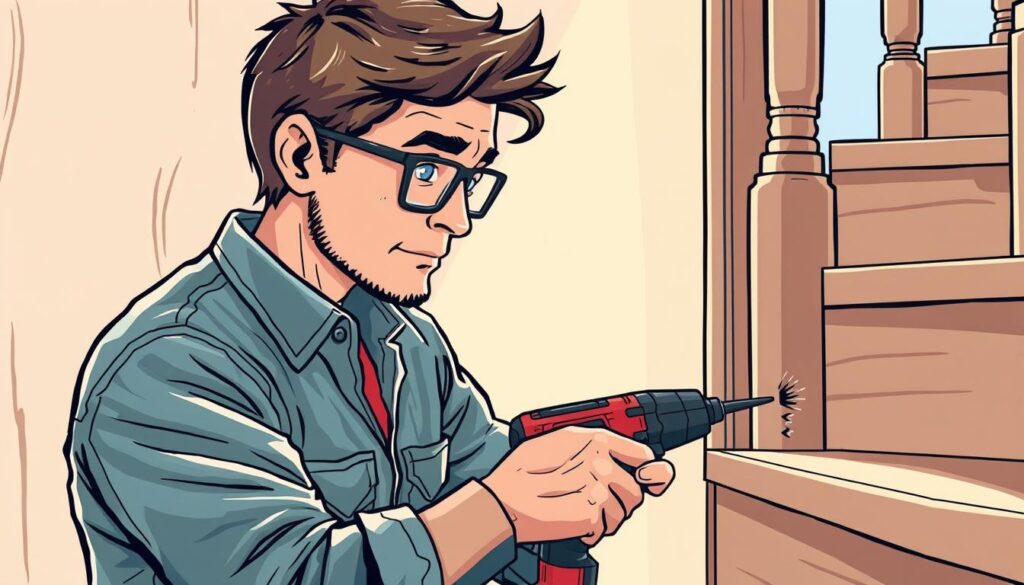
Having the appropriate tools and materials is crucial for successfully silencing your creaky stairs. To make the process smooth and straightforward, it’s essential to gather everything you need beforehand.
Essential Tools for the Job
You’ll need a drill with appropriately sized bits, a hammer, screwdriver, and a pry bar (if removing carpet). These tools will help you drive screws into place and secure the tread to the staircase.
Materials You’ll Need
For a lasting repair, you’ll require materials such as 8- or 10-penny finish nails, wood glue, and construction adhesive. Additionally, wood filler or putty can be used to fill any gaps or holes.
Safety Precautions
When working on your stairs, ensure you’re wearing safety glasses to protect your eyes from wood dust and debris. Using work gloves will prevent splinters and protect your hands. Make sure the work area is well-lit and free from obstacles.
Step-by-Step Methods to Fix Front Stair Squeaks
To silence creaky front stairs, you’ll need to understand the cause and apply the appropriate fix. Squeaks often occur where the tread meets the riser, and addressing this joint is crucial.
Reattaching Tread to Riser
To reattach a loose tread to its riser, start by having a helper stand on the stair to compress the two components together.
Using Nails and Screws
Drill two pilot holes at opposite 45-degree angles where the tread meets the riser. Drive 8- or 10-penny finish nails through these holes into the riser. Then, countersink the nails slightly below the surface of the tread. Fill the holes with wood putty to conceal the repair.
The 45-Degree Angle Technique
This technique creates a clamping effect that securely joins the tread to the riser, ensuring a strong and silent connection.
Using Adhesives for Added Strength
For added strength and to prevent future squeaks, apply a bead of construction adhesive along the joint between the tread and riser. Press the tread firmly against the riser. Secure with nails or screws as described earlier.
| Method | Description | Benefits |
|---|---|---|
| Reattaching with Nails/Screws | Drill pilot holes and drive nails/screws at 45-degree angles | Strong mechanical connection |
| Using Adhesives | Apply construction adhesive along the tread-riser joint | Enhanced strength, reduced squeaks |
| Combining Methods | Use both nails/screws and adhesive | Most durable and silent repair |
By following these steps and using the right materials, you can effectively fix squeaky front stairs and enjoy a quieter home.
Techniques for Fixing Back and Side Stair Squeaks
To completely eliminate stair squeaks, it’s essential to tackle the often-overlooked areas at the back and sides of your staircase. Squeaks in these areas can be just as bothersome as those from the front, and they often require different techniques to fix.
Locating and Tightening Loose Stringers
Stairs typically have three stringers: one on each side and at least one in the middle. To find the stringers, look for existing fasteners on the tread surface, which often indicate stringer locations. You can also examine the underside of the stairs to confirm the stringer position, if possible. Once located, check for loose stringers and tighten them as needed.
Installing Support Blocks
If you can access the underside of the stairs, you can install support blocks between the tread and riser to eliminate movement and reinforce weak connections. Cut small wooden blocks to fit snugly between the tread and riser. Apply wood glue to the blocks and wedge them into place, creating a tight fit. Secure with screws from underneath for added stability.
Using Brackets from Underneath
Another effective method involves using L-shaped metal brackets to reinforce multiple weak points simultaneously. Position the brackets where the tread meets the riser or stringer, and screw them into place, ensuring a tight connection. This technique is particularly useful for reinforcing the connection between treads and risers.
Addressing Side Squeaks and Loose Balusters
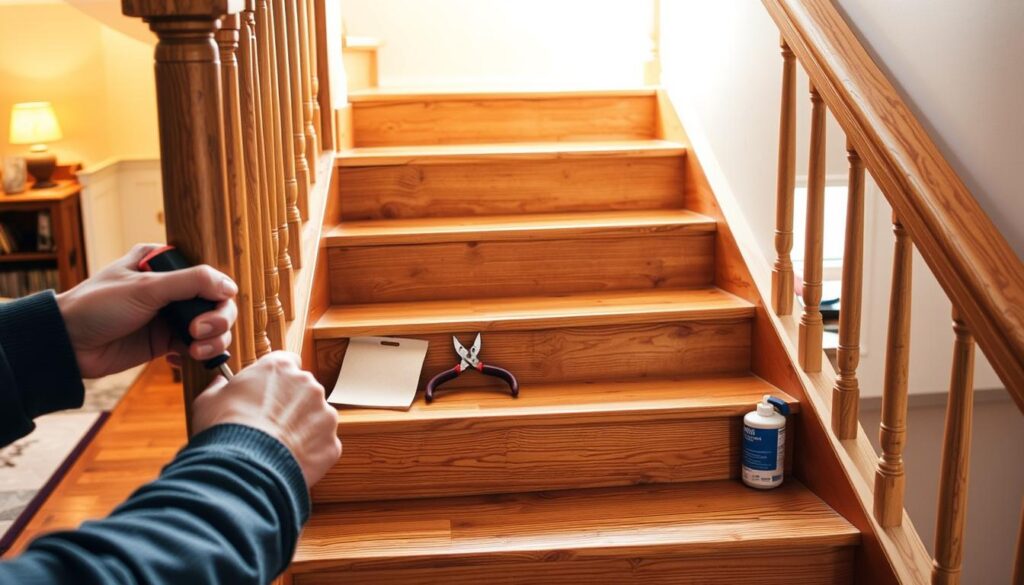
Side squeaks often involve different techniques than front or back repairs. Loose balusters can contribute to stair noises, and securing them properly without damaging visible components is crucial. Check for loose balusters and tighten or replace them as needed. When working in tight spaces or awkward angles underneath stairs, drilling pilot holes accurately is essential for a successful repair.
Preventing Future Squeaks and Maintaining Your Stairs
Regular upkeep is vital to ensure your stairs remain squeak-free over time. After you’ve addressed existing squeaks, taking preventive measures can help keep your stairs quiet.
Regular Maintenance Tips
Regularly check and tighten any visible fasteners on your stairs. You should also apply a thin layer of wax or talcum powder between treads and risers to reduce friction. This simple step can make a significant difference in maintaining quiet stairs.
Controlling Humidity Levels
Wood tends to expand and contract with changes in humidity, leading to squeaks. Maintaining consistent humidity in your home, especially in areas like basements, can help combat this issue. Using a dehumidifier is a practical solution.
When to Call a Professional
While many stair repairs are DIY-friendly, some situations require an expert. Understanding when to tackle the job yourself and when to call in a professional can save you time and ensure the best results.
Conclusion
A squeak-free staircase is within your reach with the right knowledge and techniques. By understanding the anatomy of your staircase and identifying the source of the squeak, you can apply the most effective repair methods.
Regular maintenance, including controlling humidity levels and tightening loose joints, can prevent future squeaks and extend the life of your staircase. Using the right combination of fasteners, adhesives, and support blocks ensures lasting repairs.
Whether you’re dealing with an older home or a new construction, the methods outlined in this guide will help you address squeaky stairs effectively. Don’t hesitate to call in a professional for more complex issues, and enjoy a quieter, more comfortable home environment.
