Are you struggling to find the right wood filler for your DIY project?
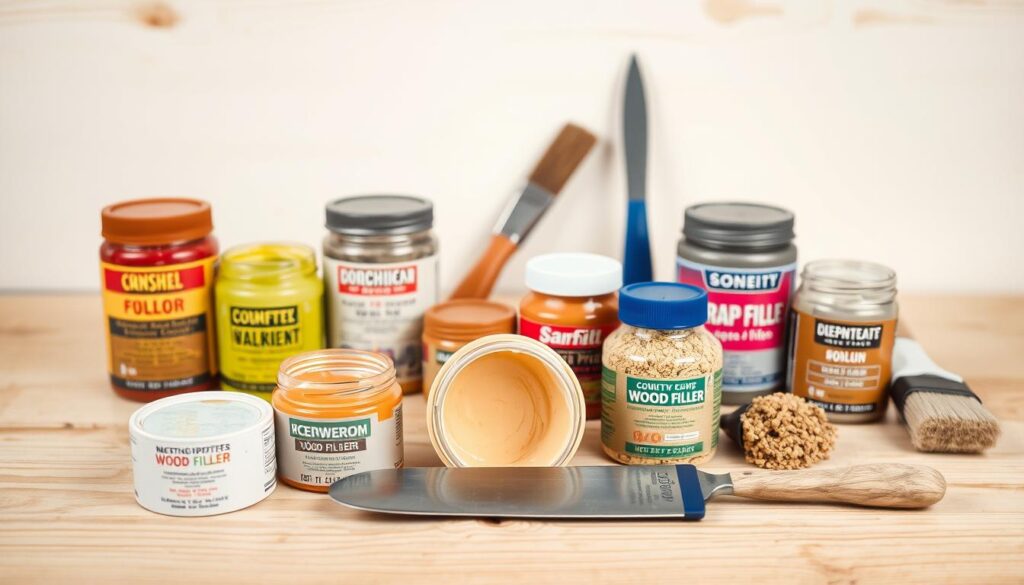
With a vast variety of products available, choosing the correct one can be daunting. Whether you’re looking to repair holes in an interior surface or fix damaged wood on an exterior facade, using the right wood filler is crucial for a professional finish.
A good quality wood filler can transform a damaged piece of wood into a flawless surface, making it an essential product in any DIY enthusiast’s arsenal.
Key Takeaways
- Understand the different types of wood fillers available for various applications.
- Choose a wood filler suitable for interior or exterior use as needed.
- Consider the wood type and condition before selecting a filler.
- Opt for a high-quality product for a professional finish.
- Be aware of the variety of products on the market to make an informed decision.
Understanding Wood Fillers vs. Wood Putties
When it comes to repairing wood, understanding the distinction between wood fillers and putties is crucial. Both are used to fix damaged or blemished wood surfaces, but they serve different purposes and are suited to different types of repairs.
Key Differences Between Fillers and Putties
Wood filler is a substance used to fill larger holes and damaged areas in wood. It can be sanded and painted over once dry, making it ideal for repairs that require a smooth finish. On the other hand, wood putty is typically used for smaller holes and is often applied after the wood has been finished. Unlike wood filler, putty is not always sandable and is used to maintain the existing surface appearance.
Key characteristics of wood filler include: it can be sanded, it can be painted over, and it’s used for larger repairs. In contrast, wood putty is generally used for smaller, more cosmetic repairs.

When to Use Each Type
You should choose wood filler when you need to repair larger holes or damaged areas that will require sanding and refinishing afterward. For interior projects, such as furniture repair or indoor trim work, water-based wood fillers are typically sufficient. For exterior repairs or outdoor wooden structures, specialized exterior-grade fillers are necessary to withstand moisture and temperature fluctuations.
On the other hand, opt for wood putty when dealing with small holes in already finished wood where maintaining the existing surface appearance is crucial. Consider the depth of the damage; deep repairs may require layered applications of filler or specialized products designed for substantial wood restoration.
How to Select Correct Wood-Filler Type for Your Project
To achieve a professional finish, it’s essential to choose the right wood filler for your project. The type of wood filler you select can significantly impact the durability and appearance of the repair.

Assessing the Size and Depth of Damage
Before selecting a wood filler, assess the size and depth of the damage to determine the right amount and type of filler needed. Larger damages may require a more substantial filler that can be sanded down to a smooth finish.
For deep damages, consider using a filler that is specifically designed for deep fills, as it will be more effective in providing a strong and durable repair.
Considering the Location: Interior vs Exterior
The location of the repair is another critical factor in choosing the right wood filler. For interior repairs, you can use a standard wood filler, but for exterior repairs, you need a filler that is resistant to weathering and moisture.
Exterior wood fillers are typically formulated to withstand the elements and last longer. They are often made with special additives that help to protect the wood from rot and insect damage.
Matching Wood Type and Colour
Matching your wood filler to the type and colour of the wood you’re repairing is crucial for a seamless finish. Consider whether you’ll be staining the wood after repair, as some fillers accept stain better than others.
For hardwoods like oak or maple, choose fillers specifically formulated for dense wood types. For softwoods like pine, select fillers that can accommodate the natural movement and flexibility of these more porous woods.
When working with exotic or uniquely coloured woods, look for tintable fillers that allow you to custom-match the exact shade needed. You can also stain the filler to match the surrounding wood, ensuring a professional-looking finish.
Types of Wood Fillers and Their Applications
To achieve professional-grade results in your woodworking projects, it’s essential to understand the different types of wood fillers available. Wood fillers are formulated to address various needs, from simple hole filling to complex structural repairs.
Water-Based Wood Fillers

Water-based wood fillers are a popular choice for interior woodworking projects due to their ease of use and quick drying time. They are suitable for filling small holes and cracks in wood surfaces. When selecting a water-based wood filler, look for products that are compatible with your wood type and offer a smooth finish.
Solvent-Based Wood Fillers

Solvent-based wood fillers are known for their durability and are often used for exterior applications where they are exposed to the elements. They provide a strong bond with the wood and can withstand harsh weather conditions. However, they may require longer drying times and proper ventilation during application.
Two-Part Epoxy Wood Fillers

Two-part epoxy wood fillers are highly versatile and are used for structural repairs and applications where high strength is required. They consist of a resin and hardener that are mixed together, creating a strong and durable bond. These fillers are ideal for repairing damaged wood in furniture, flooring, and other load-bearing structures.
Speciality Wood Fillers

Speciality wood fillers are designed for specific applications beyond standard hole and crack repair. They include grain fillers for creating a smooth surface on open-grained woods, flexible fillers for areas subject to movement, and colour-changing fillers that indicate when they are ready for sanding. These products are particularly useful in furniture restoration and high-end woodworking projects.
Understanding the different types of wood fillers and their applications is crucial for achieving successful outcomes in your woodworking projects. By selecting the right filler for your specific needs, you can ensure a professional finish and extend the lifespan of your work.
Popular Wood Filler Brands in the UK
In the realm of woodwork repairs, certain wood filler brands have gained popularity in the UK. These brands offer a range of products that cater to different needs, from simple cosmetic repairs to more complex structural fixes.
Osmo Wood Filler
Osmo Wood Filler is a highly-regarded product in the UK, known for its high-quality finish and durability. It is suitable for various types of wood and can be used for both interior and exterior applications.

Liberon Wood Filler
Liberon Wood Filler is another popular choice among woodworkers in the UK. It is particularly valued for its ease of use and versatility in furniture repair. Liberon Wood Filler comes in various shades to match different types of wood.

Brummer Wood Filler
Brummer Wood Filler is a trusted brand that offers a range of wood fillers suitable for both interior and exterior use. Its products are known for their strength and durability, making them ideal for repairs that need to withstand stress.

Rustins Wood Filler
Rustins Two Part Wood Filler is distinguished by its exceptional strength for structural wood repairs. It comes with a separate hardener that, when mixed with the base, creates a durable repair material. This product is particularly valued for tougher repairs and can be drilled, screwed, and even carved once fully dry.
Available in white and natural shades, Rustins Wood Filler can be stained to match surrounding wood after application. Professional woodworkers appreciate Rustins for repairs that need to withstand stress or movement in both interior and exterior applications.

Application Tips for Best Results
Effective wood filler application involves more than just filling the gap; it requires attention to detail. To achieve a professional-looking finish, you need to prepare the surface properly, apply the filler correctly, and allow it to dry according to the manufacturer’s instructions.
Proper Surface Preparation
Before applying wood filler, ensure the surface is clean and free of debris. Sand the area using sandpaper or an oscillating power tool to create a smooth surface for the filler to adhere to. Wipe the area with a wet cloth to remove any dust or debris.
Application Techniques
Apply the wood filler according to the product’s instructions. Use a putty knife or similar tool to spread the filler evenly, pressing it firmly into the damaged area. For larger repairs, consider applying the filler in layers, allowing each layer to dry before adding the next.

Drying and Finishing Tips
Wait for the filler to dry completely, which can take anywhere from 30 minutes to 24 hours, depending on the product. Once dry, sand the area gradually using progressively finer grits (starting with 120 and finishing with 220) for a smooth finish. If staining, test the stain on a small, inconspicuous area first, as wood filler absorbs stain differently than natural wood.
| Drying Time | Product Type | Recommended Use |
|---|---|---|
| 30 minutes | Fast-drying fillers (e.g., Osmo interior fillers) | Ideal for small repairs where time is a factor |
| 8+ hours | Standard wood fillers | Suitable for most wood filling tasks |
| 24+ hours | Epoxy-based fillers | Best for large or deep repairs requiring maximum strength |
When applying stain to wood filler, consider using a slightly lighter stain, as the filler tends to absorb more colour than the surrounding wood. Always follow the manufacturer’s instructions for drying times and application techniques to achieve the best results.
Conclusion
As we’ve explored, the world of wood fillers is diverse, and picking the right one is vital. Selecting the correct wood-filler type is essential for achieving professional-quality repairs that last and blend seamlessly with your woodwork.
To achieve the best results, consider the specific requirements of your project, including location, wood type, and repair size, before choosing between water-based, solvent-based, or two-part fillers. For more information on the best products available, you can visit The Craftsman Blog for a comprehensive guide.
By taking the time to properly prepare surfaces, apply the filler correctly, and allow adequate drying time, you can ensure that your wood filler repairs are virtually invisible, allowing you to restore and maintain wooden items rather than replacing them.