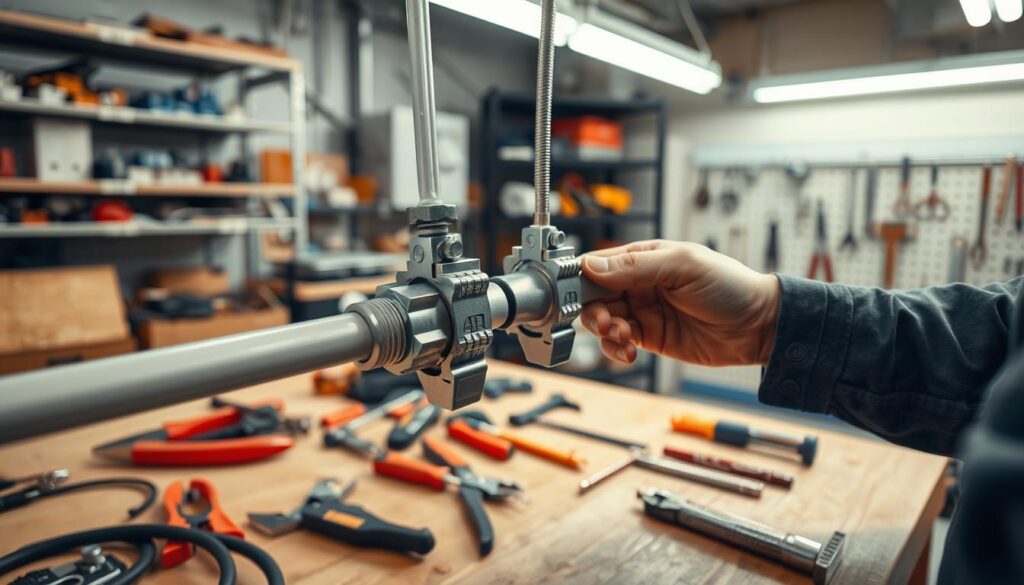
Are you aware of the potential hazards that loose conduit can pose to your home or commercial property? Exposed wiring and electrical failures are just a couple of risks associated with improperly secured conduit systems.
This comprehensive guide will walk you through the process of identifying, diagnosing, and securing loose electrical conduit to ensure your electrical system remains safe and compliant with UK building regulations.
Whether you’re dealing with PVC, metal, or flexible conduit, understanding the importance of proper conduit installation is crucial for preventing electrical hazards and ensuring system longevity.
Key Takeaways
- Identify potential safety hazards associated with loose conduit.
- Diagnose issues with your electrical conduit system.
- Learn step-by-step methods to secure various conduit materials.
- Understand the importance of proper conduit installation.
- Discover when to seek professional electrician intervention.
Understanding Electrical Conduit Systems
To maintain electrical safety and adhere to regulations, it’s essential to comprehend the fundamentals of electrical conduit systems. These systems are critical in protecting electrical wiring from various hazards.
What Is Electrical Conduit?
Electrical conduit refers to the tubing or piping used to route and protect electrical wiring. Conduits safeguard wires from physical damage, moisture, and chemicals, significantly reducing the risk of electrical shocks or fires. This protection is particularly crucial in high-traffic areas or environments exposed to harsh conditions.
Why Proper Conduit Installation Matters
Proper conduit installation is fundamentally a safety issue. Loose or improperly secured conduit can expose wiring to damage, creating serious electrical hazards, including fire risks and shock potential. Well-installed conduit systems maintain the integrity of your electrical wiring by preventing exposure to moisture, dust, pests, and physical impacts that could compromise insulation.
Secure conduit installation ensures compliance with UK building regulations and electrical codes, which specify requirements for wire protection in various environments. Properly installed conduit provides organised pathways for electrical wiring, making future maintenance, troubleshooting, and system upgrades significantly easier and more cost-effective.
By investing in proper conduit installation, you can reduce maintenance costs, minimize electrical failures, and enhance safety for building occupants. This is particularly important in commercial and industrial settings, where higher voltage systems and stricter safety regulations are in place.
Common Types of Electrical Conduit
Understanding the different types of electrical conduit is crucial for a safe and efficient electrical installation. You need to choose the right type of conduit for your specific needs, considering factors such as the environment, the type of wiring, and local regulations.
PVC Conduit
PVC conduit is a popular choice for electrical installations due to its durability, resistance to corrosion, and ease of installation. It is particularly suitable for underground or wet location applications.

Metal Conduit Options (EMT, RMC, IMC)
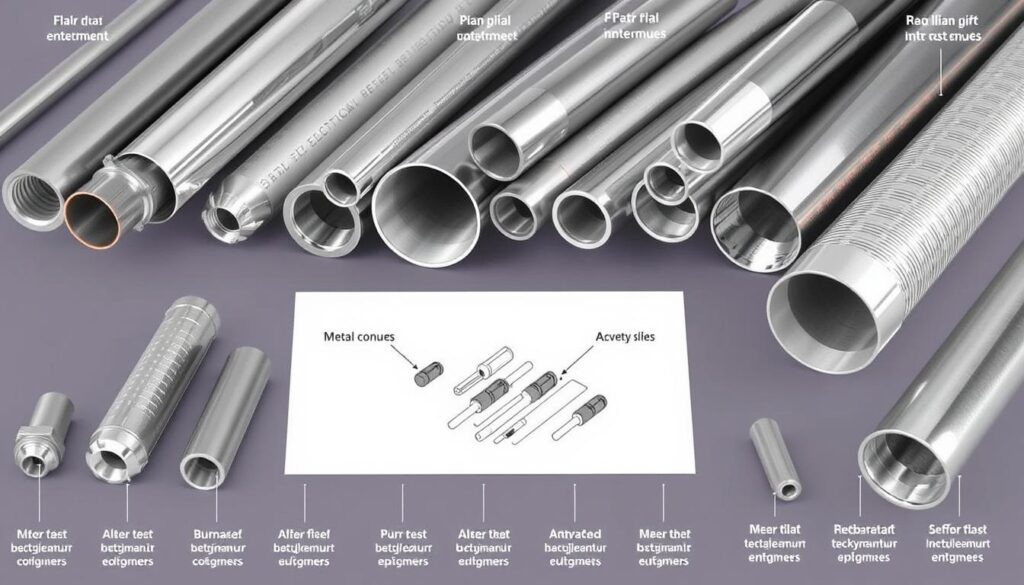
Metal conduit options, including Electrical Metallic Tubing (EMT), Rigid Metal Conduit (RMC), and Intermediate Metal Conduit (IMC), offer a robust solution for electrical wiring. EMT is a thin-walled tubing that is widely used for exposed or concealed installations, while RMC and IMC provide added strength and are often used in more demanding environments.
Flexible Conduit Varieties
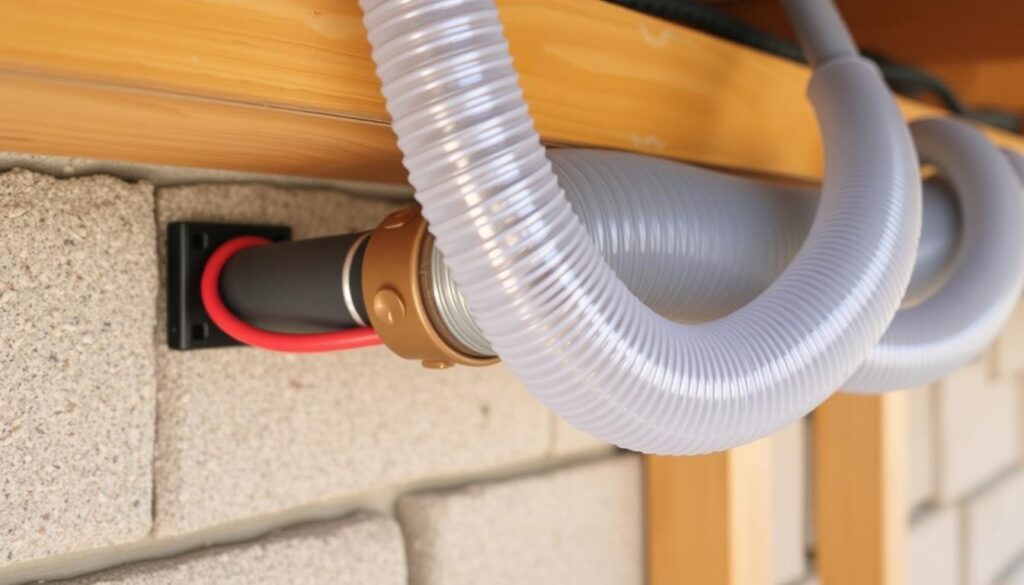
Flexible conduit varieties, such as Flexible Metal Conduit (FMC) and Liquidtight Flexible Metal Conduit (LFMC), serve crucial roles in electrical installations where rigid conduit cannot navigate tight spaces or vibrating equipment connections. FMC is made from thin, flexible metal sheeting, while LFMC adds a waterproof plastic coating, making it suitable for outdoor or wet location applications.
- Flexible Metal Conduit (FMC) provides a flexible yet protective pathway for electrical wiring.
- Liquidtight Flexible Metal Conduit (LFMC) is ideal for outdoor or wet locations.
- Non-metallic flexible conduit options offer excellent corrosion resistance.
Signs of Loose Electrical Conduit
Safety first: understanding the signs of loose electrical conduit can prevent electrical hazards and ensure a safe environment. Loose electrical conduit can lead to a variety of safety issues, including electrical shock, fires, and physical hazards.
Visual Indicators
You can often identify loose electrical conduit through visual inspections. Look for conduit that is sagging, misaligned, or has come loose from its fittings or junction boxes. Visible signs of wear or damage on the conduit or its supports are also indicators that it may be loose. Regularly checking your conduit can help you catch these issues early.
Unusual Noises
Loose conduit can also be identified by unusual noises. As the conduit moves, it can cause rattling or clattering sounds, especially in metal conduit systems. These noises are often more noticeable during strong winds or when there’s vibration from nearby machinery. If you notice such noises, it’s worth investigating further to ensure your conduit is secure.
Potential Safety Hazards
The potential safety hazards associated with loose electrical conduit are significant. Movement can cause abrasion of wire insulation over time, potentially exposing live conductors and creating shock or fire risks. Moreover, loose conduit can compromise the integrity of your electrical wiring, leading to short circuits or even electrical fires. Ensuring your conduit is securely fastened is crucial for maintaining the safety of your electrical system.
| Hazard | Description | Risk Level |
|---|---|---|
| Electrical Shock | Exposure of live conductors due to abrasion of wire insulation. | High |
| Fire Risk | Short circuits caused by compromised electrical wiring. | High |
| Physical Hazards | Tripping or impact hazards from protruding conduit sections. | Medium |
Essential Tools for Securing Loose Conduit
To repair loose electrical conduit, you’ll need a range of essential tools that prioritise safety and effectiveness. Having the right equipment not only ensures a successful repair but also minimises the risk of injury or further damage to the electrical system.
Basic Hand Tools
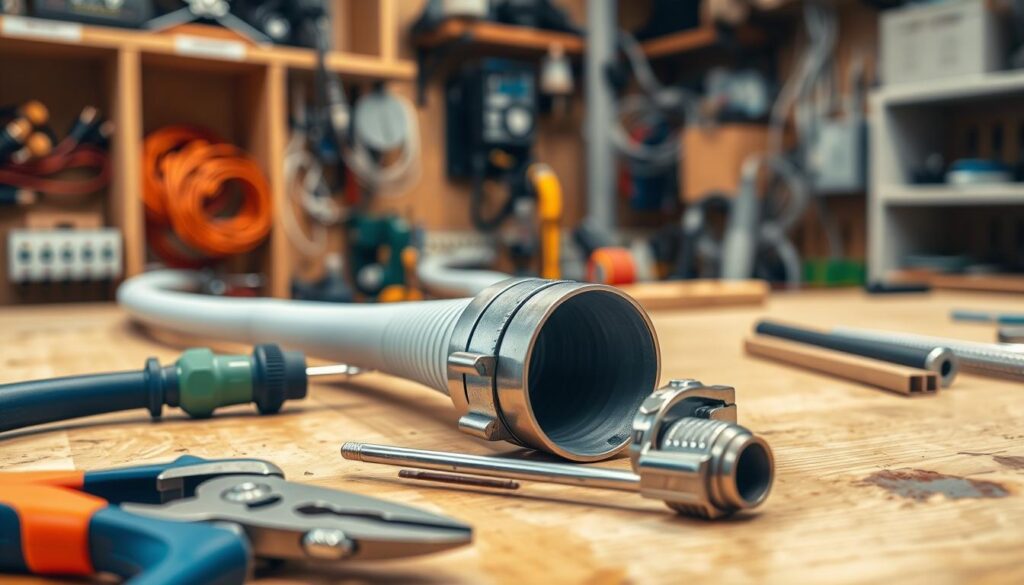
Basic hand tools are the foundation of any conduit repair job. You’ll need a set of standard tools, including pliers, screwdrivers, and wrenches, to loosen or tighten fittings and fasteners. These tools are essential for making adjustments and securing the conduit in place.
Specialised Conduit Tools
Specialised conduit tools are designed to make specific tasks easier and more efficient. For example, a conduit bender allows you to shape conduit to fit around obstacles without damaging the wiring inside. Other specialised tools include conduit cutters and deburring tools, which help to clean up the conduit ends after cutting.
Safety Equipment
Safety equipment is paramount when working with electrical systems. You’ll need insulated gloves rated for electrical work, safety goggles or glasses, and a non-contact voltage tester to ensure your safety while working on the conduit. Additionally, knee pads, work gloves, and a dust mask can provide extra protection during the repair process.
Preparation Steps Before Securing Loose Conduit
To secure loose conduit safely, you must first take several crucial preparation steps. This ensures not only your safety but also the effectiveness of the repair work.
Safety Precautions
First and foremost, safety is paramount. Turn off the power to the circuit you’re working on at the breaker box. Use a non-contact voltage tester to double-check for live wires, ensuring your safety during the repair process.
It’s also crucial to wear appropriate personal protective equipment (PPE) such as gloves and safety glasses to protect yourself from potential electrical hazards.
Assessing the Conduit System
Next, assess the conduit system to understand the extent of the issue. Create a detailed inventory of all required tools, fasteners, and replacement parts needed for your specific conduit repair. This helps avoid interruptions during the work process.
Planning Your Repair Approach
Develop a step-by-step repair sequence that addresses the most critical safety issues first, followed by structural concerns, and finally aesthetic improvements to the conduit system. Establish a realistic timeline for the repair work, allowing extra time for unexpected complications.
| Task | Tools/Materials Needed | Estimated Time |
|---|---|---|
| Turn off power and test | Non-contact voltage tester | 15 minutes |
| Assess conduit system | Inspection tools | 30 minutes |
| Secure conduit | Fasteners, conduit clamps | 60 minutes |
Consider whether the repair will require assistance from others, particularly for long conduit runs or sections in difficult-to-access locations. Determine if any specialised permits or inspections will be required, especially in commercial settings or for conduit systems carrying high-voltage wiring.
How to Secure Loose Electrical Conduit: Step-by-Step Guide
Securing loose electrical conduit is a crucial task that requires attention to detail and a step-by-step approach. When working with electrical systems, safety should always be your top priority. This guide will walk you through the process of securing loose electrical conduit, ensuring your electrical system remains safe and functional.
Step 1: Turn Off Power and Test
Before starting any work on your electrical conduit, it’s essential to turn off the power to the circuit you’re working on at the breaker box. Use a non-contact voltage tester to double-check for live wires, ensuring your safety while working on the conduit. This step is crucial in preventing electrical shocks or accidents.
Step 2: Inspect the Conduit System
Once you’ve ensured the power is off, inspect the conduit system thoroughly. Look for signs of damage, wear, or corrosion that may have contributed to the conduit becoming loose. This inspection will help you identify the root cause of the issue and plan your repair accordingly.
Step 3: Identify Loose Sections and Fasteners
Identify the specific sections of the conduit that are loose and examine the fasteners used to secure them. Check if the fasteners are damaged, corroded, or simply loose. This step is vital in determining the appropriate repair method.
Step 4: Secure Conduit with Appropriate Fasteners
Using the appropriate fasteners for your conduit type, secure the loose sections. Ensure that the fasteners are tightened properly but avoid over-tightening, which can damage the conduit or surrounding material. The right fasteners will depend on the type of conduit you’re working with, such as PVC or metal.
Step 5: Test the Stability of Your Repair
After completing the securing work, systematically test each repaired section. Apply gentle pressure to verify that the conduit no longer moves or shifts position. Check all newly installed or tightened fittings and connectors to ensure they are properly seated and secure.
| Test | Description | Expected Outcome |
|---|---|---|
| Gentle Pressure Test | Apply gentle pressure to the conduit | No movement or shifting |
| Fittings and Connectors Check | Inspect all fittings and connectors | Properly seated and secure |
| Alignment and Spacing Check | Verify conduit alignment and spacing | Proper alignment and spacing according to code |
As John Ward, a renowned electrical expert, once said, “The key to a successful electrical installation is not just in the wiring, but in the attention to detail in every aspect of the work, including the securing of conduit.”
“A well-secured conduit system is the backbone of a safe and reliable electrical installation.”
By following these steps and testing your repairs thoroughly, you can ensure that your electrical conduit is securely in place, maintaining the integrity and safety of your electrical system.
Securing Different Types of Conduit
To secure conduit properly, it’s crucial to identify the type of conduit and its specific needs. Different materials and types of conduit have unique requirements for securing them effectively.
Securing PVC Conduit
PVC conduit is widely used due to its resistance to corrosion and ease of installation. When securing PVC conduit, use PVC-specific fittings and ensure that the conduit is properly supported. The recommended support intervals for PVC conduit are typically every 3 feet for horizontal runs and every 5 feet for vertical runs. It’s also essential to use the correct type of PVC cement and primer to ensure strong joints.
| Conduit Type | Horizontal Support Interval | Vertical Support Interval |
|---|---|---|
| PVC Conduit | 3 feet | 5 feet |
| Metal Conduit | 6 feet (EMT), 10 feet (RMC, IMC) | 10 feet |
| Flexible Conduit | 4.5 feet | 10 feet |
Securing Metal Conduit
Metal conduit, including EMT, RMC, and IMC, requires careful handling to maintain its integrity. For minor cracks in metal conduit, use metal conduit repair tape or a compatible sealant. For larger punctures, cut out the damaged section and replace it with a new piece, securing it with couplings or threaded connectors. Regularly inspect metal conduit for signs of wear or damage.
Securing Flexible Conduit
Flexible conduit presents unique securing challenges due to its design for movement. To secure flexible metal conduit (FMC), use specialised straps that cradle the corrugated surface without damaging it. For liquidtight flexible metal conduit (LFMC), ensure all connectors are properly tightened and sealed. Support flexible conduit at more frequent intervals, typically every 4.5 feet for horizontal runs and 10 feet for vertical runs. When connecting to vibrating equipment, provide sufficient slack while securing it adequately.
- Use anti-short bushings at the ends of flexible metal conduit to protect wire insulation.
- Consider protective sleeves or guards for flexible conduit in exposed locations.
- Always replace connectors when securing previously loose flexible conduit.
By following these guidelines for securing different types of conduit, you can ensure a safe and reliable electrical system.
Addressing Common Conduit Installation Problems
The installation of electrical conduit is not without its challenges, and being aware of these issues is crucial for a safe and effective electrical system. You need to be vigilant about potential problems that can arise during conduit installation.
Dealing with Damaged Conduit
Damaged conduit can be a significant issue, often resulting from improper handling or environmental factors. To address this, you should inspect your conduit carefully before installation and replace any damaged sections. Using conduit made from durable materials can also help mitigate damage.
Fixing Improper Bends
Improper bends in conduit can lead to wiring damage and compromise the entire electrical system. To fix this, you should use the appropriate bending tool for your conduit type and size. For instance, PVC conduit typically requires a bend spring, while metal conduit may need a hand bender or hydraulic bender.
Resolving Junction Box Issues
Junction box issues can significantly contribute to loose conduit problems. Common concerns include boxes that have pulled away from mounting surfaces, damaged knockouts, or compromised conduit connections. To resolve these issues, ensure that junction boxes are securely mounted and that conduit connections are secure and properly sealed.
| Issue | Solution |
|---|---|
| Damaged Conduit | Inspect carefully, replace damaged sections |
| Improper Bends | Use appropriate bending tools |
| Junction Box Issues | Secure mounting, proper sealing |
By addressing these common conduit installation problems, you can ensure a safer and more reliable electrical system. Regular inspections and proper installation techniques are key to preventing these issues.
Special Considerations for Outdoor Conduit
The integrity of outdoor conduit installations is crucial for the safety and reliability of electrical systems. When installing conduit outdoors, you must consider the unique challenges posed by weather conditions and environmental factors.
Weather-Resistant Fastening Methods
When securing outdoor conduit, it’s essential to use weather-resistant fastening methods to ensure durability. For PVC conduit, use fittings and fasteners that are compatible with the material to prevent chemical reactions that could compromise the installation. Consider using stainless steel or coated fasteners that can withstand exposure to the elements.
- Use raintight or watertight fittings for connections to outdoor junction boxes and equipment.
- Ensure all fittings are correctly installed and fully tightened to prevent water ingress.
- Consider PVC conduit expansion fittings in long outdoor runs to accommodate thermal movement.
Preventing Moisture Ingress
Moisture ingress is one of the most significant threats to outdoor conduit systems, potentially causing corrosion and electrical faults. To mitigate this, install all outdoor conduit with a slight downward slope away from buildings and equipment, allowing any moisture that enters the system to drain naturally. Use appropriate drainage fittings at the lowest points of conduit runs, particularly for long horizontal sections.
- Seal all outdoor conduit connections with appropriate weatherproof sealants.
- Use proper water-blocking techniques at transition points where conduit emerges from the ground.
UK Building Regulations for Electrical Conduit
To ensure electrical safety and compliance, it’s vital to understand the UK building regulations that apply to electrical conduit installations. The UK has a comprehensive framework governing electrical work, including conduit installations, to safeguard public safety and prevent electrical hazards.
Understanding Relevant Electrical Codes
The UK’s electrical building codes dictate the standards for electrical conduit installations. These codes are designed to ensure that electrical systems are safe, efficient, and compliant with national standards. For domestic properties, electrical work must be performed by an installer registered with a competent person scheme, such as NICEIC, ELECSA, or NAPIT, or be inspected and certified by building control or an approved inspector. Compliance with local building regulations is also crucial, as these may specify additional requirements for electrical conduit installations.
- Conduit installations involving new circuits or significant alterations to existing systems require mandatory inspection and certification.
- A proper electrical inspection verifies appropriate support methods, correct materials, and proper protection of enclosed wiring.
- Upon successful inspection, you receive an Electrical Installation Certificate (EIC) or an Electrical Installation Condition Report (EICR).
Professional Inspection Requirements
For commercial and industrial conduit installations, more rigorous inspection protocols are typically required, including both visual inspections and testing of the enclosed electrical systems. It’s essential to comply with local codes and ensure that all electrical work meets the required standards. A detailed inspection will verify that the conduit system is properly supported, correctly sized, and protected against potential hazards.
| Type of Installation | Inspection Requirement | Certification |
|---|---|---|
| Domestic | Inspected by building control or approved inspector | EIC or EICR |
| Commercial/Industrial | Rigorous inspection including visual and testing | EIC or EICR |
Keeping all inspection certificates and reports for your conduit installations is crucial, as these may be required when selling property, for insurance purposes, or in the event of any incidents involving the electrical system.
Maintenance Tips to Prevent Loose Conduit
Ensuring the longevity of your electrical conduit system requires consistent upkeep. Regular maintenance not only enhances safety but also prevents potential issues that could lead to costly repairs over time.
Regular Inspection Schedule
You should inspect your conduit system at regular intervals to identify any signs of wear or damage. This proactive approach allows you to address problems before they escalate, ensuring the continued safety and integrity of your electrical installation.
- Check for signs of physical damage or corrosion.
- Verify that all connections are secure.
- Inspect for any environmental factors that could impact the conduit.
Preventative Measures
To prevent loose conduit, several preventative measures can be taken. Using high-quality fasteners and supports during installation can significantly reduce the risk of future issues.
| Preventative Measure | Benefit |
|---|---|
| Using thread-locking compounds on threaded connections | Prevents gradual loosening due to vibration |
| Allowing expansion gaps in PVC conduit installations | Accommodates thermal movement without stressing connections |
| Protecting outdoor conduit from UV degradation | Extends the lifespan of the conduit and its securing hardware |
When to Call a Professional Electrician

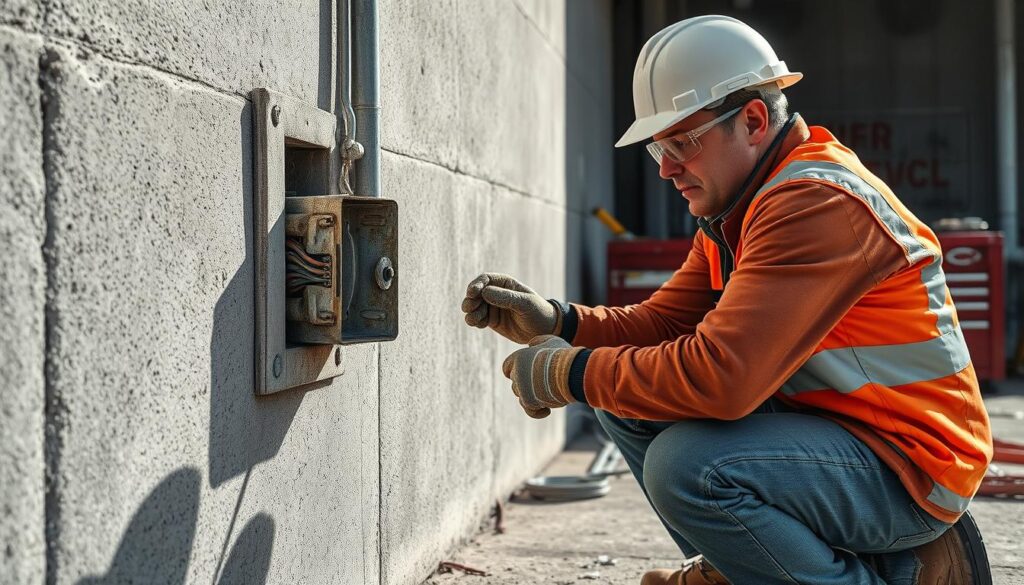
Recognising the signs that indicate the need for a professional electrician can prevent further electrical issues. If you’re dealing with complex electrical problems or are unsure about how to secure loose electrical conduit, it’s crucial to seek help from a qualified electrician.
Complex Electrical Issues
Complex electrical issues, such as those involving specialised conduit systems or hazardous area classifications, require professional expertise. For instance, if you’re unsure about the compliance of your electrical conduit with local building regulations or electrical codes, a certified electrician can provide guidance.
Finding a Qualified Electrician in the UK
To find a qualified electrician, look for professionals registered with recognised competent person schemes like NICEIC or ELECSA. Request to see their ECS card, which confirms their qualifications. Obtain multiple detailed quotes, check reviews, and verify their insurance coverage. For significant repairs, establish a clear written contract detailing the work to be done, timeframe, and money involved.
For more information on electrical wiring issues, visit https://www.ul.com/insights/8-signs-you-may-have-problem-your-electrical-wiring.
Conclusion
Securing your electrical conduit is a crucial step in maintaining the safety and integrity of your electrical system. Throughout this guide, we’ve explored the comprehensive process of identifying, assessing, and securing loose conduit using appropriate methods and materials for different conduit types and installation environments.
The step-by-step approach outlined provides a systematic method for addressing loose conduit issues, from initial safety precautions through inspection, repair, and final testing to ensure a secure conduit installation. It’s essential to remember that different conduit materials—PVC, metal, and flexible varieties—each require specific securing methods and considerations to account for their unique properties and applications.
Regular maintenance and inspection of conduit systems is the most effective preventative measure, allowing you to identify and address minor issues before they develop into serious problems or safety hazards. While many conduit securing tasks can be handled by knowledgeable DIY enthusiasts, complex systems, damaged wiring, or installations in specialised environments should be entrusted to qualified professional electricians.
By following the guidance provided in this article and adhering to UK building regulations and electrical codes, you can ensure your conduit systems remain securely installed, protecting your electrical wiring and contributing to the overall safety of your property for years to come. Whether you’re addressing an immediate issue with loose conduit or implementing preventative measures in a new installation, the investment in proper securing methods pays dividends through enhanced safety, system longevity, and peace of mind.
