Are you tired of dealing with water damage caused by leaking pipe joints in your home? Do you wonder how to effectively fix leaking issues without calling a professional plumber? Leaking pipe joints can lead to significant water wastage and costly repairs if left unaddressed.
Identifying the cause of the leak is crucial before attempting any repair. You need to understand the type of pipe material and the nature of the leak to choose the right sealing method. Whether you’re dealing with a minor leak or a major plumbing issue, this guide will walk you through the steps to properly seal your pipe joints and prevent further water damage.
Key Takeaways
- Understand the causes of leaks in pipe joints and how to diagnose them.
- Learn the importance of choosing the right sealing method based on pipe material.
- Discover when to attempt a DIY repair and when to call a professional plumber.
- Gain insights into step-by-step procedures for different sealing techniques.
- Understand how proper pipe joint sealing can save you money on water bills.
Understanding Different Types of Pipe Leaks
Understanding the different types of pipe leaks is essential for effective plumbing repairs. Pipes are made from various materials, including metals, plastics, and concrete, and can deteriorate over time, leading to leaks. Common types of pipes include copper, galvanised metal, PVC, CPVC, PEX, and ABS DWV, each with its unique characteristics and potential failure points.

The material your pipes are made of plays a significant role in determining the appropriate repair strategy. For instance, copper pipes often develop pinhole leaks or issues at soldered joints, while plastic pipes may crack or split at connection points.
Causes of Pipe Joint Leaks
Pipe joint leaks can occur due to various factors, including worn gaskets, loose connections, or corrosion at the joints. Pipe leaks can also result from age-related deterioration, excessive water pressure, and temperature fluctuations. Understanding these causes is crucial for selecting the right repair method.
- Worn gaskets or loose connections can lead to leaks at the joints.
- Corrosion at the meeting points between pipes is another common cause.
- Age-related deterioration can weaken pipes and lead to leaks.
Identifying Your Pipe Material
Identifying whether your pipes are made of copper, PVC, CPVC, PEX, or galvanised metal is vital for determining the best repair approach. Different materials require different sealing methods; for example, what works for metal pipes may not be effective for plastic pipes. By understanding your pipe material, you can choose the most appropriate repair technique.
- Copper pipes require soldering or specific copper-compatible repair methods.
- Plastic pipes, such as PVC or PEX, may require specialised adhesives or clamps.
- Galvanised metal pipes often need replacement or specialised repair clamps.
Essential Tools and Materials for Sealing a Leaking Pipe Joint
To effectively seal a leaking pipe joint, it’s crucial to have the right tools and materials at your disposal. A successful repair depends on being well-prepared with the necessary equipment.
Required Tools
The basic tools needed for sealing a leaking pipe joint include adjustable wrenches, pipe wrenches, slip joint pliers, and clean rags or towels. You may also require pipe cutters for certain repairs. Having these tools on hand will enable you to tackle the job efficiently.
Necessary Materials
The materials required vary depending on the repair method, but commonly include Teflon tape, pipe joint compound, epoxy putty, and self-fusing silicone tape. For most pipe repairs, some form of epoxy is ideal, such as Loctite Repair Putty-All Purpose or Loctite Epoxy Metal/Concrete for metal or concrete pipes.
Having a variety of sealing materials in your home toolkit allows you to address different types of leaks promptly. It’s also essential to select materials compatible with your pipe type to ensure a successful repair.
Preparation Steps Before Sealing
Before you start sealing a leaking pipe joint, it’s essential to prepare the area properly to ensure a successful repair. This involves several crucial steps that will help you achieve a lasting seal.
Turning Off Your Water Supply
First, you need to turn off the water supply to the damaged pipe. If there’s no local shut-off valve, you’ll need to turn off the main water supply valve for your home. Open nearby taps to drain the remaining water from the pipes.
Cleaning and Drying the Pipe
Thoroughly clean the area around the pipe to remove dirt, grease, and old sealant. Some repair products require you to dry the pipe completely or roughen the surface around the leak. Cleaning and drying are crucial for ensuring a strong bond between the pipe and the repair material.
Safety Precautions
When working on a leaking pipe, take necessary safety precautions. If the leak is near electrical fixtures, turn off the power to the area and verify it’s off using a non-contact electrical tester. Wear protective gloves, such as nitrile or latex, to safeguard your hands while working.

Sealing a Leaking Pipe Joint with Tape
Tape is a handy material for temporarily or permanently fixing leaks in pipe joints. There are different types of tape for various applications.
Using Teflon Tape for Threaded Joints
Teflon tape, also known as PTFE tape or plumber’s tape, is specifically designed for threaded pipe joints. To use it effectively, ensure the threads are clean and dry, then wrap the tape clockwise around the male threads 3-4 times, overlapping slightly with each turn. This creates a watertight seal when properly applied.
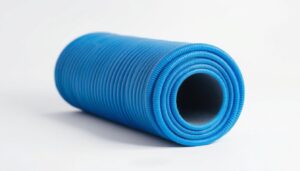
Applying Self-Fusing Pipe Wrap Tape
Self-fusing silicone tape works by creating a compression seal and is ideal for emergency repairs on straight pipe sections or joints. When applying, stretch the tape to approximately twice its length as you wrap it around the pipe, overlapping by at least 50% with each turn. This type of tape can sometimes be applied even when the water cannot be completely turned off.
Using Epoxy Putty for Pipe Joint Repairs
Epoxy putty offers a strong and lasting solution for pipe joint leaks. It is particularly effective for small to medium-sized leaks, providing a durable fix that can withstand water pressure.
Selecting the Right Epoxy for Your Pipe Material
Different types of epoxy compounds are formulated for specific pipe materials. To ensure a successful repair, you must select an epoxy putty that is compatible with your pipes, whether they are made of plastic, metal, or another material.
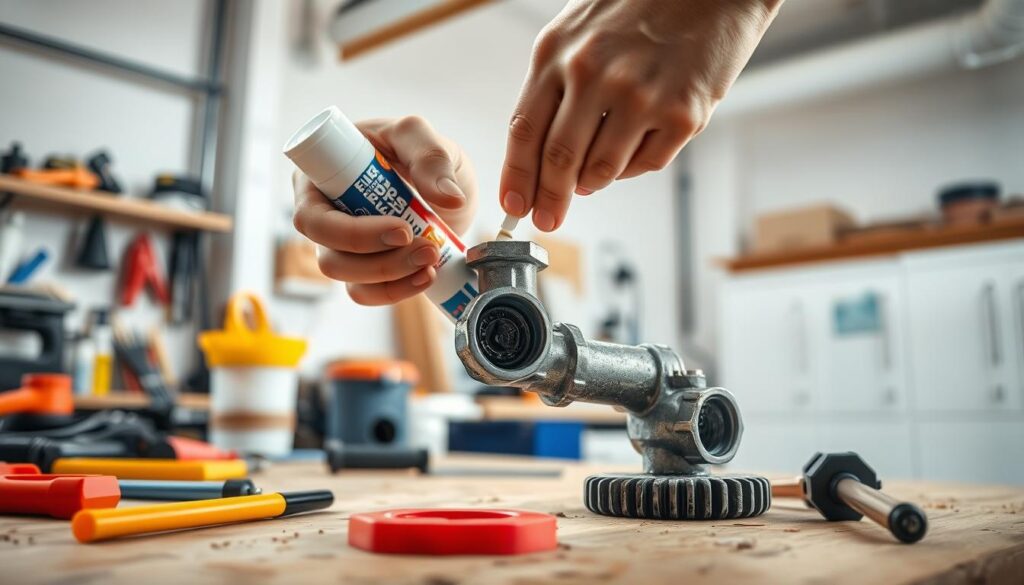
Applying and Shaping Epoxy Putty
To apply epoxy putty, first clean and dry the area around the leak. Then, knead the two-part compound together until it achieves a uniform colour. Press the putty over the leak, moulding it to create a smooth seal that overlaps the damaged area by at least 1-2 cm on all sides.
Key benefits of using epoxy putty include:
- Epoxy putty provides a strong, durable solution for sealing pipe joint leaks.
- Most epoxy putties come as two-part compounds that must be kneaded together to activate the chemical hardening process.
- Proper surface preparation is crucial for epoxy repairs – the pipe must be clean, dry, and ideally roughened with sandpaper to improve adhesion.
- Allow the epoxy to cure fully according to the manufacturer’s instructions before restoring water pressure to the pipe.
Installing Pipe Repair Clamps and Couplings
Leaking pipes can be a nuisance, but there are effective ways to repair them. For more significant leaks or when a section of pipe needs replacement, pipe repair clamps and couplings offer reliable solutions.
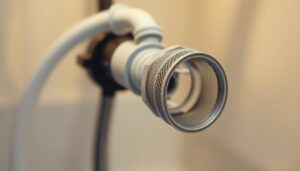
Using Pipe Repair Clamps for Emergency Fixes
Pipe repair clamps are particularly useful for emergency repairs. They consist of a rubber gasket sandwiched between metal bands and secured with bolts, creating a compression seal around the leak. To install, unscrew the bolts, slip the clamp over the pipe ensuring the rubber seal covers the leak, and then tighten the bolts using a wrench.
Installing Slip Repair Couplings
For a more permanent fix, especially when a section of pipe is damaged, slip repair couplings can be used. These couplings allow you to remove the damaged part of the pipe and connect the undamaged segments. Use a pipe cutter to make clean cuts, smooth the edges with a deburring tool, and mark the correct insertion depth on each pipe end before installing the coupling.
Fixing Specific Types of Pipe Joints
To successfully fix a leaking pipe joint, it’s essential to understand the specific type of pipe you’re dealing with. Different pipe materials and joint types require distinct repair approaches to effectively fix leaking connections.
Repairing PEX Pipe Connections
PEX pipe leaks usually occur at connections held in place by crimp rings. To fix these leaks, you’ll need a PEX crimp tool and a PEX test gauge (go/no-go gauge). Use the gauge to check the crimp ring; if it doesn’t fit the test slot, recrimping may solve the issue.
Sealing Copper and Metal Pipe Joints
Copper pipe joints are typically soldered together, and leaks often result from poor soldering technique. For minor leaks, epoxy putty can provide a temporary fix, but proper resoldering is the most reliable permanent solution. Metal pipe threaded joints benefit from proper application of pipe joint compound or Teflon tape before reassembly.
Conclusion: Testing Your Repair and When to Call a Professional
Testing your pipe joint repair is essential to confirm that the leak has been fully resolved. After completing the repair, slowly turn the water supply back on and check the repair area for any signs of leakage. If the pipe continues to leak, you may need to retry the repair or try a different method.
If the patch holds, clean up any remaining water and dry the area thoroughly to prevent mould growth. It’s also crucial to monitor the area over the next 24-48 hours to ensure no slow leaks develop as the system experiences normal pressure fluctuations.
Understand that many DIY pipe joint repairs, particularly those using tape or epoxy compounds, are considered temporary solutions. For a permanent fix, especially for leaks in difficult-to-reach areas or main supply lines, it’s advisable to contact a licensed plumber as soon as possible.