Are you aware that your attic pull-down stairs could be a significant source of energy loss in your home? These large hatches are not just a pathway to your attic storage; they are also a conduit for warm air to escape and cold air to seep in, making your heating bills higher and your home less comfortable.
Understanding the impact of these leaky access points on your home’s energy efficiency is crucial. By addressing the issue, you can enjoy a warmer home and lower energy bills. This comprehensive guide will walk you through the process of identifying and sealing drafts around your attic stairs.
Key Takeaways
- Identify the sources of energy loss through your attic access point
- Learn DIY solutions and commercial products to seal drafts effectively
- Understand the science behind why drafts occur and how to prevent them
- Discover how sealing attic stair drafts can reduce your heating bills
- Improve comfort levels in your home, particularly on upper floors
Why Attic Stairs Are a Major Source of Heat Loss
Your attic stairs could be letting warmth escape, increasing your energy bills. Attic stairs are often a neglected aspect of home insulation, yet they play a significant role in heat loss.
The Hidden Energy Drain in Your Ceiling
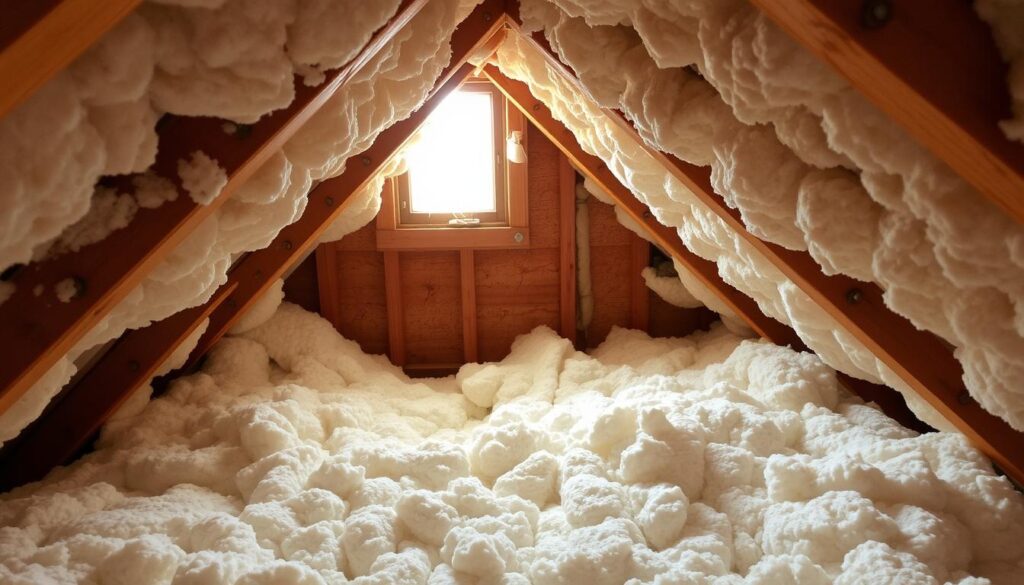
The attic stairs essentially create a large, poorly insulated hole in your ceiling, allowing heated air to escape directly into your attic space. This occurs because warm air naturally rises in your home, making ceiling penetrations particularly problematic for energy efficiency and heating costs.
Many homeowners are unaware that up to 25% of a home’s heat loss can occur through the attic, with pull-down stairs being a significant contributor to this problem. The typical pull-down stair installation includes minimal factory insulation that deteriorates over time.
| Factors Contributing to Heat Loss | Impact on Energy Efficiency |
|---|---|
| Poor insulation around attic stairs | Increased energy bills |
| Warm air escaping into the attic | Higher heating costs |
| Deterioration of factory insulation over time | Reduced energy efficiency |
The temperature differential between your heated home and unheated attic creates a natural convection current that pulls warm air upward and out through any available gaps. Sealing these gaps can significantly reduce heat loss and lower your energy bills.
Understanding How Attic Stair Drafts Occur
Drafts through attic stairs are not just a nuisance; they can also increase your energy bills by letting warm air escape. Cold air is coming into your loft space under the eaves, and some of that air is passing through the hatch into the livable part of your home.
The Science Behind Cold Air Movement
The principle of stack effect explains why cold air infiltrates through attic stairs. As warm air rises and escapes through the upper portions of your house, it creates negative pressure that pulls cold air in through lower areas. This phenomenon is particularly noticeable during winter months when the temperature differential between your home and the attic space is greatest.
Air leakage around attic stairs occurs through multiple pathways, including gaps between the frame and ceiling, spaces around the stair mechanism, and through the stairs themselves if they’re not properly insulated. The building science behind draft formation involves pressure differentials, where your heated home creates a chimney-like effect that draws cold air downward through any available opening.
| Pathways of Air Leakage | Description | Impact on Drafts |
|---|---|---|
| Gaps between frame and ceiling | Allow cold air to enter the living space | Increases draft |
| Spaces around stair mechanism | Provide a route for cold air to circulate | Exacerbates cold air infiltration |
| Uninsulated stairs | Fail to prevent cold air passage | Contributes to overall draft |
Understanding the specific pathways of air leakage around your particular attic stair installation is crucial for developing an effective sealing strategy. Weather conditions can exacerbate draft problems, with windy days creating pressure differentials that force more cold air through unsealed attic access points.
Tools and Materials You’ll Need to Seal Attic Pull-Down-Stairs Drafts
The key to successfully sealing your attic pull-down-stairs lies in having the correct tools and materials at hand. To ensure a draught-free seal, you’ll need to gather a variety of supplies.
Essential Sealing Materials
To effectively seal your attic stairs, you’ll require high-quality weatherstripping designed for temperature extremes. Silicone or EPDM rubber varieties offer superior durability compared to foam-only options. For smaller gaps (less than 6mm), caulk is essential, while expandable foam sealant works better for larger gaps.
- Insulation materials such as rigid foam board (minimum 50mm thickness) or foil-faced polyisocyanurate are crucial for the attic stair cover.
- Basic tools include a tape measure, utility knife, caulking gun, and scissors or tin snips for cutting weatherstripping.
- For building an insulated cover or “box,” gather plywood or MDF (12-18mm thickness), hinges, handle hardware, and appropriate fasteners.

Make sure to select adhesives and sealants rated for attic temperatures. Consider purchasing reflective foil tape for sealing joints in insulation materials. If building a custom insulated hatch cover, you may also need basic woodworking tools.
Preparing Your Attic Stairs for Draught-Proofing
Preparation is key when it comes to draught-proofing your attic stairs, starting with a thorough inspection. Before you begin, ensure you have a safe working environment.
Inspecting the Current Condition
Begin by inspecting your attic stairs to identify potential air leaks, particularly around the frame-to-ceiling junction and the edges of the door panel. Check the existing insulation on the attic stair panel for any compression or damage.
To prepare your attic stairs for draught-proofing, you should clear the area around the attic access point, take detailed measurements of the stair opening and frame, and examine the stair mechanism’s operation. It’s also crucial to inspect the ceiling around the frame for signs of air leakage, such as dust marks, and document the current condition before beginning work. Ensuring proper lighting is available for your work area is vital, as attic spaces can be difficult to illuminate.
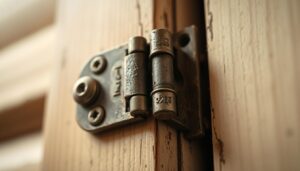
Air Sealing the Trim and Frame
Air sealing the trim and frame is a crucial step in preventing heat loss through your attic stairs. The first step involves carefully removing the finish trim around your attic door to access the gaps between the rough framing and the ceiling drywall.
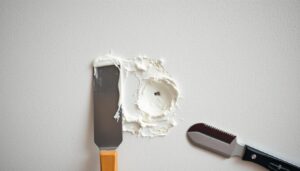
Once the trim is removed, you’ll likely discover gaps that are major sources of air leakage. Use caulk for gaps smaller than 6mm and expandable foam sealant for larger openings to ensure complete coverage.
The Process of Resealing
After sealing the gaps, apply a continuous bead of caulk along both the inside and outside edge of the trim before reinstalling it. Ensure the trim is firmly seated against the newly applied sealant to create a compression fit that enhances the air seal.
As
“A well-sealed attic hatch can significantly reduce heat loss and improve the overall energy efficiency of your home.”
By following these steps, you can effectively seal your attic pull-down stairs and enjoy a warmer, more energy-efficient home.
Installing Weatherstripping for an Airtight Seal
Creating an airtight seal around attic pull-down stairs requires careful consideration of weatherstripping options. Once the trim and frame are air-sealed, you can proceed to install either a heavy bulb weatherstrip or a sealing gasket around the pull-down stairs. The gasket or weatherstrip is typically installed on the top edge of the joists surrounding the stairs.
Choosing the Right Type of Weatherstripping
Selecting the appropriate weatherstripping is crucial for creating an effective seal. Consider factors such as durability, compression recovery, and temperature resistance when making your choice. For attic stairs, heavy-duty options like silicone or EPDM rubber bulb-type weatherstripping are recommended due to their ability to withstand repeated compression.
When installing weatherstripping, ensure it is applied around the entire perimeter of the attic hatch opening to create a continuous seal. For hinged attic stairs, apply weatherstripping to the frame where the door panel makes contact when closed. The weatherstripping should compress slightly when the hatch or stairs are closed, but not so much that it becomes difficult to open or close. You may need to test the seal by feeling for air movement around the edges and adjust the weatherstripping as needed.

For pull-down stairs that rest against a frame when closed, install weatherstripping on the frame’s edge where the stair panel makes contact. In some cases, applying weatherstripping to both the frame and the edge of the door panel may be necessary to achieve an effective seal, especially if the existing gaps are significant.
Building an Insulated Attic Stair Cover
Building an insulated attic stair cover is a practical solution for draft reduction. To achieve this, you’ll need to construct a plywood “coffin” box to fit over your pull-down stairs.
Measuring and Constructing the “Coffin” Box
Begin by taking precise measurements of your attic stair opening, adding approximately 150mm to each dimension. Construct the box frame using 12-18mm plywood or MDF, creating a five-sided box. Ensure the box is well-insulated by lining it with rigid foam insulation boards or fiberglass batts, securing them with adhesive or mechanical fasteners.
To facilitate easy access, install hinges on one side of the box, attaching them to nearby joists. Consider adding a handle or pull-rope for easier opening. For attics with deep blown insulation, build a dam around the stair opening to prevent loose insulation from falling through.
“A well-insulated attic stair cover can significantly reduce heat transfer through the access opening,” as noted by building experts. By following these steps, you can create an effective insulated attic stair cover that enhances your home’s energy efficiency.
Commercial Products to Seal Attic Pull-Down-Stairs Drafts
You can opt for pre-made attic stair covers and tents that are designed to minimise air leaks and reduce heat loss. Several companies sell prefabricated foam or fabric enclosures or tents designed to reduce air leaks and heat loss at attic stairs.
Pre-Made Attic Stair Covers and Tents
Pre-manufactured solutions for sealing attic stairs include insulated covers, zippered fabric tents, and foam-based enclosures. Products like the Battic Door, Attic Tent, and Energy Guardian provide convenient alternatives to DIY solutions, offering standardised insulation values and tested performance.
| Product | R-Value | Features |
|---|---|---|
| Battic Door | High | Insulated cover, easy installation |
| Attic Tent | Medium | Zipper access, fabric tent |
| Energy Guardian | High | Foam-based enclosure, rigid construction |
When selecting a commercial product, verify that it meets your specific requirements for R-value and dimensions. Consider the accessibility requirements of your household, as some products may be more challenging to open and close. You can find more information on suitable products at https://passivehousesystems.ie/shop/insulation-2/phs-loft-stairs-insulation-kit/.
Conclusion: Enjoying the Benefits of Your Newly Sealed Attic Stairs
As you’ve learned, sealing attic stairs is a crucial step in maintaining a comfortable and energy-efficient home. By following the steps outlined in this guide, you’ve taken a significant step towards reducing heat loss and improving your home’s overall performance.
You’ll likely notice immediate improvements in comfort, particularly on upper floors, and potentially save 5-15% on heating costs. Properly sealed attic stairs also help prevent dust and allergens from entering your living spaces, improving indoor air quality. For more detailed information on sealing techniques, you can visit Green Attic’s guide on attic sealing.
Regular maintenance is key to ensuring the longevity of your newly sealed attic access. Check the weatherstripping edges and insulation box integrity annually to maintain an airtight seal. By doing so, you’ll continue to enjoy the benefits of a more energy-efficient home.