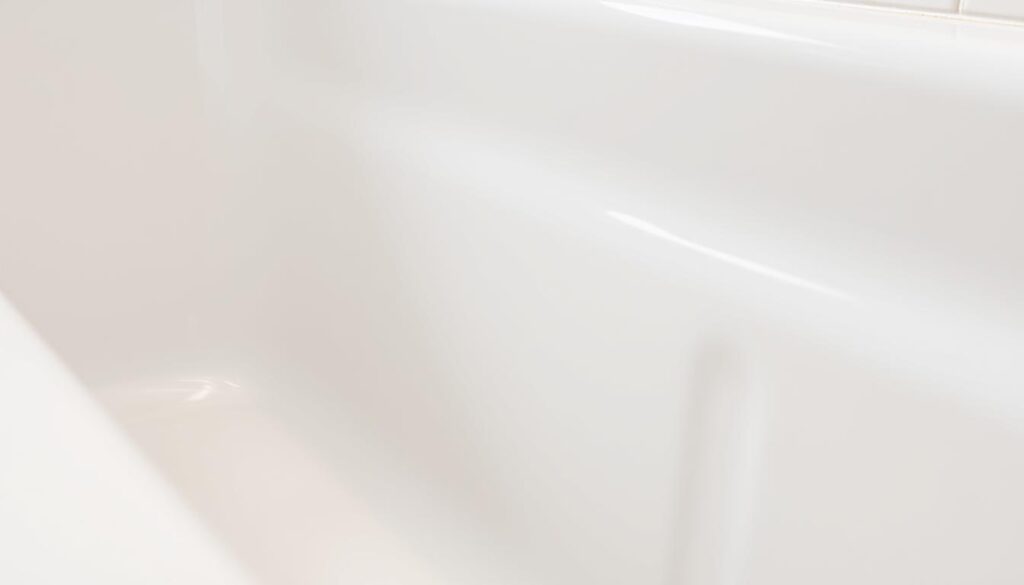
Is your bathroom’s sealant showing signs of wear and tear?
If you’re noticing mould, mildew, or water seeping behind your bath, it’s likely time to reapply a fresh layer of caulk. A well-maintained seal is crucial for preventing water damage and ensuring a hygienic bathroom environment.
A properly sealed bath not only enhances the aesthetic appeal of your bathroom but also protects it from potential leaks and structural damage. In this guide, we’ll walk you through the process of removing old caulk and applying a new layer to achieve a smooth, professional finish.
Key Takeaways
- Reapplying sealant is a simple yet effective way to maintain your bathroom’s integrity.
- A watertight seal prevents water from seeping behind the bath and causing damage.
- Regularly inspecting and maintaining your bath‘s caulk can help prevent costly repairs.
- Choosing the right sealant is crucial for a long-lasting finish.
- Properly sealing your bath enhances its appearance and functionality.
Essential Tools and Materials for Resealing Bath Caulking
Before you start resealing your bath caulking, it’s essential to gather the necessary tools and materials.

Tools for the Job
Utility Knife or Sealant Remover Tool
A utility knife or dedicated sealant remover tool is crucial for safely removing old caulking without damaging your bath surface or surrounding tiles.
Caulking Gun
A quality caulking gun provides the controlled pressure needed for even application of the new sealant.
Sealant Smoother Tool (Optional)
A sealant smoother tool helps achieve a professional finish without messy edges.
Necessary Materials
Bathroom Silicone Sealant
When selecting bath sealant, opt for a mould-resistant formula specifically designed for wet environments to ensure longevity and prevent discolouration.
Masking Tape
Masking tape is invaluable for creating clean, straight lines when applying new sealant, particularly helpful for DIY beginners.
Cleaning Supplies
Additional supplies like cleaning materials (white vinegar, anti-bacterial wipes) ensure the surface is properly prepared before application.
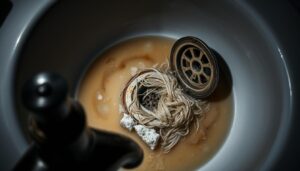
How to Remove Old Bath Sealant Properly
Before applying new sealant, it’s essential to remove the old bath sealant correctly. This step is crucial for ensuring a watertight seal and preventing future issues like mould growth.
Cutting and Removing the Old Sealant
To start, use a utility knife or a sealant removal tool to carefully cut and remove the old sealant. Work at a shallow angle to avoid scratching or damaging your bath tiles or the edge of the bath. Be thorough in this step to ensure a clean surface for the new sealant.
Techniques to Avoid Damaging Your Bath
When cutting away the old sealant, always use a sharp utility knife or dedicated sealant removal tool. Take your time to avoid rushing, which can lead to surface damage that’s impossible to repair without replacing fixtures.
Cleaning the Surface Thoroughly
After removing the bulk of the old sealant, clean the area with a damp cloth to remove any residual silicone. For stubborn residue, apply white vinegar to the area and let it sit for 10-15 minutes before scrubbing with a non-abrasive brush or cloth.
Dealing with Mould and Residue
If you have mould under the old sealant, an additional white vinegar clean would be advisable. White vinegar is effective for cleaning surfaces where mould has developed, as it removes residue and kills mould spores.
Using White Vinegar for Stubborn Residue
For particularly stubborn residue, use white vinegar to help break down the old sealant. This will ensure a clean surface for the new sealant, promoting a strong bond and preventing future issues.

By following these steps, you can ensure that your bath is properly prepared for new sealant, providing a clean and watertight seal.
Applying New Bath Sealant: Step-by-Step Guide
To achieve a watertight seal, follow this step-by-step guide on applying new bath sealant. Proper preparation is key to a successful application.
Preparation Techniques
Before applying the new sealant, prepare the area by cleaning it thoroughly. Apply masking tape along the edges of the joint to create clean lines and prevent excess sealant from spreading onto surrounding surfaces. Many professionals recommend filling the bath with water before applying sealant to weigh down the bath to its natural position when in use.
Applying Masking Tape for Clean Lines
Use masking tape to protect the surrounding areas from excess sealant. This simple step ensures a professional finish.
Filling the Bath with Water
Filling the bath with water before applying sealant helps prevent the seal from cracking later when weight is added. You can fill the bath at this stage or earlier, as long as it’s before the fresh silicone has started to set.
Sealant Application Process
Load the sealant gun with the silicone sealant cartridge. Cut the tip of the cartridge at a 45-degree angle, making sure the opening is the desired size for your application. Hold the caulk gun at a 45-degree angle and apply a steady bead of sealant along the joint.
Cutting the Nozzle at a 45-Degree Angle
Cutting the nozzle at a precise 45-degree angle controls the bead size and creates the optimal angle for application along the joint.
Applying Even Pressure and Movement
Apply consistent pressure and move at a slow, even pace to ensure a uniform bead thickness throughout the joint.
Working from Corner to Corner
Work in one continuous motion from corner to corner. Pay special attention to corners and the area behind taps, as these are common trouble spots where leaks can develop if not properly sealed.

Smoothing and Finishing Techniques
Smooth the sealant with a caulk smoothing tool or your finger. For the smoothest finish, run the tool or your wet finger along the bead immediately after application. To prevent the silicone from sticking to your skin, consider wrapping your finger in cling film or using a wet anti-bacterial wipe.
Using a Smoothing Tool vs. Your Finger
Both a smoothing tool and your finger can be effective for smoothing the sealant. Choose the method that works best for you.
Removing Masking Tape at the Right Time
Carefully remove the masking tape while the sealant is still wet to ensure clean lines. Pull the tape away at a 45-degree angle to create the cleanest edge without disturbing your newly applied sealant.
For more detailed guidance on sealing a bath, you can visit Plumbworld’s blog on how to seal a bath.
Aftercare and Maintenance Tips
Once you’ve resealed your bathtub, following the right aftercare procedures will ensure a long-lasting seal. Proper aftercare is essential for ensuring your newly applied bath sealant cures correctly and provides long-lasting protection against water damage.
Allow the new sealant to cure according to the manufacturer’s instructions, which may take several hours to a day. During this time, avoid using the bath or shower to prevent compromising the seal.
To maintain your bath sealant in optimal condition, regularly clean it with a mild bathroom cleaner. You can also use a solution of white vinegar and water to remove early-stage mould. Keeping the sealant dry after bathing by wiping down wet areas with a cloth will significantly reduce the likelihood of mould growth.
Most quality bathroom sealants will last between 3-5 years before needing replacement. Signs that indicate it’s time to reseal include discolouration, cracking, or separation from the bath or wall surface. Regular inspection is key to maintaining a watertight seal.