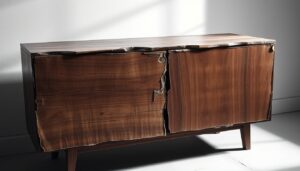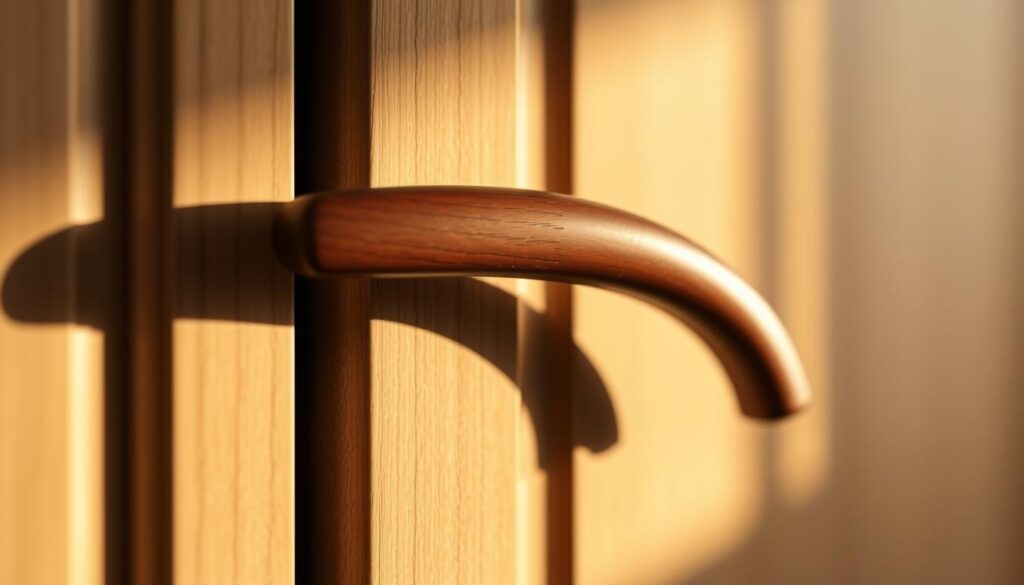
At first glance, the significance of wardrobe handles might be easily overlooked, given their seemingly minor role in the grand scheme of furniture design. However, delving deeper into the intricacies of interior aesthetics and functionality, one discovers the transformative potential these small components hold.
A loose or missing screw on your wardrobe handle can lead to further damage if not addressed promptly. This comprehensive guide will walk you through the process of identifying, sourcing, and fixing the issue with professional results, ensuring your furniture remains in good condition.
Key Takeaways
- Understand the importance of maintaining your wardrobe handles for both aesthetics and functionality.
- Learn how to identify and source the correct replacement screw for your wardrobe handle.
- Discover step-by-step instructions to replace the screw with minimal tools required.
- Find out how replacing a single screw can save you money compared to replacing the entire handle.
- Explore various types of wardrobes and handle configurations to ensure this guide is applicable to your specific situation.
Understanding Wardrobe Handle Screws and Their Importance
The type of screw used for your wardrobe handle can significantly impact the overall performance and appearance of your wardrobe door. Wardrobe handle screws are a crucial component that ensures the stability and functionality of your wardrobe handles.
Using the correct screw type and size is vital for maintaining the integrity of your wardrobe doors and preventing damage. The right screws can enhance the design and style of your wardrobe by ensuring handles sit flush and operate smoothly.
Common Types of Wardrobe Handle Screws
There are several types of screws used for wardrobe handles, including machine screws, wood screws, and specialty connector screws. The most common thread size is M4, with lengths ranging from 9mm to 50mm.
The screw head type, such as flat head or pan head, is also important for different handle styles. For instance, a flat head screw is often used for flush-mounted handles.
Why Proper Screws Matter for Functionality
Proper screws contribute to the overall stability and functionality of your wardrobe handles, preventing wobbling and potential damage. The material and finish of the screw, such as zinc or brass, are also significant for durability and aesthetic considerations.
Using the correct screw type for your specific wardrobe door material, whether it’s wood, MDF, or particle board, is essential for maintaining the handle’s functionality and the overall appearance of your wardrobe.
Essential Tools and Materials for Replacing a Missing Wardrobe-Handle Screw
The key to a successful wardrobe handle screw replacement lies in having the correct tools and materials at your disposal. To ensure a smooth and efficient process, it’s crucial to be well-prepared.
Required Tools for the Job
To replace a missing wardrobe handle screw, you’ll need a set of basic tools. A screwdriver set is essential, including both flathead and Phillips/Pozidriv screwdrivers to cater to different screw types. A measuring tape will help you accurately measure the screw size and handle fittings.

Choosing the Right Replacement Screw
Selecting the correct replacement screw is vital for a secure installation. You’ll need to identify the thread type and size of your missing screw. Common wardrobe handle screws are M4 or M5, so ensure you measure accurately. You can source replacement screws from hardware stores or furniture specialists.

Additional materials like wood filler, thread-locking compound, or screw anchors can be helpful for problematic installations. Creating a comfortable workspace with adequate lighting will also make the replacement process easier and more efficient.
Step-by-Step Guide to Replace Missing Wardrobe-Handle Screw
You can easily replace a missing wardrobe handle screw by following a few simple steps. This guide will walk you through the process, ensuring that your wardrobe handles are secure and functional.
Measuring and Identifying the Correct Screw Size
To begin, you need to measure and identify the correct screw size for your wardrobe handle. Measure the distance between the screw holes to ensure you purchase the correct replacement screw. If you’re unsure, consult the manufacturer’s instructions or visit a hardware store like Hiatt Hardware for guidance.
Removing Any Damaged Parts
Next, remove any damaged parts, including the old screw or broken handle. Use a screwdriver to carefully unscrew the remaining parts, taking care not to damage the wardrobe door or surrounding area. Hold the handle firmly to prevent it from falling.
Installing the New Screw Properly
Once you’ve removed the damaged parts, it’s time to install the new screw. Align the screw with the screw hole, ensuring it’s straight and even. Tighten the screw firmly, but avoid over-tightening, which can damage the wardrobe door or strip the screw hole. Check that the handle is secure and functions properly.
| Step | Description |
|---|---|
| 1 | Measure the distance between screw holes |
| 2 | Remove damaged parts, including old screws |
| 3 | Install the new screw, ensuring proper alignment |

Troubleshooting Common Issues When Replacing Handle Screws
Several common issues can arise when you are replacing the screw on your wardrobe or cabinet handle. Understanding these potential problems can help you prepare and find effective solutions.
Dealing with Stripped Screw Holes
Stripped screw holes are a common issue when replacing handle screws. To address this, you can use wood fillers to fill the damaged hole and then re-drill a new hole for the screw. Alternatively, installing screw anchors or dowels can provide a more secure hold for the screw.

Adjusting Handles That Don’t Align Properly
Misaligned handles can be frustrating. To fix this, ensure that the handle is properly positioned on the wardrobe door before tightening the screws. If the screw holes don’t match up, you may need to adjust the handle’s position slightly or use a different type of screw.
| Issue | Solution |
|---|---|
| Stripped screw holes | Use wood fillers or install screw anchors |
| Misaligned handles | Adjust handle position or use different screws |
| Loose handles | Tighten internal screws or replace damaged parts |
By addressing these common issues, you can ensure that your wardrobe handles are securely and properly installed.
Conclusion
A simple DIY task like replacing a wardrobe handle screw can breathe new life into your furniture and enhance your living space.
By following this step-by-step guide, you’ve learned how to replace a missing wardrobe handle screw, improving both the style and functionality of your wardrobe. This skill can be applied to other furniture pieces, such as kitchen cabinets, to maintain their aesthetic appeal and functionality.
Properly secured handles make a significant difference in both the appearance and functionality of your furniture pieces, contributing to the overall design and style of your room.