If you’re a homeowner in the UK, you’re likely familiar with immersion heaters providing hot water for your household needs. However, a faulty thermostat can cause your heater to malfunction, leading to either a complete loss of hot water or, more dangerously, scalding hot water from your taps.
From April 2004, UK regulations mandated that new and replacement immersion heater thermostats must include an overheat safety cut-out. This crucial safety feature prevents the water in your cylinder from overheating in case the thermostat fails.
Replacing your immersion heater thermostat is a relatively straightforward DIY task that can save you the cost of hiring a professional. This guide will walk you through identifying thermostat problems and the step-by-step replacement process.
Key Takeaways
- Understand the importance of replacing your immersion-heater thermostat for safety and compliance with UK regulations.
- Identify the signs of a faulty thermostat to know when replacement is necessary.
- Learn the step-by-step process for safely replacing your immersion-heater thermostat.
- Discover how to ensure your new thermostat meets UK safety standards.
- Save money by tackling this common household repair as a DIY project.
Understanding Immersion-Heater Thermostats
A well-functioning thermostat is essential for the optimal operation of your immersion heater. It regulates the temperature, ensuring that your water is heated efficiently while maintaining safety standards.
Signs Your Thermostat Needs Replacing
If your immersion heater is not functioning correctly, it may be a sign that the thermostat needs replacing. Look out for inconsistent water temperatures or the heater failing to turn off.
Types and Sizes of Immersion-Heater Thermostats
Immersion-heater thermostats come in various sizes (7, 11, 18, and 27 inches) and types, including rod-type and capillary thermostats. The correct size and type depend on the model and manufacturer of your immersion heater.
- Immersion-heater thermostats come in various sizes, typically 7, 11, 18, and 27 inches, and using the correct size is crucial.
- The size of your thermostat depends on the manufacturer, model, and type of your immersion heater.
- Modern thermostats include safety cut-out features that prevent dangerous overheating situations.
- There are different types of thermostats available, including rod-type and capillary thermostats, each suited to specific immersion heater models.
- Some thermostats feature adjustable temperature settings, while others have fixed settings.
- When purchasing a replacement, always check compatibility with your specific immersion heater model.
- UK regulations require thermostats to include overheat protection features for safety compliance.
Tools and Safety Precautions
To ensure a safe and successful replacement, you’ll need to gather essential tools and understand the safety regulations. This preparation will help you avoid potential hazards associated with electrical and water systems.
Essential Tools for the Job
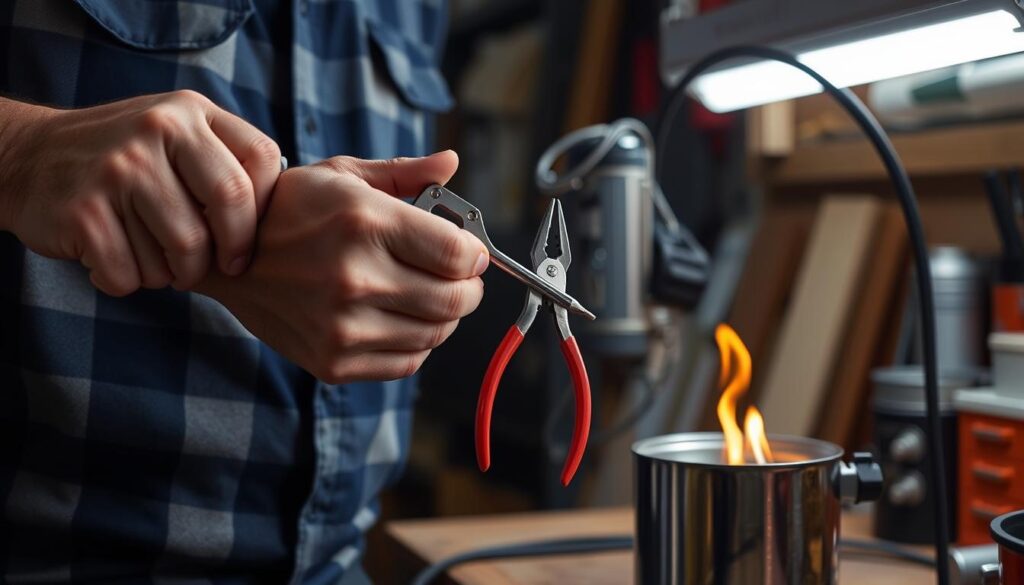
For a successful immersion heater replacement, you’ll need a few essential tools. These typically include a screwdriver, pliers, and possibly a multimeter to check electrical connections.

UK Safety Regulations for Immersion Heaters
The UK has specific safety regulations regarding immersion heater thermostats. Since April 2004, all new and replacement immersion heater thermostats must incorporate an overheat safety cut-out mechanism. This feature prevents water from overheating in case the primary thermostat fails, thus reducing the risk of scalding.
- UK regulations require all immersion heater thermostats to have an overheat safety cut-out.
- This safety feature prevents water from overheating, reducing scalding risks.
- Never install an old thermostat without this safety feature.
- Modern thermostats comply with these safety standards while maintaining energy efficiency.
- The Building Regulations specify that hot water from taps should not exceed 48°C.
- Professional certification may be required for certain electrical work.
- Always purchase replacement thermostats from reputable suppliers.
How to Replace Immersion-Heater Thermostat
The process of replacing an immersion-heater thermostat involves several key steps. Before you start, ensure you have the necessary tools and have taken the required safety precautions.
Removing the Protective Cover
First, you need to remove the protective cover of your immersion heater. This usually involves unscrewing a fixing screw or nut. Once removed, you will have access to the thermostat.
Disconnecting the Old Thermostat
Carefully disconnect the old thermostat from the wiring. It’s a good idea to take a photo of the wiring before you disconnect it, to make reconnecting easier.

Installing the New Thermostat
Take your new thermostat and connect it to the wiring, following the same configuration as before. Ensure all connections are secure.
Setting the Correct Temperature
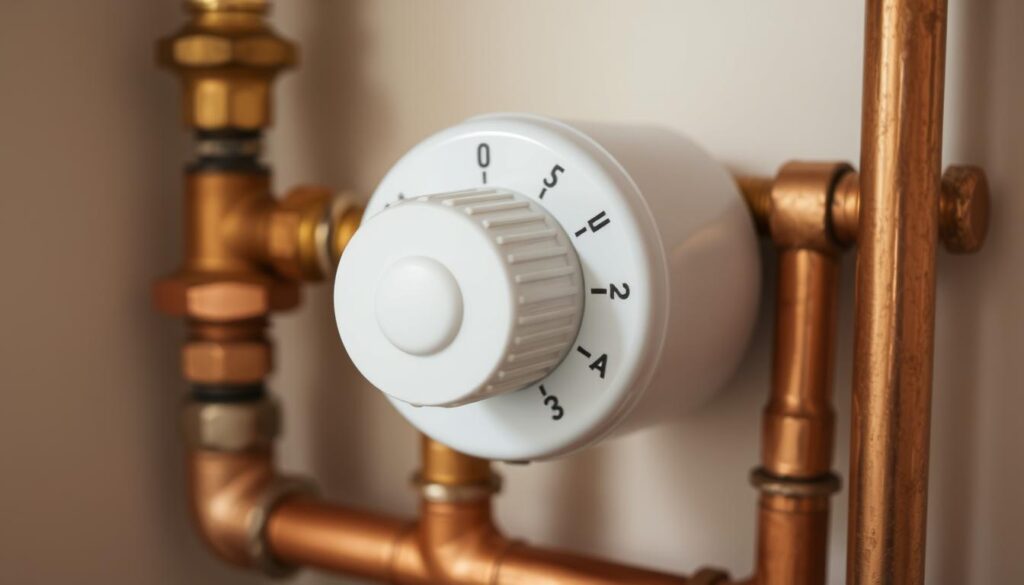
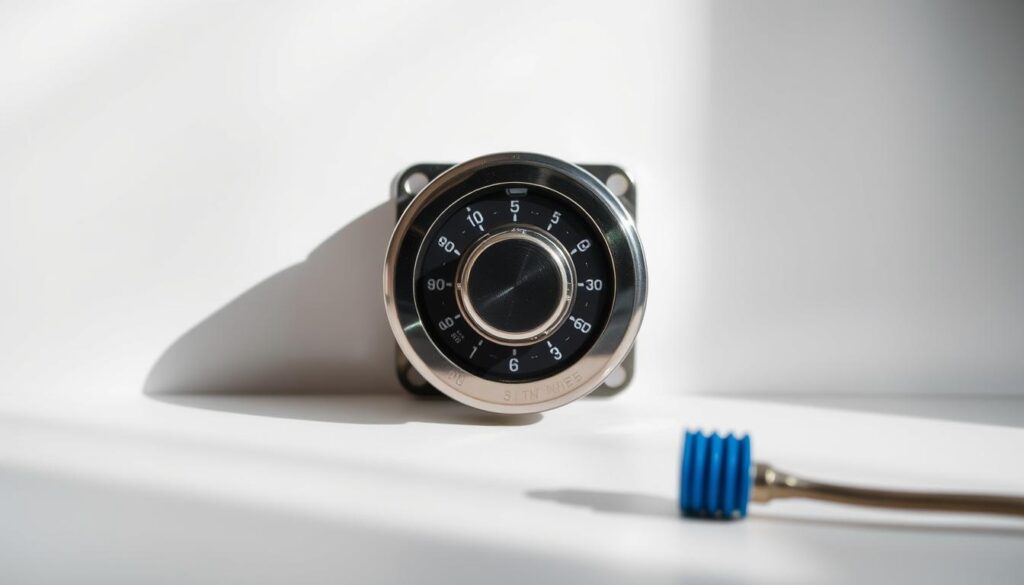
Before replacing the top cover, set the thermostat using a small screwdriver. Use the same setting as on the removed thermostat, or if in doubt, set it to 60°C. Most immersion heater thermostats have a simple dial or adjustment screw for temperature control.
| Temperature Setting | Implications |
|---|---|
| Too High | Wastes energy, increases scalding risk |
| Too Low | May not provide sufficiently hot water, increases bacterial growth risk |
| 60°C | Generally recommended as safe and efficient |
After setting the temperature, replace the protective cover and secure it with the fixing screw or nut. Your water heater should now be functioning correctly with its new thermostat.
Conclusion
A correctly functioning immersion-heater thermostat is crucial for both safety and energy efficiency in your home. By following the steps outlined in this guide, you can ensure a safe and effective replacement process.
Remember to prioritise safety when working with electrical components connected to water systems. Using the correct replacement thermostat that complies with UK safety regulations is essential. Regular maintenance of your immersion heater can help extend its lifespan and improve energy efficiency.


