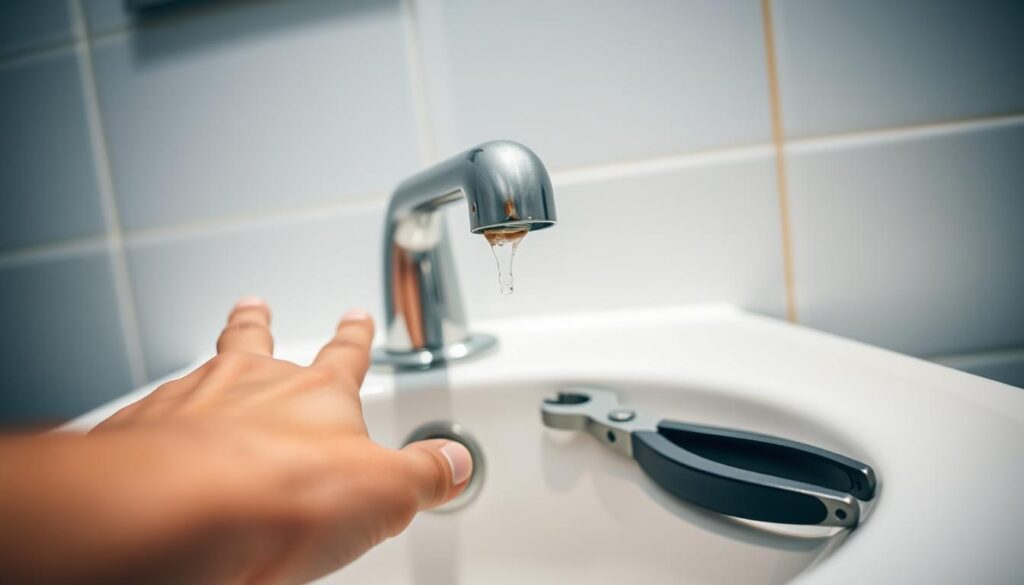
Are you tired of the constant drip-drip-drip of a leaky faucet in your home? Not only is it annoying, but it also wastes water and increases your utility bills over time. Fortunately, fixing this issue is often a straightforward DIY project that can be completed with the right guidance.
A faucet leak can be caused by various factors, including worn-out washers or damaged O-rings. By understanding the cause of the leak, you can take the necessary steps to repair it. With a little patience and the right tools, you can restore your faucet to its proper working condition and save water in the process.
Key Takeaways
- Identify the cause of the leak in your faucet.
- Learn how to diagnose different types of faucet leaks.
- Understand the steps to repair a leaky faucet.
- Discover the tools needed to fix a faucet leak.
- Save water and reduce your utility bills.
Understanding the Impact of a Leaky Faucet
Leaky faucets are more than just a nuisance; they have significant environmental and financial implications. A leaky faucet can waste a substantial amount of water, leading to increased utility bills and potential damage to your home.
Why Fixing Leaks Matters: Water and Money Savings
Fixing a leaky faucet is a simple yet effective way to save water and money. A single dripping faucet can waste up to 20,000 litres of water per year. By addressing leaks promptly, you can prevent potential water damage and save time on future repairs.
Common Signs of a Problematic Faucet
Common signs that your faucet needs repair include visible dripping from the spout and decreased water pressure. Early intervention can prevent more serious issues that might require extensive repairs or complete faucet replacement.
Essential Tools for Repairing a Leaky Faucet

To fix a leaky tap, you’ll need a set of essential tools that make the job easier. The right equipment will help you complete the task efficiently and effectively.
Basic Tools Every DIYer Needs
Before starting your DIY project, ensure you have the necessary tools. These include an adjustable wrench and screwdrivers.
Adjustable Wrench and Screwdrivers
An adjustable wrench is crucial for loosening and tightening nuts and connections during faucet repair. Both Phillips and flat-head screwdrivers will be needed for removing handles and accessing internal components.
Replacement Parts: Washers and O-rings
Replacement parts such as washers and O-rings should be purchased before beginning your repair. Taking the old parts to the hardware store ensures you get the exact fit needed.
Optional Specialised Tools
Some additional tools can make the job easier. A basin wrench is a specialised tool that makes it much easier to reach and loosen the nuts that secure the faucet to the sink.
Other helpful tools include plumber’s tape for sealing threads and plumber’s grease for lubricating O-rings. Having these tools on hand will make your DIY project more manageable.
Preparing for Your Faucet Repair
Before diving into faucet repair, preparation is key to a successful and stress-free experience. To ensure a smooth process, it’s essential to take a few preparatory steps.
Shutting Off the Water Supply
First, shut off the water supply using the isolation valves typically located under the sink. If these aren’t present, you’ll need to turn off the main water supply to your home. Open the faucet to release any remaining water pressure in the pipes and drain excess water.
Creating a Clean Workspace
Arrange a clean workspace to lay out faucet components in order of removal. This organisation will make reassembly easier. Consider taking photos at each stage of disassembly to serve as a visual reference.
Protecting Your Fixtures and Drain
Place a towel in the sink basin and plug the drain to prevent small parts from falling down the drain during the repair process. 
By following these steps, you’ll be well-prepared to tackle the faucet repair with confidence.
Identifying Your Faucet Type
Understanding the type of faucet you’re dealing with is essential for a successful repair. Different faucets have unique mechanisms, and identifying yours is crucial before you begin.
Compression Faucets: The Traditional Design
Compression faucets are one of the oldest faucet types, featuring separate handles for hot and cold water. They rely on rubber washers that press against a valve seat to control water flow. Over time, these washers wear out, causing leaks.
Ceramic Disc Faucets: Modern and Durable
Ceramic disc faucets are modern and highly durable, using two ceramic discs that slide against each other to control water flow. This design requires less maintenance than other types of faucets.
Ball-Type Faucets: Single-Handle Operation
Ball-type faucets have a single handle that moves over a ball-shaped mechanism to control both water temperature and flow. This type is commonly found in kitchen sinks and involves a complex valve system.
Cartridge Faucets: Easy to Repair
Cartridge faucets contain a movable stem cartridge that controls water flow. They can be either single or double-handled and are relatively easy to repair when leaks occur, as they often just need a new cartridge to seal against the valve seat.
Step-by-Step Guide to Repairing a Leaky Faucet
To stop the drip and save water, follow this step-by-step guide to repairing your leaky faucet. The process involves several key steps that, when followed carefully, can help you fix the issue efficiently.
Disassembling the Faucet Handle
Begin by removing any decorative caps on the faucet handle, typically pried off with a flat-head screwdriver. This exposes the handle screw underneath. Use the appropriate screwdriver to remove the handle screw, then gently pull the handle off the stem. Applying penetrating oil can help loosen stubborn handles without causing damage.
Inspecting for Damaged Components
With the handle removed, use an adjustable wrench to loosen the packing nut, which will expose the stem that needs to be removed from the valve body for inspection. Carefully inspect all components for signs of wear or damage, paying particular attention to washers, O-rings, and valve seats, which are common culprits for leaks.
Replacing Washers and O-rings
When replacing washers and O-rings, ensure you have exact-fit replacements and apply a small amount of plumber’s grease to help create a watertight seal and reduce future wear.
Reassembling Your Faucet Properly
Reassemble the faucet in the reverse order of disassembly: replace the washer/O-ring, reinsert the stem, tighten the packing nut (but not too tight), replace the screw, and finally reattach the handle.
Testing Your Repair
After reassembly, slowly turn the water supply back on and test the faucet by operating it through its full range of motion, checking carefully for any signs of leaking around the spout, handle, or base.
Troubleshooting Common Faucet Problems
Understanding where the leak is coming from is key to repairing your faucet successfully. Different leaks indicate different problems, and identifying the source is the first step towards a fix.
Leaks from the Spout
Leaks from the spout are often due to worn-out washers or valve seats that need replacement. This issue is common in compression faucets where the rubber washer deteriorates over time.
Leaks from Under the Handle
When water leaks from under the handle, the problem usually lies with a worn O-ring or packing around the stem. Replacing these parts can restore the watertight seal.
Leaks from the Base of the Faucet
Base leaks often indicate damaged or improperly installed O-rings between the spout and the faucet body. Inspecting and replacing these O-rings can resolve the issue.
Low Water Pressure Issues
Low water pressure can result from mineral buildup in the aerator or valve seats. Removing and cleaning these components with vinegar can often restore proper water flow.
| Leak Location | Common Cause | Fix |
|---|---|---|
| Spout | Worn washer or valve seat | Replace washer or valve seat |
| Under Handle | Worn O-ring or packing | Replace O-ring or packing |
| Base of Faucet | Damaged O-rings | Inspect and replace O-rings |
If your faucet continues to leak after replacing washers and O-rings, the valve seat may be corroded or pitted. It may need to be cleaned with an abrasive pad or replaced entirely for a permanent repair.
When to Call a Professional Plumber
Knowing when to call a professional plumber can save you time, money, and further damage to your home’s plumbing system. While many faucet repairs are do-it-yourself-friendly, some situations may require professional assistance.
Signs of More Serious Plumbing Issues
If your troubleshooting leads to complex problems or if other sudden complications occur, it may be time to call a professional plumber. Extensive corrosion or damage to the faucet body or supply lines may need professional attention.
- If your DIY repair attempts have been unsuccessful after multiple tries, it may indicate deeper issues within your plumbing system, necessitating a call to a professional plumber.
- If you discover issues beyond the faucet itself, such as leaking pipes under the sink or water damage to surrounding cabinetry, a professional plumber should be consulted.

Complex Faucet Systems
Complex faucet systems, particularly high-end designer models or those with electronic components, may need professional servicing to avoid voiding warranties or causing further damage.
| Situation | Why Call a Professional |
|---|---|
| Unsuccessful DIY Repairs | Deeper plumbing issues may be present |
| Complex Faucet Systems | Avoid voiding warranties and further damage |
| Extensive Corrosion or Damage | Requires specialised tools and expertise |
When you lack the necessary tools or confidence to complete the repair safely, it’s more cost-effective to call a plumber than to risk causing additional damage to your home’s plumbing system.
Conclusion
By following a few simple steps, you can fix your leaky faucet and reduce water waste. Repairing a leaky faucet is a manageable DIY project that can save you money on both water bills and professional plumbing services. To start, ensure you turn off the water supply before beginning any repair. Regular maintenance, including prompt repair of leaks and periodic checking of washers and O-rings, can extend the lifespan of your faucet. For more detailed guidance, you can refer to resources like fixing a dripping tap. If difficulties arise, consider consulting a professional plumber.