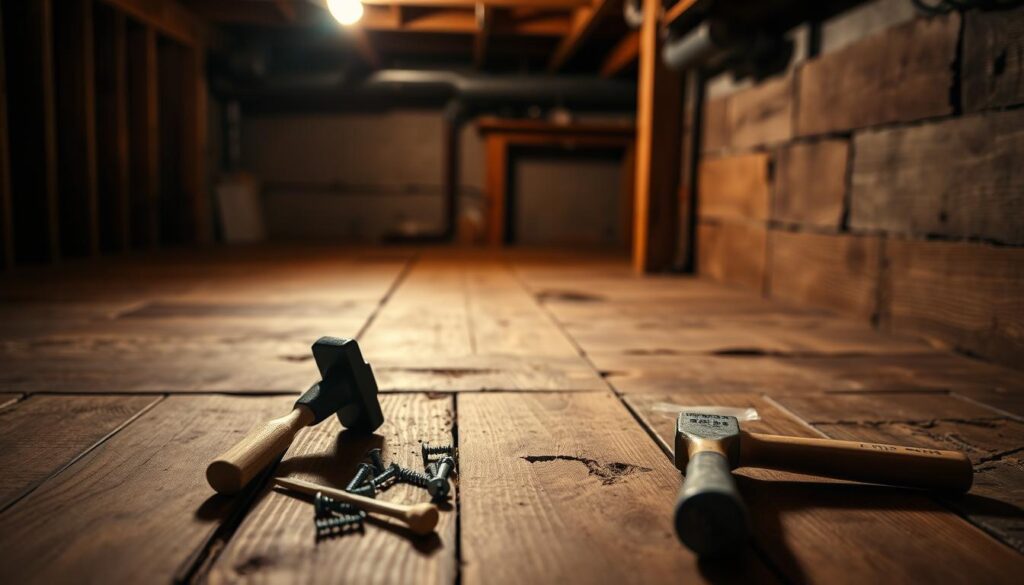
You’re not alone in dealing with squeaky floors. It’s a common issue that can arise from the natural settling of a house or wear and tear over time. The good news is that you can address this problem effectively by accessing the subfloor from below, typically from your basement.
Understanding the relationship between your floor joists, subfloor, and finished flooring is crucial. Movement between these components can create those irritating squeaks. By fixing the issue from beneath, you can avoid damaging your finished floor.
Key Takeaways
- Effective methods to eliminate floor squeaks by addressing root causes.
- The importance of understanding the relationship between floor components.
- Advantages of repairing squeaky floors from the basement.
- Techniques for fixing squeaky floors, including shims and screws.
- Preventing further damage by fixing the subfloor from below.
Understanding the Causes of Squeaky Floors
To effectively address squeaky floors, it’s essential to comprehend the root causes of the issue. Squeaky floors are often the result of various factors, including loose floorboards, subfloor movement, and gaps between joists and the subfloor.
Loose Floorboards and Subfloor Movement
When floorboards become loose, they tend to rub against each other or the underlying subfloor, causing annoying squeaks. This movement is typically due to the natural expansion and contraction of wood due to changes in humidity and temperature.
Gaps Between Joists and Subfloor
Gaps between floor joists and the subfloor can create vertical movement, resulting in squeaking when pressure is applied. Over time, the nails holding the floorboards in place can loosen, creating gaps that lead to movements.
Warped or Damaged Wood
Warped or damaged wood, whether in the joists, subfloor, or floorboards, can create uneven surfaces and spaces that lead to floor movement and squeaks.
| Cause | Description | Effect |
|---|---|---|
| Loose Floorboards | Floorboards rub against each other or subfloor | Squeaking noise |
| Gaps Between Joists and Subfloor | Vertical movement due to gaps | Squeaking when pressure applied |
| Warped or Damaged Wood | Uneven surfaces and spaces | Floor movement and squeaks |
Understanding these causes is crucial to addressing the issue effectively. By identifying the specific cause of your squeaky floors, you can take targeted steps to repair the problem from the basement.
Tools and Materials You’ll Need
Gathering the correct tools and materials is a crucial step in fixing squeaky floors from the basement. To ensure a successful repair, you’ll need to have the right equipment on hand.
Essential Tools for the Job
You’ll require a range of tools, including a cordless drill with various drill bits, which will be essential for securing the subfloor to joists. Other necessary tools include a circular saw, utility knife, tape measure, and safety glasses.

It’s also vital to have proper safety equipment, such as a half mask respirator, to protect yourself when working in basement environments that may contain dust or mould.
Materials Required
The materials needed for reinforcing a squeaky subfloor include 2×4 and 2×8 lumber for blocking and reinforcement, wood screws of various lengths, wooden shims, and construction adhesive.

Having these tools and materials ready will enable you to effectively reinforce your subfloor and eliminate squeaks.
Locating the Source of Floor Squeaks
Identifying the source of squeaks in your floor is essential for a successful repair. To do this, you’ll need to employ a few methods that help pinpoint the exact location and cause of the squeak.
The Walking and Listening Method
One effective technique is the “walking and listening” method. Have someone walk on the floor above while you listen from the basement. This helps you precisely pinpoint the source of the squeaks. As you listen, mark the exact locations of the squeaks on the basement ceiling or joists using chalk or tape for easy reference during repairs.

Checking for Gaps and Loose Components
Visually inspect the area for gaps between the joists and subfloor using a flashlight, paying special attention to areas where squeaking is most pronounced. Check for loose nails, popped screws, or other fasteners that may have worked loose over time, allowing movement in the floor structure.
Assessing Moisture Issues
Humidity can cause wood to warp or expand, creating pressure points and gaps that lead to squeaking. Use a moisture meter to assess the moisture levels in the subfloor and wooden floorboards. This helps identify potential causes of squeaky floors and informs your repair strategy.
By thoroughly investigating all potential causes, you can ensure that you address the actual source of the problem, rather than just its symptoms.
How to Reinforce Squeaky Subfloor from Basement
Squeaky floors can be a nuisance, but reinforcing the subfloor from below can offer a lasting solution. When you have access to the basement or crawl space beneath the squeaky floor, you can directly address the root cause of the squeak.
Accessing the Subfloor Safely
Before you start, ensure safe access to your basement or crawl space. Clear the area beneath the squeaky floors and set up proper lighting to illuminate the underside of the subfloor clearly. This will help you navigate between floor joists and around any existing insulation, plumbing, or electrical wiring that might be present.
Examining the Joist and Subfloor Connection
Once you have access, thoroughly examine the connection between the floor joists and the subfloor. Look for gaps, loose fasteners, or signs of moisture damage. Having someone walk on the floor above while you observe from below can help identify specific problem areas.
Identifying Problem Areas
As you inspect, identify the type of movement causing the squeak. Differentiate between vertical gaps between joists and subfloor versus lateral movement between floorboards. Mark problem areas clearly using chalk or painter’s tape so you can easily locate them when applying your chosen fix.
It’s also crucial to recognise when a squeaky floor might indicate more serious structural issues that require professional attention rather than DIY solutions. By understanding the cause and applying the appropriate fix, you can effectively fix squeaky floors and enjoy a quieter home.
Using Shims to Fill Gaps
Using shims to fill gaps is a simple yet effective technique for reinforcing a squeaky subfloor from the basement. This method involves inserting thin wooden shims into the gaps between the floor joists and the subfloor to prevent movement and silence squeaks.
Selecting the Right Shims
To effectively fill gaps, you need to select the right shims. Wooden shims come in various thicknesses, and choosing the correct size is crucial for filling the gaps without causing further issues. For floor repair, it’s essential to pick shims that match the size of the gaps you’re dealing with.
Proper Shim Installation Technique
When installing shims, apply carpenter’s glue to the shim before gently pushing it into the gap. Avoid hammering or forcing the shim, as this could raise the subfloor and create a hump in the floor above. The goal is to fill the void and prevent movement.
When Not to Use Shims
While shims are effective for filling small gaps, they are not suitable for all situations. For instance, if the joists are severely warped or the gaps are too large, shims may not provide a lasting solution. In such cases, alternative methods like using construction adhesive or installing support blocks may be more appropriate.
Securing the Subfloor with Screws
When it comes to fixing squeaky floors, one of the most effective approaches is to screw the subfloor firmly in place. This method provides a more permanent solution compared to other temporary fixes. To achieve this, you’ll need to understand the importance of selecting the right screws and how to install them correctly.
Choosing the Correct Screw Length
Selecting the correct screw length is crucial to avoid penetrating through your finished flooring, which could cause more damage than the original squeak. To determine the appropriate screw length, you need to measure your total floor thickness, including both the subfloor and the finished flooring. A good rule of thumb is to choose screws that are 1/4 inch shorter than the total thickness. You can measure the floor thickness by removing a floor register or by drilling a small pilot hole in an inconspicuous area.
Drilling Pilot Holes Safely
To avoid splitting the wood, it’s essential to drill pilot holes before driving in the screws. Use a 1/8-in. drill bit and mark the desired drilling depth on the bit with masking tape to prevent accidental penetration through the finished floor surface. Drill the pilot hole about 1/2 inch less than the thickness of the entire floor.
Proper Screw Placement and Spacing
Space your screws approximately every 6 inches in the area of the squeak. It’s advisable to have someone stand on the floor above while you drive the screws to ensure the gap is closed completely before the screw is tightened. Drive No. 8 wood screws flush to the subfloor, making sure not to sink the head too deeply, which could cause the screw point to break through the finished floor surface.
| Screw Length | Pilot Hole Depth | Screw Spacing |
|---|---|---|
| 1/4 inch less than total floor thickness | 1/2 inch less than total floor thickness | Approximately every 6 inches |
By following these steps and using the correct materials, you can effectively secure your subfloor and eliminate squeaky floors. Remember to work systematically across the squeaky area, testing for remaining squeaks after each section is secured.
Using Construction Adhesive for Long Gaps
For extensive gaps, using construction adhesive is a more effective solution. When you encounter long gaps running the length of a floor joist, installing multiple shims is impractical. Instead, filling these gaps with a thick bead of fast-set construction adhesive is the better approach.
Selecting the Right Adhesive
To effectively repair squeaky floors, you need to select a construction adhesive specifically designed for subfloor applications. This type of adhesive provides both flexibility and strength, ensuring long-term results. Look for products that are formulated for bonding wood and are compatible with your subfloor material.
Application Techniques
Using a caulking gun, force the adhesive directly into the space between the top of the joist and the underside of the subfloor. It’s crucial to check for gaps on both sides of the joist and fill them accordingly. Having someone walk on the floor above immediately after application helps press the subfloor against the adhesive while it’s still wet.
Drying Time and Effectiveness
Construction adhesives have varying drying times, typically ranging from a few minutes to several hours. It’s essential to follow the manufacturer’s instructions and test the effectiveness of your repair after the adhesive has fully cured. This ensures that the subfloor is securely bonded to the joists, eliminating the squeak.
Installing Support Blocks Between Joists
One effective way to quiet squeaky floors is by adding support blocks between the joists. This method involves installing solid blocking between the floor joists to provide additional support to the subfloor, thereby eliminating squeaks.

Measuring and Cutting Blocking
To start, you need to measure the space between the joists accurately. Cut the blocking from the same size dimensional lumber as the joists. For instance, if your floor joists are 2×8, you should cut your blocking from 2×8 lumber. It’s essential to cut the blocks to fit snugly, but not too tightly, between the joists to avoid distorting the floor structure.
Securing Blocks to Joists
Once you have cut the blocks, spread a bead of construction adhesive along the top edge of each block. Then, evenly space the blocks along the length of the joists and slide each block up tight against the underside of the subfloor. Secure the blocking with 3-inch screws driven through the sides of the joists and into the ends of the blocking. For more information on using construction adhesive, you can visit Popular Mechanics for additional tips.
Creating a Solid Support System
By installing support blocks between the joists, you not only eliminate squeaks but also strengthen the entire floor structure. To test the effectiveness of your blocking installation, have someone walk on the floor above while you observe any remaining movement from below. The key benefits of this method include:
- Accurate measurement and cutting of blocking to fit snugly between joists.
- Using the same dimensional lumber for blocking as the original joists.
- Applying construction adhesive for a solid bond.
- Even spacing of blocks for maximum support.
- Securing blocks with screws for a rigid connection.
By following these steps, you can effectively fix squeaky floors and enhance the overall stability of your floor.
Fixing Warped Joists with Sister Boards
Fixing squeaky floors sometimes involves repairing warped joists with sister boards. Warped joists can cause significant issues, including squeaks and uneven flooring. To address this, you need to identify the warped joists and then take corrective action.
Identifying Warped Joists
To identify warped joists, inspect the joists for any signs of twisting, warping, or shrinkage. Check for gaps between the joist and the subfloor, as these can indicate warping. If the wood was damp during installation, it may have shrunk or warped over time, leading to squeaky floors.
Measuring and Cutting Sister Boards
Once you’ve identified the warped joists, measure and cut sister boards to reinforce them. Typically, a 2×4 Douglas fir board is used for this purpose. Ensure the sister board is long enough to span the warped section and provide adequate support.
Attaching Sister Boards Securely
Apply a continuous bead of construction adhesive along the top edge of the sister board. Press it flat against the joist and slide it up tight against the subfloor. Use 3-inch screws spaced about 8 inches apart to secure the sister board to the joist. This will help eliminate squeaks and provide a solid floor.
Conclusion: Maintaining Squeak-Free Floors
The key to preventing squeaky floors lies in proper installation, quality flooring materials, and regular maintenance. To keep your floors quiet and stable, it’s crucial to understand that wood naturally expands and contracts with moisture changes, making humidity control vital.
Regularly inspecting your basement ceiling can help identify potential issues before they become annoying squeaks. Different flooring materials, whether hardwood or carpet, require specific maintenance to prevent squeaks. By addressing any water leaks or moisture issues promptly and maintaining a clean and dry floor, you can enjoy a squeak-free home.
Some movement in wooden floors is natural, but excessive movement can be prevented with proper maintenance. If squeaks persist, it may be time to consider professional help. By following these tips, you can maintain a quiet and stable floor for years to come.