Understanding how to accurately read the bubble in a spirit level is crucial for ensuring your work is precise and professional. A spirit level is a fundamental tool used to determine if a surface is perfectly horizontal or vertical.
The accuracy of your measurements depends on correctly interpreting the bubble’s position within the vial. Misinterpretation can lead to significant errors in your projects, whether you’re hanging a picture frame or working on major construction.
Mastering the skill of reading spirit levels will significantly improve your results. This guide will walk you through the process, covering the basics and beyond, to ensure you achieve precise measurements every time.
Key Takeaways
- Understand the components of a spirit level and their functions.
- Learn to correctly interpret the bubble’s position within the vial.
- Discover techniques to avoid common mistakes that lead to inaccurate readings.
- Improve your project’s accuracy with professional spirit level reading skills.
- Apply both basic and advanced techniques to suit your project’s needs.
Understanding Spirit Levels and Their Components
To achieve precise results in construction and carpentry, it’s essential to understand the tools you’re using, starting with the spirit level. A spirit level is a critical tool used to determine if a surface is perfectly horizontal or vertical. Understanding its components and types is vital for accurate measurements.
What Is a Spirit Level?
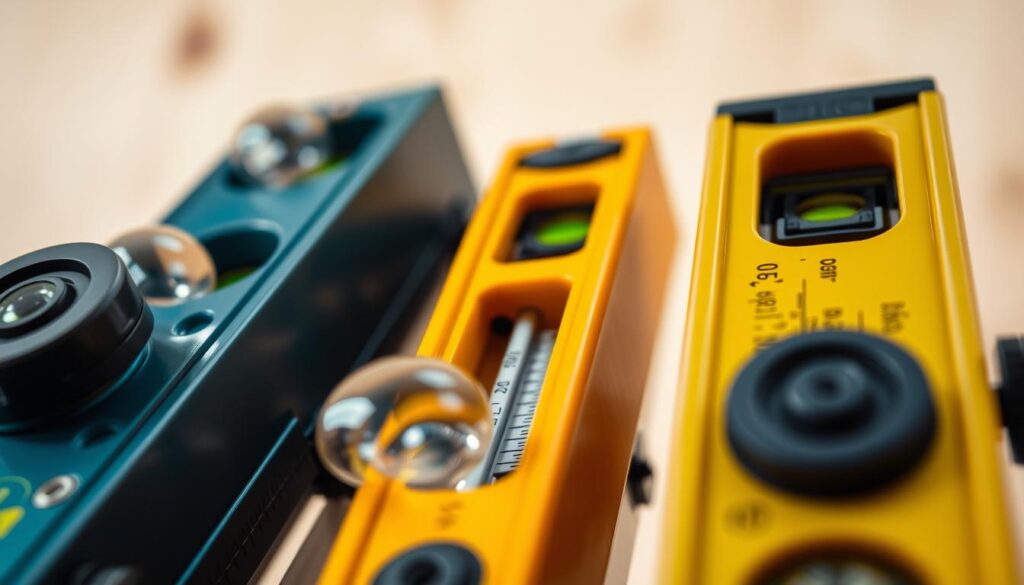
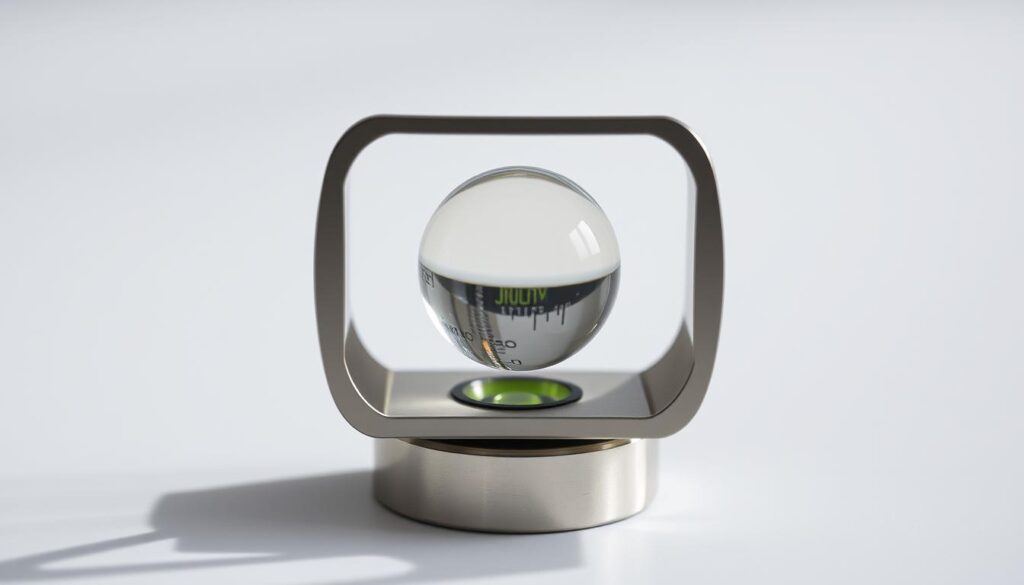
A spirit level, also known as a bubble level, is an instrument designed to indicate whether a surface is level or plumb. It typically consists of a liquid-filled tube with a bubble inside. When the bubble is centered between two lines, the surface is level or plumb, depending on the orientation of the level.
Anatomy of a Spirit Level
The anatomy of a spirit level includes the level vial, which contains the liquid and bubble, and the frame, which houses the vial. The frame can vary in shape and size, depending on the type of level. Some spirit levels also include additional features such as diagonal vials for measuring 45-degree angles.

Types of Spirit Levels for Different Applications
There are various types of spirit levels designed for specific applications. These include carpenter’s levels, torpedo levels, mason’s levels, line levels, post levels, magnetic levels, and digital electronic levels. Each type has its unique features and is suited for different tasks.
| Type of Spirit Level | Description | Typical Use |
|---|---|---|
| Carpenter’s Level | Ranging from 2 to 6 feet long, versatile and suitable for general construction work. | General construction, measuring various object sizes. |
| Torpedo Level | Compact, 6-12 inches long, often includes a diagonal vial for 45-degree measurements. | Ideal for working in tight spaces. |
| Mason’s Level | 4 feet or longer, designed for bricklaying and masonry work. | Bricklaying, masonry work, spanning multiple bricks or blocks. |
Understanding the different types of spirit levels and their applications is crucial for achieving accurate results in your construction or carpentry projects. By selecting the right tool for the job, you can ensure that your work is level, plumb, and precise.
How to Read Spirit-Level Bubbles Correctly
To ensure accuracy in your work, it’s essential to understand how to correctly interpret the bubbles in a spirit level. A spirit level is a crucial tool for determining if a surface is perfectly level or plumb, and the bubble inside the vial is the key indicator.
Reading Horizontal (Level) Measurements
When reading horizontal measurements, the bubble should be centred between the two lines in the vial. This indicates that the surface is level. Some spirit levels have additional markings for specific slopes, such as a 2% grade, which is useful for projects like rain gutters or patios that require a slight slope for drainage.

Reading Vertical (Plumb) Measurements
For vertical measurements, the principle is the same: the bubble should be between the lines to confirm that the surface is plumb. It’s crucial to hold the level steady and ensure it’s not tilted, as this can give a false reading. Some levels are designed with a sturdy construction to minimize this risk.
Understanding Angled Measurements
Many spirit levels include a vial for measuring angles, such as 45°. When using these vials, the bubble should be centred to confirm the correct angle. For precise angle measurements beyond standard vials, consider using a digital level that can display exact degrees. This is particularly useful for complex projects that require multiple angled surfaces.
In some cases, you may actually want an unlevel reading, such as when measuring rain gutters or a patio on the horizontal plane, which must have a slight slope to drain rain properly. Some levels have two outer lines in the vial, which measure the 2-percent slope, or “grade,” necessary for these kinds of projects.
Preparing for Accurate Measurements
Accurate measurements start with a well-prepared spirit level and work environment. Ensuring your tools and workspace are ready is crucial for reliable results.
Cleaning Your Spirit Level and Work Surface
Before use, clean your spirit level and the surface you’re measuring. Dirt, dust, or debris can affect the bubble in the vial, leading to inaccurate readings. Use a soft cloth to wipe down both the level and the surface to remove any obstructions.
Proper Positioning Techniques
Positioning your level correctly is vital. Place it in the center of the object you’re measuring. For horizontal surfaces, ensure the level’s measuring edge is in full contact with the surface. For vertical surfaces, press the level firmly against the surface. If the object is wider or taller than your level, consider using a longer level or a straightedge to achieve accurate results.
- Position your level in the center of the object for the most representative reading.
- For horizontal surfaces, ensure full contact between the level’s edge and the surface.
- For vertical surfaces, apply consistent pressure to avoid tilting the level.
- For larger objects, use a longer level or take multiple readings.
Testing and Ensuring Spirit Level Accuracy
To guarantee accurate measurements, it’s essential to test your spirit level regularly. A spirit level’s accuracy is crucial for ensuring that surfaces are perfectly horizontal or vertical, which is vital for various construction and DIY projects.
How to Check Your Spirit Level for Accuracy
Checking your spirit level’s accuracy involves a few simple steps. First, place the spirit level on a flat surface and note the position of the bubble. Then, rotate the level 180 degrees and check the bubble’s position again. If the bubble is not in the same position relative to the guidelines, your level may be inaccurate.
Another method is to place the spirit level on a surface, mark the position of the bubble, and then flip the level over and place it on the same surface. If the bubble is not centered between the guidelines when flipped, it indicates that the level needs calibration or adjustment.
When to Calibrate or Replace Your Spirit Level
If you find that your spirit level is inaccurate, you may need to calibrate or replace it. Calibration involves adjusting the level to ensure that it provides accurate readings. However, not all spirit levels can be calibrated, and some may need to be replaced entirely.
It’s recommended to replace your spirit level if it’s old, damaged, or if calibration does not resolve the accuracy issue. Using an inaccurate spirit level can lead to incorrect measurements, which can be costly and time-consuming to rectify.
| Condition | Action |
|---|---|
| Inaccurate readings | Calibrate or replace |
| Old or damaged | Replace |
| Calibration doesn’t resolve issue | Replace |
Common Mistakes That Affect Accuracy
Several common mistakes can affect the accuracy of your spirit level readings. These include reading the bubble from an angle, failing to clean the level or surface, using a level that’s too short, pressing too hard on the level, misinterpreting the bubble’s position, taking measurements on unstable surfaces, and forgetting to test the level’s accuracy regularly.
- Reading the bubble from an angle can create parallax errors.
- Failing to clean the level or surface can introduce errors due to debris.
- Using a level that’s too short can lead to inaccuracies.
- Pressing too hard can flex the level, affecting the bubble’s position.
By being aware of these potential mistakes, you can take steps to avoid them and ensure that your spirit level provides accurate readings.
Conclusion: Achieving Precision in Your Projects
Achieving professional-grade precision in your projects starts with correctly reading spirit-level bubbles. By mastering this fundamental skill, you significantly improve the quality and precision of all your construction and DIY projects.
Ensuring that surfaces are truly level and plumb is not just about aesthetics; it’s crucial for structural integrity, proper function, and longevity. Make the process of checking for level and plumb a habit by performing it automatically before securing any component in place.
Different projects have varying tolerance requirements. For instance, hanging a picture frame might allow for slight imperfections, while installing kitchen cabinets or structural elements demands perfect plumb and level. Investing in quality bubble levels appropriate for your tasks will save you time and frustration.
Regular maintenance and accuracy testing of your spirit levels ensures they remain reliable throughout their lifespan. For complex projects, consider combining traditional spirit levels with laser levels or digital tools to achieve the highest precision.
By applying the techniques covered in this guide, you’ll be able to achieve professional-grade precision in all your projects. Remember, a flat surface that’s perfectly parallel to the horizon or perpendicular to it is the foundation of professional-quality workmanship.


