Are you tired of dealing with a wobbly table that’s more of a hindrance than a helpful piece of furniture? A table with loose joints can be frustrating, affecting both its appearance and functionality.
Discovering that your table’s legs are uneven or its surface is no longer stable can be disheartening. However, the good news is that you don’t necessarily need to replace it or call a professional for repairs.
With the right techniques and materials, you can restore your table’s stability and extend its lifespan. This guide will walk you through the process of re-glueing loose table-leg joints, a common issue that can be resolved with a bit of DIY know-how.
Key Takeaways
- Assess the condition of your table’s legs and joints before starting repairs.
- Gather the necessary materials and tools to ensure a successful DIY repair.
- Follow a step-by-step guide to re-glue loose joints and restore your table’s stability.
- Apply the right techniques to ensure a long-lasting repair.
- Finishing touches can enhance the appearance and durability of your repaired table.
Understanding Loose Table-Leg Joints
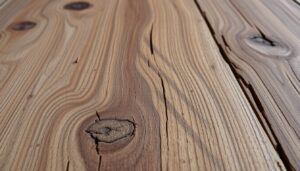
Over time, table-leg joints can become loose due to various factors, necessitating a thorough understanding of the causes and appropriate repairs. Loose joints on wooden furniture can lead to long-term damage to the rest of the frame by increasing stress on other joints. It is crucial to comprehend the underlying reasons for loose table-leg joints to apply the correct fix.

Common Causes of Loose Joints
Loose table-leg joints typically occur due to regular use, environmental factors like humidity changes, and the natural aging of wood and adhesives. The constant stress placed on furniture joints, especially in chairs and tables, gradually weakens the glue bond over time. Understanding these factors is essential to preventing further damage.
- Regular wear and tear
- Environmental changes, such as humidity fluctuations
- Aging of wood and adhesives
Assessing the Damage
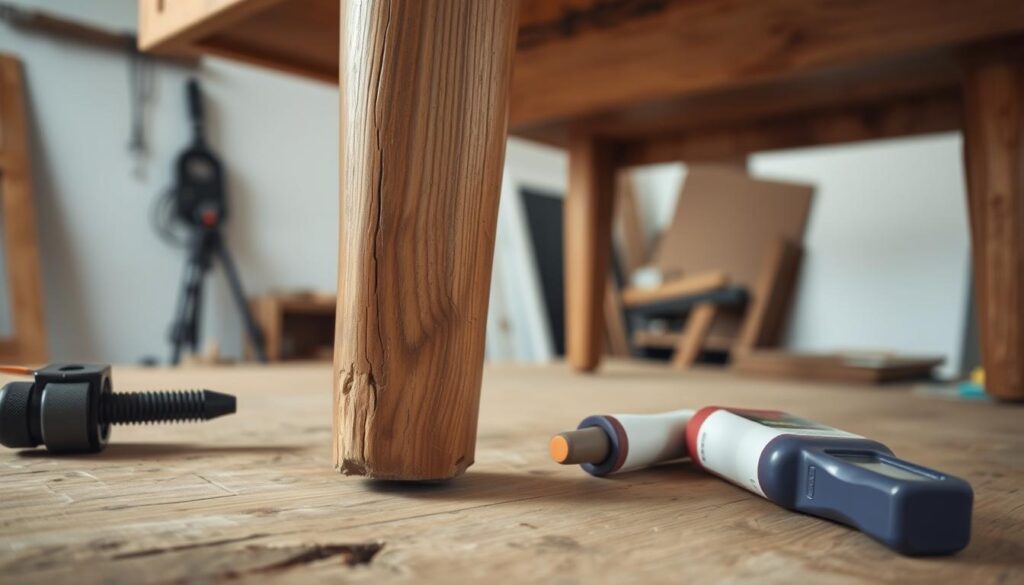
Properly assessing the type of joint damage is crucial before attempting any repair work on wooden furniture. Different joint types require specific approaches to repair and re-gluing. Visual inspection and physical testing can help determine if a joint can be repaired with simple re-gluing or requires more extensive work.
By understanding the construction of the joint, you can choose the appropriate repair method and avoid causing further damage to your furniture. This assessment will save you time and ensure a more effective repair.
Tools and Materials Needed to Re-glue Loose Table-Leg Joints
The right tools and materials are crucial for effectively re-gluing loose table-leg joints. To achieve a successful repair, you’ll need to select the appropriate adhesives and tools for the job.
Essential Adhesives for Different Joint Types

Selecting the right adhesive is vital for a successful repair. Options include wood glue, epoxy, and animal-based glues, each suited to different scenarios. Wood glue works well for most wooden joints that can be disassembled, while epoxy provides excellent gap-filling properties for joints that cannot be fully taken apart.
Necessary Tools for the Job

Essential tools include clamps of various sizes, small plastic syringes for injecting glue, a drill and appropriate bits, and fine sandpaper for surface preparation. Additional tools that may be helpful include rubber mallets, wooden dowels, screwdrivers, and specialised woodworking tools, depending on the complexity of the repair.
Safety Equipment and Workspace Preparation
Preparing your workspace with adequate lighting, ventilation, and protection for surrounding surfaces is crucial. Safety equipment such as gloves, eye protection, and dust masks are important when working with adhesives and wood. Having clean rags and water on hand for wiping excess glue is also essential for achieving a professional-looking repair.
Step-by-Step Guide to Re-gluing Table Leg Joints
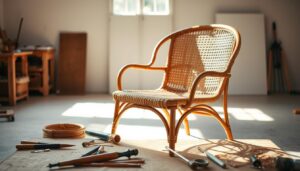
Loose table-leg joints can be frustrating, but with the right techniques, you can re-glue them securely. Re-gluing loose joints is a task that can be accomplished with a few simple tools and some patience. Whether you’re dealing with an antique piece or a modern table, the methods outlined below will help you achieve a strong and lasting bond.
Method1: Simple Re-gluing Without Disassembly
For minor repairs or when dealing with antique furniture where disassembly might cause damage, injecting glue into loose joints without taking the furniture apart is an ideal solution. This method involves drilling small holes at a 45-degree angle into the underside of the seat frame on either side of the leg, directed towards the cavity between the tenon and mortise in the joint.
Injecting Glue into Loose Joints
Using a small plastic syringe, you can inject fish glue or a similar adhesive into the drilled holes, ensuring the adhesive reaches deep into the joint where bonding is needed most. Once the glue is injected, manipulate the loose joint back and forth to distribute the glue evenly throughout the joint area.

After injecting the glue, clamp the joint firmly in place during the drying period. It’s essential to clean any residual glue that squeezes out to prevent it from drying on the surface. Proper clamping techniques will ensure the joint sets correctly without gaps or misalignment.
Method2: Complete Disassembly and Rebuilding
For more severely damaged joints, complete disassembly may be necessary. This method allows for a thorough repair but requires care to avoid damaging the wood. Use rubber mallets rather than metal hammers, and check for hidden screws or nails when taking apart the joints.
Safely Taking Apart the Joint
When disassembling, pay careful attention to avoid causing further damage. Use appropriate tools to gently pry the joint apart, and set aside any parts that are still in good condition for reassembly.
Cleaning Old Adhesive
Cleaning old adhesive from joint surfaces is crucial for ensuring a strong new bond. Use appropriate tools and techniques based on the type of old glue present to remove it effectively.
Reassembling with Fresh Glue
Once the old adhesive is removed, reassemble the joint using fresh glue. Ensure that the parts fit together properly and clamp them securely while the glue dries.
Method3: Reinforcing Weak Joints
For joints that bear significant weight, reinforcing with additional support structures like dowels or screws can be particularly useful. This method enhances the strength and stability of the joint.
Using Dowels for Added Strength
The dowel reinforcement technique involves drilling matching holes in both parts of the joint and inserting glued wooden dowels. This adds considerable strength and stability to the joint.
Adding Screws and Plugs
Adding screws with decorative plugs not only provides excellent reinforcement but also maintains an attractive appearance, especially for larger furniture pieces like tables and chairs.
Finishing Touches and Clean-up
After re-gluing or reinforcing the joints, clean up any excess glue and fill any visible holes. Touch up the finish to match the rest of the furniture, ensuring a seamless repair that prolongs the life of your table.
Conclusion
Repairing loose joints in table legs is a straightforward process that can extend the life of your furniture. With the methods outlined in this guide, you can address a range of joint problems from minor looseness to more severe structural damage. In most cases, a well-executed repair can make furniture just as strong as it was when new.
Regular maintenance and prompt attention to loose joints can prevent more serious damage and costly repairs down the line. If your table legs are extensively damaged, it might be time to consider getting new ones. For more information on stabilizing wobbly tables, you can visit wikihow’s guide on bracing a wobbly, which offers additional techniques to complement your repair efforts.
By successfully repairing a piece of furniture, you not only restore its functionality but also enhance your connection to the item. With practice, your furniture repair skills will improve, allowing you to tackle more complex projects with confidence.