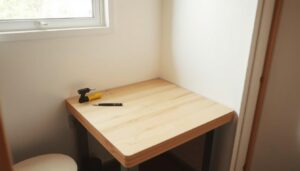
Creating a versatile workspace is crucial for DIY enthusiasts and professionals alike. Having a workbench that can adapt to various projects without sacrificing valuable space is a significant advantage. Your existing bench can be transformed into a multi-functional workspace with the right installation tips.
A common issue with fixed vises is that they often get in the way when not in use. A portable vise setup offers the perfect solution, providing stability when needed and the ability to be stored away quickly.
By understanding the balance between secure mounting and easy removal, you can create a system that won’t compromise on holding power while maintaining workshop flexibility.
Key Takeaways
- Transform your existing bench into a multi-functional workspace.
- A portable vise setup offers versatility and saves space.
- Understand the balance between secure mounting and easy removal.
- Create a system that maintains holding power and workshop flexibility.
- Explore different mounting methods for your vise.
Why You Need a Portable Vise Solution
A portable vise setup offers the flexibility and convenience that many professionals need in their daily work. Having a reliable vise that can be easily moved or repositioned can significantly enhance your productivity and efficiency.
You can benefit from a removable vise setup in several ways. For instance, it allows you to reclaim valuable bench space when the vise isn’t in use, which is particularly important in smaller workshops.
Benefits of a Removable Vise Setup
A removable vise setup provides several benefits, including flexibility and space-saving. You can position your vise exactly where you need it for each specific task, rather than being limited to a single fixed location on your workbench.
- You can use different types of vises for different projects without cluttering your workspace.
- A removable setup allows you to share a single vise between multiple work areas or take it with you to job sites.
Common Challenges with Permanent Installations
Permanent vise installations often become obstacles when working on larger projects that require the full bench surface. Many woodworking and metalworking tasks only require a vise occasionally, making a permanent installation an inefficient use of space.
| Challenge | Impact |
|---|---|
| Permanent Installation | Limited workspace and flexibility |
| Fixed Position | Inability to work on larger projects efficiently |
| Space Occupation | Inefficient use of workshop space |

Essential Materials and Tools for Mounting Your Vise

The key to a successful vise installation lies in selecting the right materials and tools. To ensure a sturdy and functional setup, you need to consider several factors, including the type of vise, the base material, and the hardware required for mounting.
Selecting the Right Vise for Portable Use
When choosing a vise for portable mounting, consider both weight and functionality. A medium-sized machinist’s vise or woodworking vise with a 4-5 inch jaw width offers a good balance between holding capacity and portability. You should prioritise a vise that is both sturdy and lightweight.
Base Materials: Plywood Options and Alternatives
Baltic Birch plywood is an ideal base material due to its exceptional strength and dimensional stability. However, standard plywood of at least 3/4″ thickness can serve as a suitable alternative for lighter-duty applications. Adding a protective surface layer, such as Formica or Wilsonart veneer, will prevent damage from clamps and increase the longevity of your portable mounting system.
Hardware Requirements: Bolts, Washers and Tee-Nuts
The hardware selection is crucial for a secure mounting system. Grade 5 bolts provide excellent strength, while pronged tee-nuts offer superior grip when installed in the underside of your mounting plate. Your hardware kit should include appropriately sized bolts (typically 5/16″ to 3/8″), matching washers, lock washers to prevent loosening during use, and either tee-nuts or threaded inserts for the mounting plate.
Tools Needed for the Job
Essential tools for this project include a drill with various bits (including a Forstner bit for countersinking), a saw for cutting the base material, measuring tools, and basic hand tools like hammers and screwdrivers. While a table saw and drill press make the job easier and more precise, the entire project can be completed with handheld power tools if necessary.
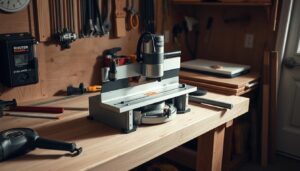
Step-by-Step Guide to Mount Vise to Portable Bench
To create a versatile workspace, you’ll need to securely attach your vise to a portable bench using a few simple steps. This guide will walk you through the process, ensuring a stable and functional setup for your projects.
Creating a Strong Mounting Plate
Begin by cutting your plywood base material to a size slightly larger than required, adding about 1/8 inch to the dimensions. This extra margin allows for adjustments during the final trimming process.
Cutting and Preparing the Base
Cut your “surface” material to the same size as the base. Although precision is not critical at this stage, having two edges perfectly flush will be beneficial when cleaning up the edges on the table saw later.
Adding Surface Protection
Using contact adhesive, bond the surface material to the base, ensuring two edges are flush while allowing slight overhang on the other sides. This step protects both your bench and the mounting plate.

Drilling and Installing Hardware
Position your vise on the mounting plate, ensuring the back jaw clears the outer edge to accommodate longer workpieces. Mark the mounting holes carefully before removing the vise.
Marking and Drilling Mounting Holes
Drill pilot holes at the marked locations, then flip the base over and use a Forstner bit to create countersinks slightly larger than your tee-nut bases. This step is crucial for preventing damage to your workbench.
Installing Tee-Nuts for Secure Attachment
After countersinking, drill holes for the tee-nut shanks, aiming for a snug fit. Install the tee-nuts using a hammer and protective block, ensuring they are flush with the back of the base.
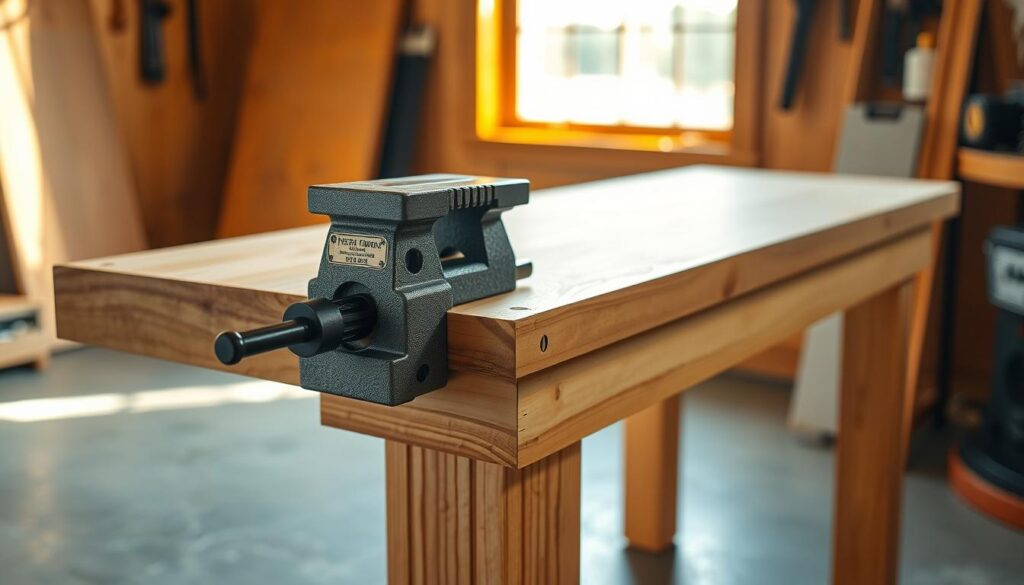
Attaching the Vise to Your Mounting Plate
Use quality bolts with lock washers and standard washers on both sides, applying thread-locker to prevent loosening during heavy use. Ensure everything is properly aligned before final tightening.
Quick-Release Options for Maximum Portability
For maximum versatility, consider using an L-shaped support method or clamp-based mounting techniques. These approaches allow for quick installation and removal, securing your vise in under ten seconds.
L-Shaped Support Method
Cut a piece of plywood to the appropriate length and create a dado in your mounting plate using multiple passes on a table saw. Glue the support piece into this channel, providing excellent stability when used with a front vise on a woodworking bench.
Clamp-Based Mounting Techniques
For workbenches without a front vise, use two heavy-duty clamps on either side of the L-support, ensuring the vertical piece butts firmly against the edge of your bench. Alternative methods include using holdfasts or creating a system with wing nuts for tool-free installation.
Conclusion: Getting the Most from Your Portable Vise Setup
By creating a portable vise mounting system, you’re not only enhancing your workshop’s flexibility but also expanding your work-holding capabilities. This versatile setup allows you to transform any bench or table into a proper workstation in seconds, making it ideal for various woodworking and metalworking tasks.
The benefits of a portable vise are numerous. You can now bring your vise to different work areas around your home, garden shed, or even to job sites, saving significant time and frustration. For woodworking projects, the portable vise excels at holding irregular pieces during sanding, carving, or detail work, while for metal projects, it provides the necessary stability for cutting, filing, or light bending operations.
To get the most from your portable vise setup, consider adding a small storage shelf or cabinet space dedicated to your vise and mounting plate, keeping everything together and protected when not in use. With practice, you’ll find yourself setting up and removing your vise in mere seconds, making it practical to use even for quick tasks.