Have you ever wasted materials or spent hours redoing a DIY project due to a simple measuring mistake?
Accurate measuring and marking are foundational skills that distinguish amateur DIY enthusiasts from skilled craftspeople. Mastering these skills is crucial for achieving professional results in your projects.
Using the right tools, such as a reliable tape, and understanding the correct techniques for marking a line on your workpiece can make all the difference.
Key Takeaways
- Understand the importance of accurate measuring and marking in DIY projects.
- Learn the essential tools required for precise measuring and marking.
- Discover techniques to achieve professional results in your DIY projects.
- Avoid common mistakes that lead to wasted materials and frustrating do-overs.
- Refine your skills to elevate the quality of all your projects.
Why Precision Matters in DIY Projects
In the world of DIY, accuracy is not just a virtue, but a necessity that can make or break your projects. When it comes to building or carpentry, size counts, and that’s why there are numerous marking and measuring tools available to ensure that corners meet, levels are flat, and surfaces are the correct size.
Precision is crucial because it directly affects the outcome of your project. Inaccurate measurements can lead to wasted materials, unnecessary expenses, and additional time spent fixing mistakes or starting over. The frustration of realizing a project is flawed due to a simple measuring error can be disheartening.
The Cost of Inaccurate Measurements
Inaccurate measurements can have significant consequences, including wasted materials and unnecessary expenses. When pieces don’t fit together properly due to measuring errors, you’ll spend additional time fixing mistakes or starting over completely. This not only affects your DIY budget but also your overall project timeline.
The “Measure Twice, Cut Once” Philosophy
The carpenter’s proverb “measure twice, cut once” has endured for generations because it encapsulates a fundamental truth about craftsmanship. Taking the time to double-check your measurements before making irreversible cuts saves both materials and time in the long run. By adopting this philosophy, you’ll develop the discipline to verify measurements, ensuring professional results in your DIY projects.
Essential Measuring Tools for Accuracy
Achieving accuracy in DIY projects starts with the right measuring tools. To ensure precision, you’ll need a selection of high-quality tools that can help you measure correctly.
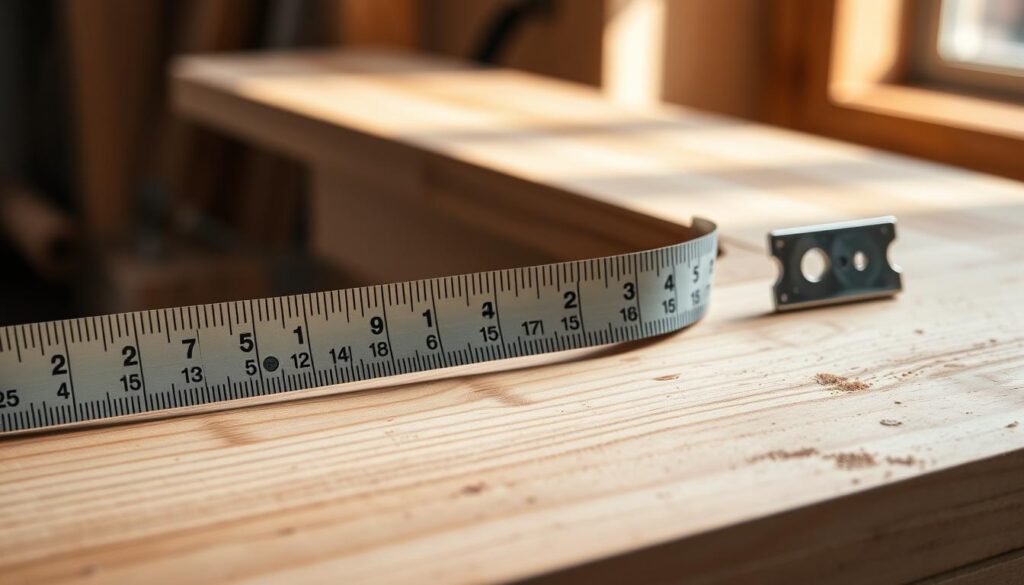
Tape Measures: Choosing and Using Correctly
When it comes to tape measures, quality is paramount. Look for a tape measure with a sturdy locking mechanism and a hook that compensates for its own thickness.

Steel Rulers and Their Applications
Steel rulers with etched markings provide precision for smaller measurements. Choose one with clear, fine graduations for maximum precision.

Squares: T-squares and Combination Squares
Combination squares are versatile tools that offer 90° and 45° angle measurements along with depth gauging capabilities. They help ensure accuracy in your projects.

Marking Tools That Enhance Precision
Achieving precision in DIY projects requires not only accurate measurements but also the right marking tools. The correct marking tool can make a significant difference in the accuracy of your work.
Pencils: From Carpenter’s to Mechanical

For precise layouts, a mechanical pencil with a 5H lead is ideal due to its fine line and durable point. In contrast, a carpenter’s pencil is better suited for rough marking and labeling due to its thick lead.
Marking Knives and Their Advantages

A marking knife creates a precise reference line by severing wood fibers, providing a physical kerf that guides chisels and saw blades. When using a marking knife, position the flat face against your straightedge for maximum accuracy.
Specialised Marking Tools for Specific Tasks
Various marking tools are designed for specific tasks, enhancing precision in different applications.
Mortise Gauges
Mortise gauges feature two adjustable pins that allow you to scribe parallel lines simultaneously, perfect for laying out mortise and tenon joints with consistent width.
Centre Finders
Centre finders quickly identify the middle point of circular or rectangular workpieces, eliminating the need for complex measurements and calculations.
Measuring and Marking Accurately: Fundamental Techniques
Measuring and marking accurately are essential skills that can make or break the quality of your DIY projects. To achieve precision, you need to master several fundamental techniques.
Establishing Reference Edges and Faces
Always establish reference edges and faces on your workpiece before beginning any measuring or marking. These become your consistent starting points for all measurements. For instance, when laying out a series of drawer openings along a cabinet’s stiles, measure from the same end of each stile.
Proper Sighting and Positioning
Proper sighting is crucial for accuracy. Position yourself directly above the measurement point to avoid parallax errors that can throw off your marks. When marking, ensure you sight straight down on the ruler.

Marking Methods for Different Materials
Different materials require different marking approaches. Soft woods may take a pencil mark well, while harder materials might require a marking knife or specialised marker. Use a “V” mark rather than a single line to provide a precise point of reference.
Finding and Marking Centres and Midpoints
To find the centre of a workpiece, measure its width, divide that number in half, and then measure in that distance from each edge to confirm your calculation.
By mastering these fundamental techniques, you can significantly improve the accuracy of your DIY projects.
Advanced Tips for Professional-Level Accuracy
Achieving professional-level accuracy in DIY projects requires more than just basic measuring and marking skills. To take your work to the next level, consider the following advanced techniques.
Working with Multiple Identical Pieces
When working with multiple identical pieces, maintaining proper orientation is crucial. Label each surface clearly (top, bottom, left, right, front, back) to avoid confusion. For efficiency and perfect alignment, clamp the pieces together and mark across all of them simultaneously. This ensures that matching features, such as mortises, align perfectly when assembled.
Direct Measurement vs. Transferred Measurement
Using direct measurement instead of transferred measurement can significantly reduce errors. Place the workpiece directly against its final position and mark the dimension onto the workpiece. This approach eliminates the errors that can accumulate when transferring dimensions with a measuring tool.
Checking and Verifying Your Tools’ Accuracy
Establish a “master reference” among your measuring tools, typically a high-quality steel ruler. Periodically check all other measuring devices against it to ensure consistency. Verify your combination square’s accuracy by drawing a line, flipping the square, and drawing a second line. If the lines are parallel, your square is true.
| Tool | Accuracy Check | Frequency |
|---|---|---|
| Steel Ruler | Against a calibrated standard | Monthly |
| Combination Square | Drawing parallel lines | Quarterly |
| Tape Measure | Against a steel ruler | Bi-annually |

By implementing these advanced tips, you can significantly improve the accuracy of your DIY projects, ensuring professional-level results.
Conclusion: Putting Your Skills into Practice
Effective measuring and marking are the foundation upon which successful DIY projects are built. To put these skills into practice, start with simple projects and gradually move to more complex work. Develop proper habits like consistent reference edges and double-checking measurements. Create a personal checklist to ensure accuracy and invest in quality tools as your skills develop.
Practice with scrap pieces to refine your techniques, and consider documenting your process to identify areas for improvement. By applying these skills methodically, you’ll save time and reduce frustration in the long run.