As you increasingly rely on electronic devices in your daily life, the need for more accessible charging options has grown significantly. You might be wondering how to make your home more convenient and efficient.
Installing a USB socket can be a straightforward DIY project that eliminates the need for bulky adapters and frees up traditional plug sockets for other appliances. With basic tools and electrical knowledge, you can modernise your home’s electrical system and enjoy the convenience of having USB charging ports directly in your wall outlets.
Key Takeaways
- Learn how to install a USB wall outlet safely and efficiently.
- Understand the benefits of having USB charging ports in your home.
- Discover the necessary tools and electrical knowledge required for the project.
- Find out how to modernise your home’s electrical system with USB sockets.
- Enjoy the convenience of having clutter-free sockets and available charging points.
Benefits of USB Wall Outlets
One of the key advantages of USB wall outlets is their ability to charge devices without the need for bulky adapters, making them a practical solution for modern homes.
Convenience for Modern Devices
USB wall outlets provide a convenient way to charge your electronic devices. With a USB charger integrated into the outlet, you can easily power your devices without occupying a socket with a plug.
Energy Efficiency and Space-Saving Design
USB wall outlets are designed with energy efficiency in mind, drawing minimal power when not in use. The space-saving design eliminates the need for multiple adapters, reducing clutter and maintaining the aesthetic of your home’s wiring system. Key benefits include:
- Energy efficiency through minimal power draw
- Smart charging technology for optimal power output
- Reduced vampire power consumption from adapters
- A streamlined design that fits your existing outlets

Choosing the Right USB Wall Outlet for Your Home
To ensure a seamless installation, it’s crucial to choose a USB wall outlet that matches your existing electrical setup.

Types of USB Outlets Available in the UK
The UK market offers a variety of USB wall outlets, including single and dual-port models, with some featuring surge protection and others with smart charging technology.
When selecting a USB outlet, consider the number of devices you need to charge simultaneously and whether you require additional features like fast charging.
Compatibility with Your Existing Electrical System
Before purchasing a USB wall outlet, check your existing wiring system to ensure compatibility with the new socket.
- Verify the amperage rating of your circuit to ensure it can handle the additional load of USB charging ports.
- Check the depth of your existing wall boxes, as some USB outlets require more space than traditional outlets due to their built-in electronics.
- If your home has older wiring, consider consulting an electrician before attempting to install USB wall outlet to ensure safety and compliance with current regulations.
Ensuring compatibility simplifies the electrical work involved in installing your new USB wall outlet and guarantees safe operation.
Tools and Materials Needed to Install USB Wall Outlet

Gathering the right tools and materials is a vital step in installing a USB wall outlet safely and efficiently. To begin, you’ll need to prepare the necessary items for the installation process.
Essential Tools for Installation
The essential tools required for installing a USB wall outlet include a screwdriver, wire strippers, and a voltage tester. These tools will help you to remove the old outlet, prepare the wires, and ensure that the new USB outlet is installed correctly.
Materials Required
The primary material needed is the USB wall outlet itself, which should be purchased based on your specific requirements and compatibility with your existing system. You may also need a new wall plate if your current one doesn’t fit the dimensions of the new USB outlet or if you want to update the appearance. Electrical tape is essential for insulating any exposed wire connections and ensuring safety.
- The primary material needed is the USB wall outlet itself.
- You may need a new wall plate if your current one doesn’t fit.
- Electrical tape is essential for insulating wire connections.
- Some installations may require wire nuts.
- A deeper replacement box might be needed if the current one is too shallow.
Safety Precautions Before You Install USB Wall Outlet
Before you start installing a USB wall outlet, it’s crucial to take necessary safety precautions to avoid any potential electrical hazards. Ensuring your safety is paramount, and this involves a few critical steps.
Turning Off Power at the Consumer Unit
The first step is to turn off the power to the circuit you’re working on at the consumer unit. While you may be confident in the labeling of your breaker switches, it’s always a good idea to double-check that there’s no power going to the outlet you’re about to work on. A simple way to verify this is by plugging a small lamp into both outlet sockets; if there’s no light, you’re good to proceed.
Testing for Voltage with a Proper Tester
After turning off the power, always verify that the outlet is truly de-energised using a non-contact voltage tester. Test both the top and bottom sockets to ensure no power is present. For additional verification, you can test the surrounding area and wires inside the outlet box once the faceplate is removed. If your tester indicates any voltage is still present, return to the consumer unit and check that you’ve turned off the correct circuit.

Never skip this safety step, even if you’re confident you’ve identified the correct circuit breaker, as mislabeled circuits are common in many homes. Your safety depends on making sure there’s no power to the outlet before you begin any work.
Step-by-Step Process to Install USB Wall Outlet
Installing a USB wall outlet is a simple task when broken down into manageable steps. You will need to remove the old outlet, identify and connect the wires, and then mount the new USB outlet.
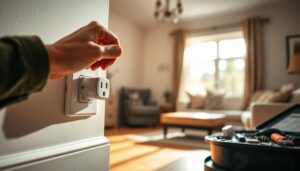
Removing the Old Outlet
Start by carefully removing the old outlet from the wall box. Ensure that you have already turned off the power at the consumer unit. Gently pull the outlet out of the box, taking care not to damage any of the wiring.
Identifying and Connecting the Wires
Once the old outlet is removed, identify the live, neutral, and earth wires. Connect these wires to the corresponding terminals on the new USB outlet.
Live, Neutral and Earth Connections
Ensure that the live wire is connected to the live terminal, the neutral wire to the neutral terminal, and the earth wire to the earth terminal. Double-check that all connections are secure.
Securing Wires to Terminals
Use a screwdriver to secure the wires to their respective terminals. Make sure they are tightly fastened to prevent any loose connections.
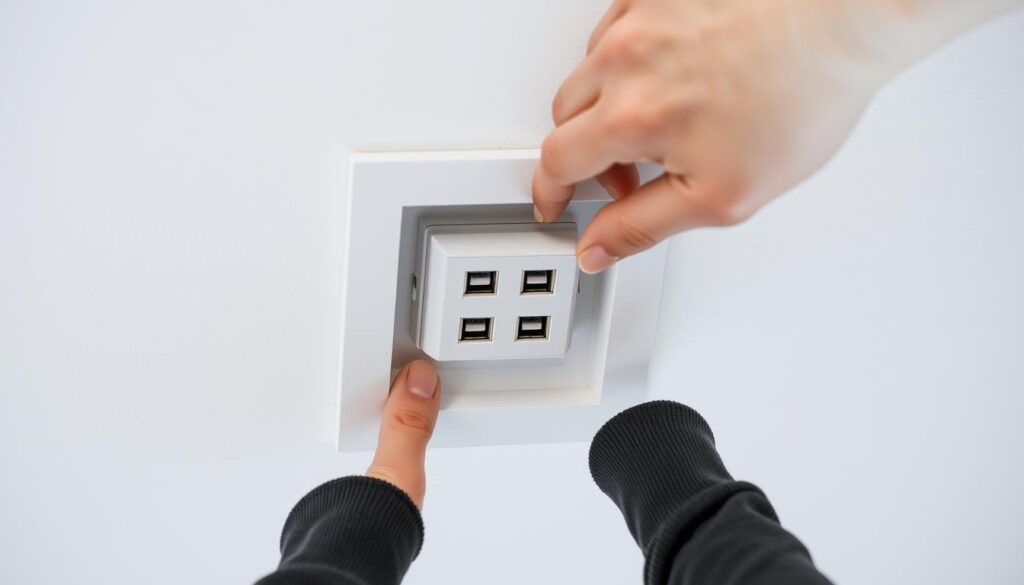
Mounting the New USB Outlet
With the wires connected, carefully fold them back into the wall box. Position the new USB outlet against the wall box, aligning the screw holes with the mounting brackets. Secure the outlet to the box using the provided screws.
To complete the installation, attach the wall plate over the outlet and fasten it with the provided screws. Use a level to ensure the outlet is straight and securely fastened to the wall.
- Carefully fold the wires back into the wall box, ensuring they are not pinched or cramped.
- Position the new USB outlet against the wall box, aligning the screw holes with the mounting brackets.
- Secure the outlet to the box using the screws provided, ensuring it sits flush against the wall.
By following these steps, you can successfully install your new USB wall outlet.
Conclusion
With your new USB wall outlet installed, you can now enjoy the convenience of charging your devices without occupying a traditional socket. To ensure everything is working correctly, turn the circuit breaker back on and test both the traditional plug sockets and the USB ports. When testing the USB ports for the first time, use a less valuable device like an old USB charger or cable before connecting expensive smartphones or tablets.
By following these steps, you’ve not only enhanced the functionality of your home’s electrical system but also invested in a relatively simple DIY project that will pay off through daily convenience. Remember to always prioritise safety when working with electrical wiring, and if you’re unsure about any aspect, don’t hesitate to consult a professional electrician.
Congratulations on successfully completing this project and taking a step toward modernising your home’s electrical infrastructure! With the increasing number of USB-powered devices in the average home, these outlets represent a practical upgrade that enhances both functionality and convenience.