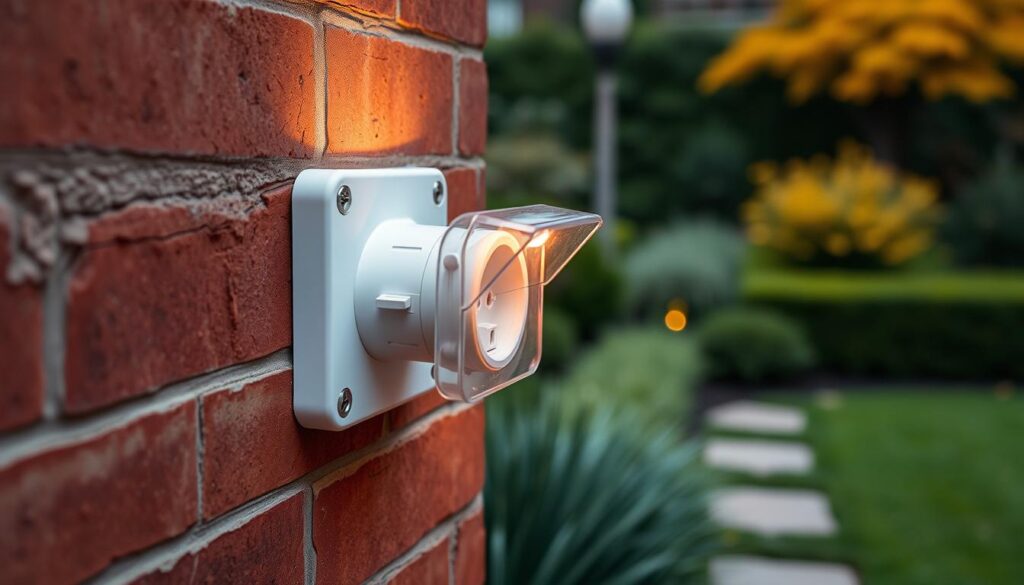
As you enjoy your garden or outdoor area, have you considered the safety and convenience of having a reliable power source? Installing a weatherproof outdoor socket can be a game-changer for powering garden equipment, lighting, and other appliances.
When working with electrical installations safety is paramount. This guide will walk you through the process, ensuring you understand the necessary precautions and steps to take. Unlike indoor sockets, outdoor sockets require special considerations due to exposure to the elements.
This step-by-step guide is designed for DIY enthusiasts with basic electrical knowledge. It is crucial to comply with UK Building Regulations, and in some cases, notify your local authority before commencing the installation.
Key Takeaways
- Understand the importance of safety when installing outdoor electrical sockets.
- Learn how to choose the right weatherproof socket for your needs.
- Discover the necessary steps for a compliant installation.
- Find out when you need to notify your local authority.
- Gain insights into maintaining your outdoor socket.
Understanding Outdoor Socket Requirements and Safety
Safety should be your primary concern when installing outdoor electrical sockets. Outdoor sockets are more susceptible to environmental factors such as water and debris, which can significantly increase the risk of electrical shock or other safety hazards.
Importance of RCD Protection
A Residual Current Device (RCD) is a critical safety component that can be a lifesaver in outdoor electrical installations. An RCD is a fast-acting, safety trip switch that reduces the risk of a fatal electric shock by cutting off the power within a split second when it detects an earth leakage fault. If you’re using portable electrical appliances outdoors, they must be protected by a 30mA RCD. The latest IEE Wiring Regulations also stipulate that any new socket, whether indoors or outdoors, can only be wired into an RCD-protected circuit.
The RCD works by detecting current imbalances between the live and neutral wires. When a fault occurs, the RCD quickly cuts off the power supply, thereby preventing potential electric shock hazards. This makes RCD protection essential for outdoor sockets.
IP Ratings Explained
The IP (Ingress Protection) rating is a measure of how well a socket is protected against solid objects and water. The rating consists of two numbers: the first digit represents protection against solid objects, and the second digit represents protection against water. For example, a socket with an IP44 rating is protected against objects larger than 1mm and splashing water from any direction.
Different outdoor environments require different levels of IP protection. For instance, a socket installed in a sheltered location might require an IP44 rating, while a socket exposed to direct weather conditions might need a higher rating such as IP65 or IP68.
| IP Rating | Protection Against Solid Objects | Protection Against Water |
|---|---|---|
| IP44 | Objects larger than 1mm | Splashing water from any direction |
| IP65 | Dust-protected | Low-pressure jets of water from any direction |
| IP68 | Dust-tight | Immersion beyond 1m |
UK Building Regulations for Outdoor Electrics
The UK Building Regulations outline specific requirements for outdoor electrical installations. These regulations are designed to ensure safety and compliance with British Standards. Before making any changes to outdoor circuits, you must notify your local Building Control department.
Compliance with the IEE Wiring Regulations is also crucial for both safety and legal reasons. Failure to comply with these regulations can result in significant consequences, including insurance issues and increased safety risks. Additionally, special cases such as installations near swimming pools or hot tubs have additional regulations that must be adhered to.
Tools and Materials Needed to Install Outdoor Weatherproof Socket
The first step in installing an outdoor weatherproof socket is to prepare the necessary tools and materials for the job. Having everything you need within reach will make the installation process smoother and safer.
Essential Tools for Installation
To begin, you’ll need a set of essential tools to handle the installation safely and effectively. These include:
- Insulated screwdriver to prevent electrical shock
- Wire cutters/strippers for preparing the cable
- Power drill with a masonry bit for drilling into walls
- Continuity tester to ensure the circuit is safe to work on
- Trimming knife for any additional adjustments
Using proper insulated tools is crucial when working with electricity to prevent accidents.
Choosing the Right Weatherproof Socket
Selecting the appropriate weatherproof socket is vital for the installation’s success. Consider the IP rating, features, and intended use when making your choice.
- Single, double, or switched sockets depending on your needs
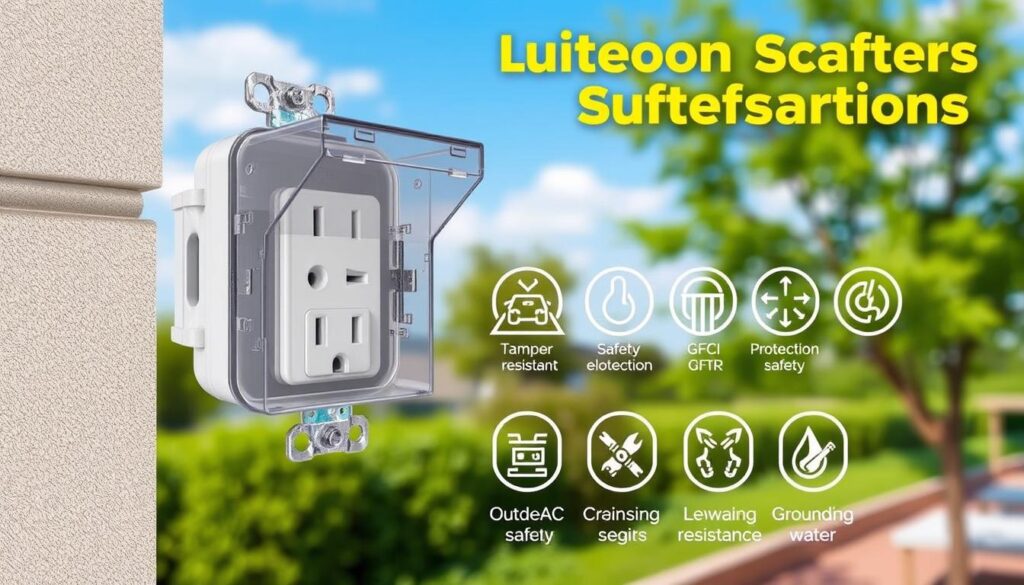
- A weatherproof cover that protects the socket when in use and when not in use
- RCD protection for enhanced safety
Different types of weatherproof sockets are available, including those with RCD protection for added safety.
Additional Materials Required
In addition to the socket itself, you’ll need several other materials to complete the installation.
- Mounting box to securely house the socket
- Cable (typically 1.5mm² or 2.5mm² depending on the circuit load)
- PVC conduit for cable protection
- Yellow-and-green sheathing for earth wires
- Screws and wall plugs for securing the mounting box
Using the right materials, such as PVC conduit, will help ensure the longevity and safety of your outdoor electrical installation.
By carefully selecting the right tools and materials, you’ll be well-prepared to install your outdoor weatherproof socket safely and effectively.
Preparation Before Installation
Before you start installing your outdoor weatherproof socket, it’s crucial to prepare the site properly. This step is essential to ensure a safe and successful installation.
Planning the Socket Location
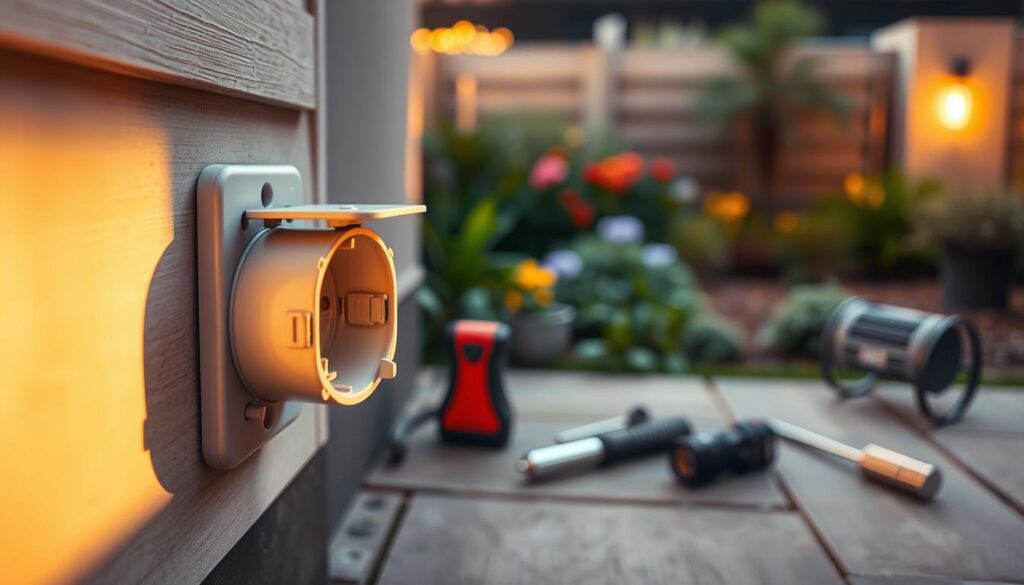
When planning where to install your outdoor socket, consider accessibility and protection from the elements. The socket should be positioned at a height of at least 300mm above ground level to prevent water ingress. Additionally, consider the distance from water sources to avoid any potential hazards.
To determine the best location, you should also think about the purpose of the socket and how it will be used. For example, if it’s for a garden, it should be easily accessible from the area where you’ll be using electrical equipment.
Checking for Hidden Pipes and Cables
Before drilling into your outside wall, it’s vital to check for any hidden pipes or cables. You can use electronic detectors to locate any potential hazards or consult your building plans to identify the safest drilling location.
For cavity walls, solid walls, or timber-framed buildings, the approach may vary. For instance, when dealing with cavity walls, you might need to take extra precautions to avoid damaging the wall’s structure.
Cutting Power and Safety Measures
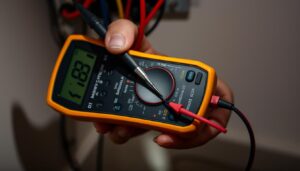
Safety first: Before beginning any work, make sure to turn off the power at the consumer unit. Verify that the power is truly off using a voltage tester. This step is critical to prevent electrical shock or other accidents.
When determining the best route for the cable from an indoor power source to the outdoor location, consider the most direct and safe path. Avoid running cables through areas that could be damaged by weather conditions or physical impact.
To ensure a safe installation, also consider the weather conditions. Avoid installing the socket during rain or high humidity, as these conditions can increase the risk of electrical shock or damage to the socket.
Step-by-Step Installation Process
With the right tools and a bit of know-how, you can install an outdoor weatherproof socket efficiently and safely. This process involves several critical steps that ensure your new socket is both functional and secure against the elements.
Drilling Through the Wall
To begin, you’ll need to drill through the wall to feed the cable through. It’s essential to use the correct drill bit size and technique to avoid damaging the surrounding area or the cable itself. Use a masonry bit that matches the size of your cable and conduit. Hold the drill steady and apply gentle to moderate pressure, depending on the wall material.
Once you’ve drilled the hole, feed the conduit and cable through the wall, leaving enough cable protruding to connect to the new socket. This step is crucial for a clean and safe installation.
Running Cable and Fitting the Mounting Box
After feeding the cable through, prepare the mounting box by removing the central knock-out and fitting a weatherproof grommet. This ensures that the cable entry point is sealed against moisture. Hold the mounting box in place, using a spirit level to ensure it’s perfectly horizontal, and mark the fixing holes.
Drill these holes with a masonry bit, then fit plastic wall plugs. Feed the cable and the end of the conduit through the grommet into the box, and fix the box to the wall with round-headed screws. Applying a dab of silicone sealant behind each screw head will provide a watertight seal.
Connecting the Wires to the Socket
Before connecting the wires, strip the cable ends correctly to expose the live, neutral, and earth wires. Connect these wires to the appropriate terminals on the socket, ensuring that the connections are secure and correctly matched. The earth connection is particularly important, especially with metal mounting boxes, as it provides a safe path to ground in case of a fault.
Once the wires are connected, secure the faceplate to the mounting box, making sure it’s tightly fixed and sealed. Use silicone sealant to run a bead between the wall and the outer edge of the box for added protection against the elements.
By following these steps carefully, you can ensure a successful and safe installation of your outdoor weatherproof socket.
Finishing Touches and Testing
The final steps in installing your outdoor socket involve sealing, weatherproofing, and thorough testing. Ensuring that your new outdoor socket is properly sealed and protected from the elements is crucial for its longevity and safe operation.
Sealing and Weatherproofing
To prevent water ingress, apply silicone sealant around all potential entry points, such as where the socket box meets the wall. This will help maintain the integrity of your outdoor socket installation. Make sure to inspect the area around the socket for any gaps or cracks that may need sealing.
Testing the RCD and Socket Function
Before using your new outdoor socket, it’s essential to test the RCD (Residual Current Device) functionality. Plug in an appliance, switch it on, and press the test button on the RCD. If the power cuts off, press the reset button to restore power. If the RCD fails to trip, consult a qualified electrician to rectify the issue.
To test the socket itself, plug in a simple appliance like a lamp. If it functions correctly, your socket is ready for use. Regularly check for signs of water ingress or condensation around the socket, and ensure that the weatherproof covers are used correctly both when the socket is in use and not in use.
It’s also important to avoid overloading the circuit and to understand the maximum load capacity of your socket. Regular testing and maintenance are key to ensuring the continued safe operation of your outdoor socket.
- Regularly test the RCD functionality to ensure it is working correctly.
- Check the socket and surrounding area for any signs of damage or wear.
- Use weatherproof covers when the socket is not in use to protect it from the elements.
- Be mindful of the socket’s maximum load capacity to avoid overloading the circuit.
By following these steps and guidelines, you can ensure that your outdoor weatherproof socket installation is safe, functional, and durable.
Conclusion
Outdoor weatherproof sockets are a practical addition to any home, providing convenience and safety. By following the steps outlined in this guide, you can ensure a successful installation that meets UK Building Regulations and provides reliable power for your outdoor needs.
Safety is paramount when installing outdoor electrical sockets. Remember to always use RCD protection to prevent electric shock, and ensure your installation is properly weatherproofed. The benefits of having an outdoor weatherproof socket are numerous, from powering garden lighting and tools to running pond pumps and seasonal decorations.
To get the most out of your outdoor sockets, regular testing and maintenance are crucial. While DIY installation is possible, it’s always recommended to consult a qualified electrician if you’re unsure about any aspect. By doing so, you’ll not only ensure compliance with regulations but also enjoy your newly expanded outdoor electrical capabilities safely and responsibly.
Consider complementing your new socket with other outdoor electrical projects, such as a garden lighting system, to further enhance your outdoor space.
