Are you tired of carrying garage doors keys or worrying about the security of your home? Imagine having the convenience and security of being able to access your garage with just a personal code.
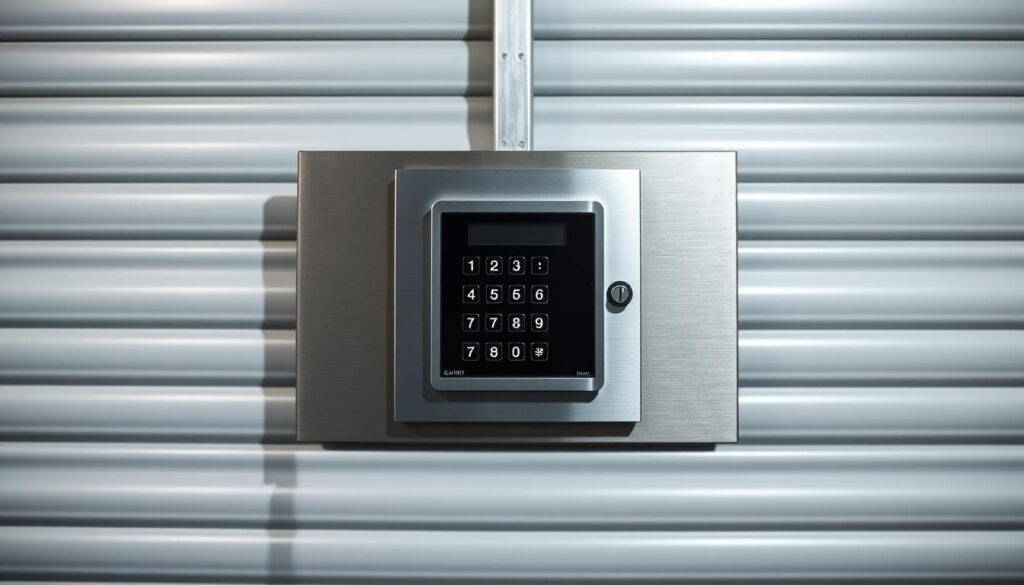
The Domino GD1 Keyless Entry System is an electronic lock that allows you to activate your garage door opener with a personal code, enhancing your home’s security and convenience. With a simple code entry, you can open, stop, or close your motorised door.
Installing a keypad garage entry system is a straightforward process that can significantly improve your home’s accessibility. This guide will walk you through the entire process, from preparation to programming, to ensure your new garage door keypad functions perfectly.
Key Takeaways
- Enhance your home’s security with a keyless entry system.
- Modern keypad systems are compatible with most garage door openers.
- Minimal tools and technical knowledge are required for installation.
- A keypad system provides convenience and keyless access to your garage.
- Proper installation ensures strong security measures for your home.
Benefits of Installing a Keypad Garage Entry System
A keypad garage door system offers enhanced security and convenience for homeowners. With a keypad garage entry system, you can enjoy a hassle-free experience, eliminating the need to search for keys or remotes.
Enhanced Security and Convenience
The keypad garage door system provides a secure and convenient way to access your garage. You can share a code with family members and friends, making it ideal for households. This system eliminates the frustration of misplaced or forgotten keys and remotes, providing consistent access to your home.

Eliminating the Need for Physical Keys
With a keypad garage entry system, you can assign unique PIN codes to family members, allowing you to track who enters and exits through the garage door. This feature enhances security and reduces the risk associated with lost or stolen keys. You can also create temporary access codes for service providers or guests and delete them when they’re no longer needed.
Preparing to Install Your Keypad Garage Entry System
A successful installation of your keypad garage entry system starts with thorough preparation. This involves checking that you have all the necessary tools and materials, choosing the ideal location for your keypad, and ensuring compatibility with your garage door opener.
Tools and Materials Needed
To begin, gather all the required tools and materials. Typically, you will need a screwdriver, drill, and the keypad unit itself. Ensure that you have the manufacturer’s instructions and any additional hardware that came with the keypad.
Choosing the Ideal Location for Your Keypad
Selecting the right location for your keypad is crucial. It should be easily accessible but out of reach of children. Consider the height and proximity to your garage door. Ensure it’s visible and convenient for users.

Checking Compatibility with Your Garage Door Opener
To avoid any issues, verify that your keypad is compatible with your garage door opener. Check the manufacturer’s specifications or contact customer service. Most major brands like LiftMaster, Chamberlain, and Genie offer compatible keypads. If you have an older model, consider a universal keypad.
| Garage Door Opener Brand | Compatible Keypad |
|---|---|
| LiftMaster | LiftMaster Keypad |
| Chamberlain | Chamberlain Keypad |
| Genie | Genie Keypad |
By following these steps, you can ensure a smooth and successful installation of your keypad garage entry system.
Step-by-Step Process to Install Keypad Garage Entry System
Installing a keypad garage entry system is a straightforward process when broken down into manageable steps. You will need to mount the keypad unit outside, install the control box inside, connect it to your garage door opener, and finally, install and check the batteries.
Mounting the Keypad Unit Outside
Begin by mounting the keypad unit outside your garage. Choose a location that is easily accessible but not visible to passersby. Ensure it is at a comfortable height and follow the manufacturer’s instructions for mounting. Typically, this involves drilling holes for screws and securing the keypad in place.
Installing the Control Box Inside
Next, you need to install the control box inside your garage. This usually involves finding a suitable location near your garage door opener and securing the box using screws or adhesive strips provided with the kit. Make sure it is out of reach of children and not easily accessible to potential intruders.
Connecting to the Garage Door Opener
Now, you need to connect the keypad system to your garage door opener. This typically involves wiring the keypad to the opener’s control circuit. Refer to your garage door opener’s manual for the correct wiring diagram. Ensure all connections are secure to prevent any malfunction.
Installing and Checking Batteries
Most keypad garage entry systems are powered by batteries, typically AA or 9V depending on the model. To install, insert the batteries (usually 3 ‘AA’ batteries) into the keypad, observing the correct polarity. After installation, check that the keypad powers up correctly by pressing any button; the indicator light should illuminate. To check battery life, ensure that pressing the push button on the control box activates the door or the red indicator light on the keypad lights up. Quality alkaline batteries typically provide 3-5 years of normal operation, but consider using lithium batteries in very cold climates.
- Always observe the correct polarity when installing batteries to prevent damage.
- Test the battery connection by pressing any button on the keypad.
- Establish a regular schedule to check battery status to avoid being locked out.
Programming and Troubleshooting Your New Keypad
Once you’ve installed your keypad garage entry system, the next step is to programme it for secure access. This involves setting up your personal access code and ensuring that the device is functioning correctly with your garage door.
Setting Up Your Personal Access Code
To set up your personal access code, follow the manufacturer’s instructions carefully. Typically, this involves entering a default code, followed by your new desired code, and then confirming it by pressing the ENTER button. Ensure that your new code is unique and secure. After programming, test the code to ensure it activates the garage door opener. If your old code still seems to be working, wait 20 seconds after entering your new code and pressing enter, then try your old code again; it should no longer work due to the system’s built-in time delay feature.
Common Issues and Solutions
Some common issues you might encounter include a non-responsive keypad, intermittent operation, or programming issues. For a non-responsive keypad, check the batteries and ensure proper wiring to the garage door opener. If the keypad works intermittently, it may indicate weak batteries, poor signal transmission, or interference from nearby electronic devices. For programming issues, try resetting the keypad according to the manufacturer’s instructions. Additionally, be aware that some systems have a security time-out feature that temporarily disables the keypad after multiple incorrect code entries; wait the specified time, usually 30 seconds to a few minutes, before trying again. Pressing the ENTER button can also help resolve issues by stopping or reversing the door’s operation.
Conclusion
With a keypad garage entry system, you can enjoy a more secure and convenient way to access your garage. This straightforward installation process enhances your home’s security and provides peace of mind. By following the step-by-step guide, you can successfully install your new keypad and start using your unique pin code. Regular maintenance will ensure reliable operation, and with modern features like smartphone integration, your garage door keypad will be a valuable addition to your home security.