Are you looking to maximise space efficiency and tool accessibility in your workshop? A flip-top tool stand can be a game-changer, allowing you to mount two different tools on opposite sides of a rotating platform. This not only saves space but also increases productivity.
By undertaking this weekend project, you can significantly improve your workshop organisation and workflow. The process involves gathering materials and mounting your tools, which can be accomplished with a step-by-step guide.
Key Takeaways
- Maximise workshop space with a flip-top tool stand
- Improve tool accessibility and productivity
- Mount two tools on a rotating platform
- Complete the installation as a weekend project
- Enhance workshop organisation and workflow
Understanding Flip-Top Tool Stands
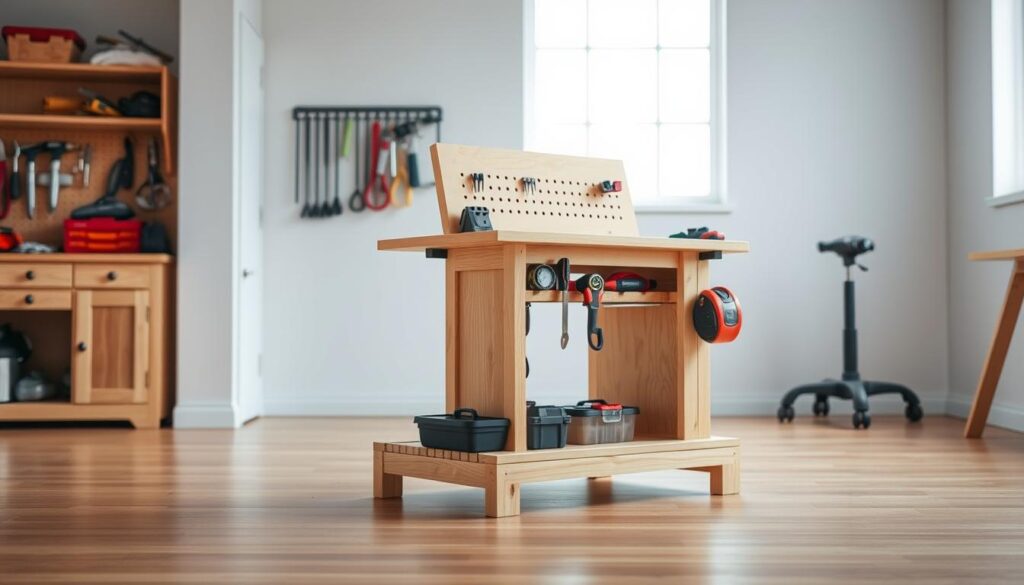
When it comes to maximising workshop space, a flip-top tool stand is an innovative solution. This versatile tool holder allows you to mount two different tools on opposite sides of a rotating platform, effectively doubling your tool capacity without sacrificing valuable space.
What Is a Flip-Top Tool Stand?
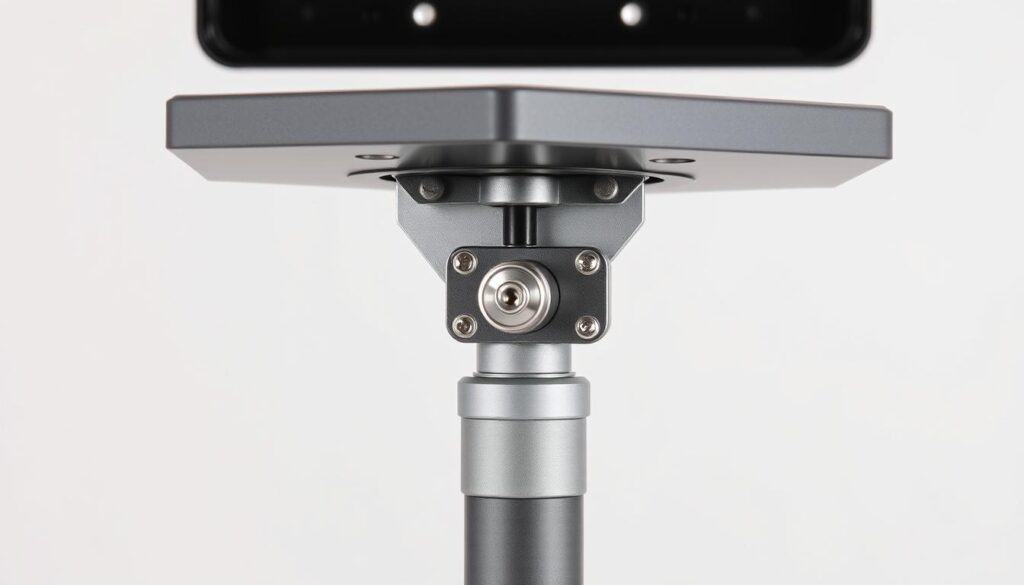
A flip-top tool stand is designed with a pivoting top that can be rotated to access different tools mounted on either side. The rotating mechanism works through a central axle system, enabling smooth flipping between tools. You can use this stand to hold two large benchtop tools, such as a miter saw and a planer, or an oscillating spindle sander and a grinder, making it a practical solution for workshops with limited space.
Benefits of Using a Flip-Top Tool Stand
The benefits of using a flip-top tool stand include improved workflow, reduced setup time, and better organisation in a small shop. By allowing two tools to occupy the footprint of just one, you can significantly enhance your workshop’s efficiency. Various designs and plans are available for flip-top tool stands, ranging from simple DIY versions to more complex builds with additional storage, giving you the flexibility to choose a design that suits your needs.
Tools and Materials Needed
The success of your flip-top tool stand project depends on having the right tools and materials at your disposal. To ensure that you’re well-prepared, we’ve outlined the essential components and tools required for the project.
Required Materials
Gathering the necessary materials is a crucial step in building a flip-top tool stand. You will need:
- (1) 4’x8′ 3/4″ plywood sheets, which will form the main structure of your stand.
- (2) 8′ 1×2 poplar/pine for additional support.
- 1-1/4″ pocket hole screws, 1-1/4″ wood screws, and 3/4″ wood screws for assembling the various pieces.
- 3½” lag screws for securing the stand.
- (4) 5/16″ x3-1/4″ eye bolts, (4) 5/16″ fender washers, and (4) 5/16″ threaded knobs for creating the locking mechanism.
- (1) 3′ x3/4″ steel tube, which will serve as the pivoting axle.
- (4) 3/8″ x1-1/2″ hex bolts, (8) 3/8″ flat washers, and (4) 3/8″ nuts for additional hardware.
- (4) 3″ locking casters for mobility and stability.
Essential Tools for the Project
To assemble your flip-top tool stand efficiently, you’ll need the following tools:
- A table saw for cutting plywood pieces to the required size.
- A miter saw for precise angled cuts.
- A cordless drill for creating holes and driving screws.
- A sander for smoothing out the surfaces.
- A pocket hole jig for creating strong joints.
- A pin nailer, clamps, square, and countersink bit for various tasks.
Preparing for Your Flip-Top Tool Stand Installation
Before you start installing your flip-top tool stand, it’s crucial to prepare adequately. This involves planning the dimensions and cutting the plywood pieces to the required size. Make sure you have all the necessary materials and tools before you begin.
Planning Your Dimensions
Begin by carefully planning the dimensions of your flip-top tool stand based on the tools you intend to mount. Measure your largest benchtop tool to ensure the platform will be sufficiently sized to accommodate it securely. Create a cutting list for all plywood pieces, including the sides, bottom, and top platforms.
Cutting the Plywood Pieces
Use a table saw to precisely cut all plywood pieces to their required dimensions. Cut two sides to 30″ x 21-1/2″ and a bottom and shelf both at 27″ x 21-1/2″. Drill pocket holes on the underside of the bottom and shelf to connect to the sides. Ensure the edges are straight and square.

When cutting, make sure to mark the locations for holes and slots needed for the pivot mechanism and locking hardware. For instance, drill a 3/4″ hole centered 2-5/8″ down from the top of each side. Cut two slots in each side for the flip-top locking hardware, ensuring precise alignment.
Building the Base Cabinet
Building the base cabinet is a crucial step in creating a functional flip-top tool stand. This involves assembling the cabinet frame and installing the drawer compartment, both of which require precision and attention to detail.
Assembling the Cabinet Frame
To assemble the cabinet frame, start by attaching the bottom panel to the side panels using 1-1/4″ pocket hole screws. This will create a sturdy base for your tool stand. Ensure that the corners are square and the frame is level to provide a stable foundation.
Use a 4-1/2″ spacer to position the shelf 4-1/2″ above the bottom shelf, and secure it using pocket screws. This shelf will provide additional storage and support for your tools.
Installing the Drawer Compartment
For the drawer compartment, cut a 27″ x 4-1/2″ back panel and install it on the back of the drawer cavity. This will provide additional support and help keep the drawer aligned.
To construct the drawer, cut the parts to size: two sides at 20″ x 4″ and a front and back at 24-1/2″ x 4″. Drill pocket holes on the ends of the front and back parts and assemble the drawer box. Cut a 26″ x 20″ drawer bottom and glue and nail/staple it onto the drawer box.
- Assemble the base cabinet by attaching the bottom panel to the side panels using pocket hole screws for strong, hidden joints.
- Create a drawer compartment by installing a shelf at the appropriate height above the bottom using pocket screws.
- Construct the drawer box by assembling the sides, front, and back pieces, ensuring square corners for smooth operation.
Mount 20″ full extension drawer slides in the drawer cavity per the manufacturer’s instructions and install the drawer. Finally, cut a 26-7/8″ x 4-3/8″ false drawer front and attach it to the drawer box with 1-1/4″ pocket screws from inside the drawer.
How to Install Flip-Top Tool Stand Mechanism
A well-installed pivot system is essential for the smooth operation of your flip-top tool stand. The mechanism allows you to easily access your tools while keeping them organised and out of the way when not in use.
Creating the Pivot System
To create the pivot system, you will need to cut two pieces of 3/4″ plywood to 27″ x 21-1/2″ and four pieces of 1×2 to 27″. You will then layout a 3/4″ wide section that runs 27″ across the center of the top, which will house the steel rod. Attach a 1×2 on each side of the channel using 1-1/4″ screws countersunk into the 1×2’s.

Installing the Steel Tube Axle
To install the axle, clamp the top into place so that the channel for the pipe and the holes in the sides are aligned. Run a 3/4″ steel pipe through the assembly, cutting it so that there is 3/8″ sticking out from each side. Drill a pilot hole through the top and through the rod, then secure the rod in place with a 1-1/4″ screw on each end.
To ensure smooth operation, you should test the pivot mechanism before proceeding. The top should rotate freely without binding or excessive play. By following these steps, you can create a reliable flip-top mechanism that will serve you well.
Constructing the Flip-Top Platform
Building the flip-top platform involves creating a robust frame and adding support blocking. To start, you will construct the platform frame using 1×2 timber pieces arranged to create a strong perimeter and central support structure.
Building the Platform Frame
To build the frame, cut 5/16″ open mortises 1-1/2″ deep on the ends of the other 1x2s. Attach them to the outer edges of the top. Apply wood glue to all joining surfaces before securing with screws to create stronger, more durable connections.
Adding Support Blocking
Cut four 1×2 pieces to 7-3/8″ for blocking and fill in the outer edges between the 1×2’s you just installed. Once all of the blocking was added, attach the other platform on top of the blocking, sandwiching the 1x2s between the two platforms. It is critical that all of the edges are flush here, so tack the top in place with pin nails before adding the screws.
| Component | Dimension | Purpose |
|---|---|---|
| 1×2 Timber | 7-3/8″ | Support Blocking |
| 1×2 Timber | Varies | Frame Construction |
As highlighted by a renowned woodworking expert, “A well-constructed flip-top platform is essential for a functional tool stand.”
“The key to a successful flip-top tool stand lies in the precision and care taken during the construction of its platform.”
Installing the Locking Mechanism
You can ensure the flip-top platform remains in place by installing an effective locking mechanism. This step is crucial for the overall functionality and safety of your tool stand.
Creating Slots and Holes for Hardware
To accommodate the locking hardware, you need to create precise slots and holes in the platform corners. Start by drilling 1″ holes, 1/2″ deep, in each of the four corners on both sides of the top surface. These holes should be 1″ from the sides and 3/4″ from the front or back, resulting in a total of eight holes. Next, drill a 3/8″ hole through the centre of each of the recessed holes you just created.
Assembling and Testing the Locking System
The locking hardware consists of a 5/16″ 3-1/4″ eye bolt held in place by a 3/8″ bolt. To assemble the locking system, run the 3/8″ bolt through the holes you drilled in the corners and through the eye of the eye bolt. Secure the 3/8″ bolt with a lock nut. Then, install a fender washer and a star knob on the end of the eye bolt, which will lock down on the sides. Test the locking mechanism by flipping the top and securing it in both positions, making sure it holds firmly without wobbling.
After testing, make any necessary adjustments to the locking hardware to ensure it engages smoothly and holds the platform securely in place.
Finishing Touches and Tool Mounting
To complete your flip-top tool stand, you’ll need to attach your tools securely and make a few adjustments to ensure smooth operation. Mount your tools with 3-1/2″ lag screws to each side, making sure to center the weight for balanced rotation. This will enable easy flipping between tools.
Effective cord management is also crucial. Consider adding screws or cable ties to keep power cables out of the way when flipping the top. This will prevent damage to your tools and the stand. You may also want to organize your drawer space efficiently using a system like the Lock-Align from Rockler.
With your tools mounted and cords managed, test the stand by using each tool in place. Ensure the stand remains stable during operation and the flip mechanism works smoothly. You may need to make a few adjustments to achieve optimal performance.
Finally, apply a protective finish to all exposed wood surfaces to protect your stand from workshop wear and tear over time. Position your completed flip-top tool stand in your workshop where it will be most accessible and useful for your workflow.


