Are you tired of feeling cold air sneaking into your home through your letterbox? A simple solution can be to fit a draught excluder to keep your home warm and energy-efficient.
Fitting a draught excluder to your front door’s letterbox is a straightforward DIY task that can significantly reduce heat loss. By doing so, you’ll not only be making your home cosier but also potentially lowering your energy bills.
Let’s explore how you can achieve this.
Key Takeaways
- Understand the benefits of fitting a draught excluder to your letterbox.
- Learn the simple steps to install a draught excluder.
- Discover how a draught excluder can improve your home’s energy efficiency.
- Find out how to choose the right draught excluder for your letterbox.
- Troubleshooting tips for common issues with draught excluders.
Why Your Home Needs a Draught Excluder Letterbox
Installing a draught excluder letterbox is a cost-effective way to reduce heating bills and improve home comfort. Draughts from letterboxes can lead to significant cold air infiltration, making your hallway feel colder and increasing your energy consumption.
Common Draught Problems from Letterboxes
Many homes, especially those with older doors, have letterboxes that allow cold air to enter directly. This can create uncomfortable cold spots in your hallway. Letterbox draughts are particularly noticeable during windy weather, making your home feel colder than it actually is.
Energy Efficiency Benefits
A properly installed draught excluder letterbox can significantly improve your home’s energy efficiency. By preventing warm air from escaping and cold air from entering, you can reduce your heating bills. This simple measure contributes to a lower carbon footprint and is one of the most cost-effective energy-saving measures you can take.
| Benefits | Description |
|---|---|
| Reduced Heating Bills | Preventing warm air from escaping reduces energy consumption. |
| Improved Comfort | Minimizes cold air infiltration, keeping your hallway warmer. |
| Lower Carbon Footprint | Enhances your home’s energy efficiency, contributing to environmental benefits. |
Types of Draught Excluder Letterboxes
To keep your home warm and energy-efficient, it’s essential to choose the right type of draught excluder for your letterbox. Draught excluders are designed to prevent cold air from entering your home through the letterbox, thus reducing heat loss and saving on energy bills.
Brush Strip Excluders
Brush strip excluders feature dense bristles that block air flow while allowing mail to pass through. They’re typically the most affordable option and work well for standard letterboxes.

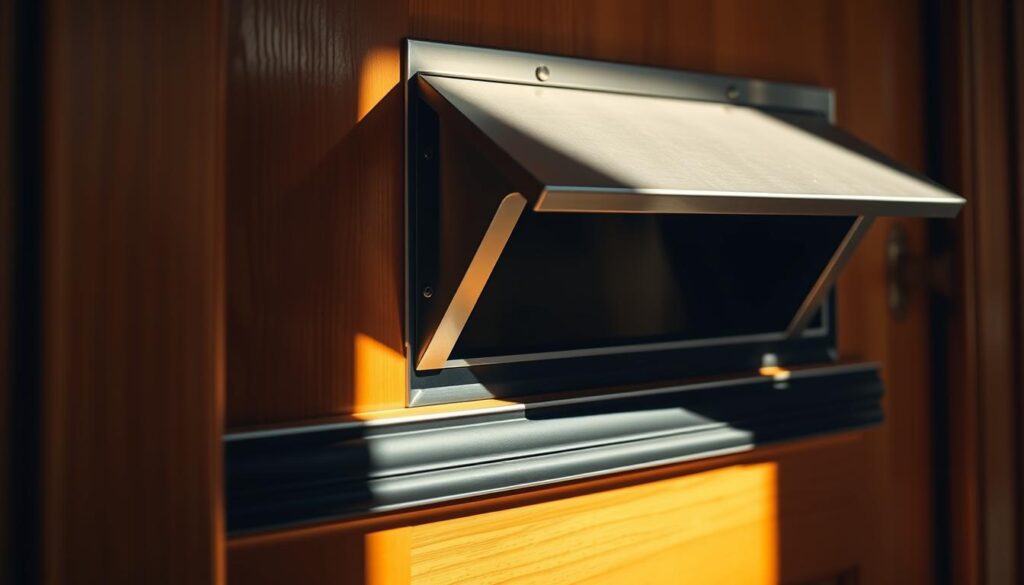
Hinged Flap Excluders
Hinged flap excluders consist of a plate that swings open when mail is pushed through and closes automatically afterward, creating a more complete seal than brush types. This design provides effective draught protection while allowing for smooth mail delivery.

Magnetic Flap Excluders
Magnetic flap excluders use magnetic force to keep the flap tightly closed when not in use, providing superior draught protection. This type is particularly effective in windy conditions.

Tools and Materials Needed to Install Draught Excluder Letterbox
To ensure a smooth installation process, you’ll need to prepare the right tools and materials for your draught excluder letterbox.
Essential Tools Checklist
You’ll need a basic set of tools, including a drill with appropriate bits, a screwdriver (typically Phillips head), a spirit level, pencil, and tape measure. Most draught excluders come with their own screws, but it’s wise to check before starting.
| Tool | Purpose |
|---|---|
| Drill | Creating pilot holes |
| Screwdriver | Securing the draught excluder |
| Spirit Level | Ensuring the excluder is level |
| Pencil | Marking the door |
| Tape Measure | Measuring the letterbox and door |
Choosing the Right Screws and Fixings
When selecting screws, consider the material of your door. For wooden doors, 20-25mm screws are typically sufficient, while metal doors may require self-tapping screws. Having a set of drill bits in various sizes allows you to create appropriate pilot holes that prevent splitting the door material.

Step-by-Step Installation Guide
Installing a draught excluder letterbox is a straightforward process that can significantly improve your home’s energy efficiency. By following these steps, you can ensure a successful installation.
Measuring Your Letterbox
Begin by accurately measuring your letterbox opening to ensure you purchase a draught excluder of the appropriate size. Use your tape measure to measure the dimensions of your letterbox, the width, and height of the opening. This will help you choose a brush strip or flap excluder that accommodates these measurements.
Positioning the Draught Excluder
When positioning the draught excluder, align it carefully with the bottom of the letterbox opening. Ensure it covers the entire width and extends slightly beyond the opening on all sides. Use a spirit level to confirm the excluder is perfectly horizontal before marking the screw hole positions with a pencil through the pre-drilled holes in the excluder.

Drilling Pilot Holes
Drilling pilot holes is crucial to prevent the door material from splitting and to ensure screws go in straight. Use a drill bit slightly smaller than your screws for optimal grip. This step is essential for a secure and durable installation.
Securing the Draught Excluder
When securing the draught excluder, tighten screws firmly but avoid over-tightening, which could warp the excluder or damage the door surface. Ensure the excluder is level and securely attached to the door.
Testing the Installation
After installation, test the draught excluder by pushing paper through to ensure the flap or brushes move appropriately and return to their closed position. For brush-type excluders, check that the bristles create a consistent seal across the entire letterbox opening without gaps. With flap-type excluders, verify that the flap closes completely and creates a proper seal against the frame of the excluder.
Troubleshooting Common Installation Problems
Troubleshooting is an essential step in ensuring your draught excluder letterbox functions as intended, preventing unwanted draughts from entering your home. Despite careful planning and installation, issues can still arise, such as misalignment or persistent draughts.
Dealing with Misalignment Issues
If your draught excluder is not properly aligned with the letterbox opening, it may not function correctly. To resolve this, try repositioning the draught excluder slightly higher or lower than the letterbox opening to prevent interference while maintaining draught protection. For doors with deep letterbox openings, ensure your draught excluder is positioned correctly to cover the entire depth of the opening.
Fixing Gaps and Persistent Draughts
For persistent gaps around the edges of the draught excluder, consider adding weatherstripping or draught-excluding tape to create a more complete seal against the door surface. If draughts persist after installation, check for gaps between the letterbox frame and the door itself, which may require additional sealing with appropriate weatherproofing materials.
Conclusion
Enhancing your home with a draught excluder letterbox is a straightforward process that yields significant benefits in terms of energy efficiency and warmth. By following the step-by-step guide provided, you can successfully install a draught excluder that will significantly reduce cold air infiltration through your front door letterbox.
Regular maintenance of your letterbox draught excluder ensures continued effectiveness. Consider applying similar draught proofing techniques to other areas of your doors and windows for comprehensive home insulation. With your newly installed draught excluder in place, you can enjoy a warmer, more comfortable home environment while contributing to energy conservation.