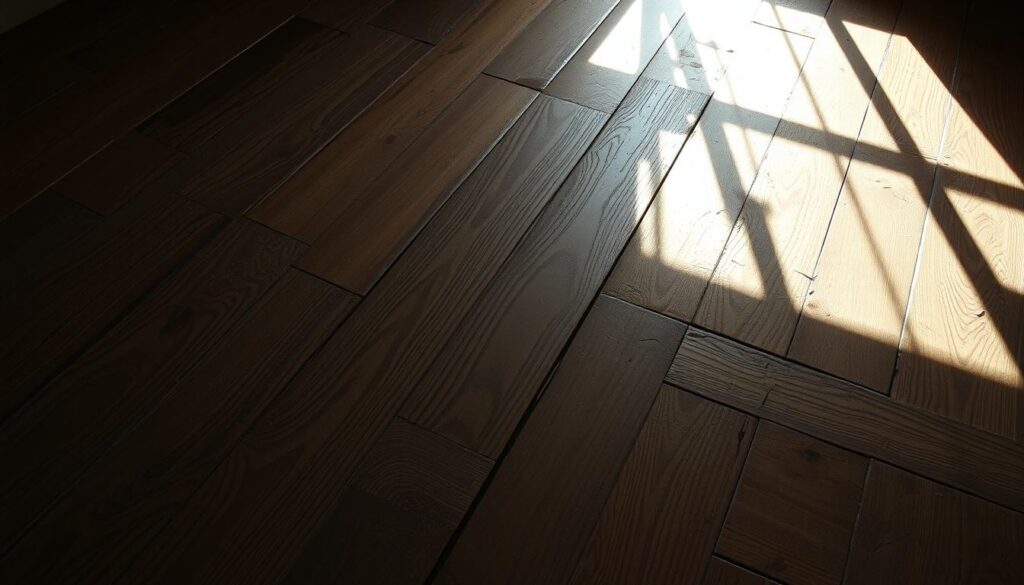
Are squeaky floorboards driving you mad? You’re not alone. The annoying creaks and groans emanating from your floor can be a significant disturbance in any home.
Squeaky floors are typically caused by movement between floorboards and other components, such as nails or the subfloor. This movement creates noise, which can be amplified by the wooden floor acting as a giant soundboard.
Fortunately, fixing squeaky floorboards is often a straightforward DIY task that can be accomplished with the right knowledge and tools. In this comprehensive guide, we will walk you through understanding, identifying, and fixing squeaky floorboards using various methods suitable for different flooring types, including exposed wooden floors and carpeted areas.
Key Takeaways
- Understand the common causes of squeaky floorboards and how to identify them.
- Learn various DIY methods to fix squeaky floorboards for different flooring types.
- Discover preventative measures to avoid future squeaks after repairs.
- Save time and money by fixing squeaky floorboards without professional help.
- Explore the importance of underlay for wooden floorings to minimise noise.
Understanding Why Your Floorboards Squeak
The annoying creak of a squeaky floorboard is often a sign of an underlying issue that needs attention. To fix the problem, you first need to understand its cause.
Common Causes of Squeaky Floorboards
Squeaky floorboards are typically caused by movement between the floorboards and the subfloor or joists. This movement can be due to various factors.
Loose Boards and Nails
One common cause is loose floorboards or nails that have worked their way out over time. As you walk across the floor, these loose components rub against each other, creating the squeak.
Gaps Between Boards and Joists
Gaps between the floorboards and the joists can also cause squeaks. When the floorboards are not tightly secured to the joists, they can shift and rub, producing noise.
Identifying the Source of the Squeak
Locating the source of the squeak is crucial. You can use a couple of methods to identify where the squeak is coming from.
Walking Test Method
Have someone walk slowly across the floor while you listen for the squeak. Mark the spot where the squeak occurs. This method helps pinpoint the exact location.
Visual Inspection Tips
Conduct a visual inspection of the floorboards. Look for signs of damage, gaps, or loose nails. Using a flashlight at an angle can help spot uneven surfaces or gaps that are not immediately visible.
| Cause | Symptoms | Solution |
|---|---|---|
| Loose Boards | Squeaking noise when walked upon | Tighten or replace nails |
| Gaps Between Boards and Joists | Movement and squeaking | Secure boards to joists |
Tools and Materials You’ll Need
To effectively silence squeaky floorboards, you’ll need to arm yourself with the correct tools and materials. Having the right equipment on hand will make the process smoother and more efficient.
Essential Tools for Fixing Squeaky Floorboards
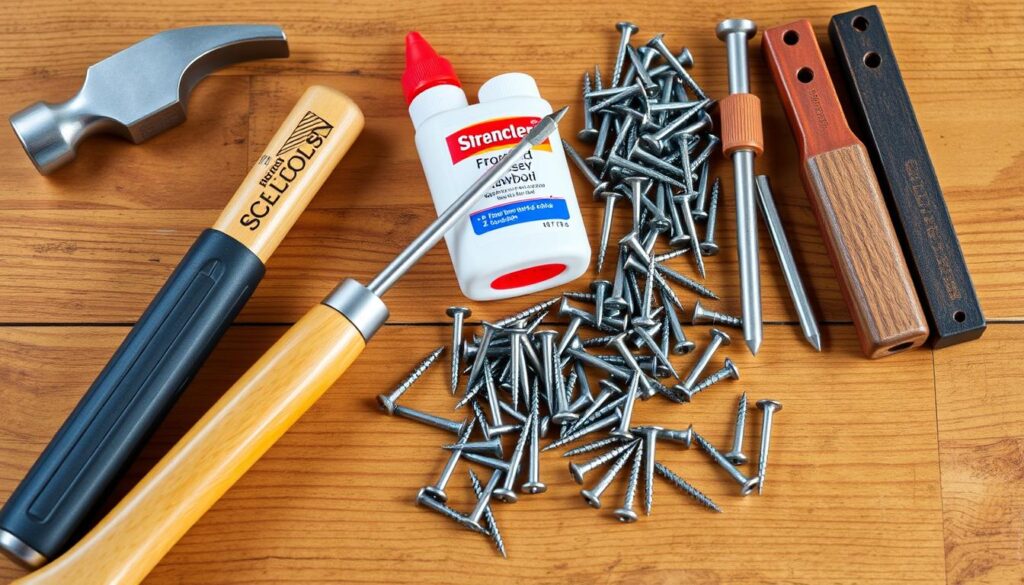
Basic Household Tools
You’ll need basic household tools such as a hammer, tape measure, and pry bar to start the repair process.
Specialised Repair Items
For more effective repairs, consider using specialised items like squeak-relief kits and construction adhesive.
Materials for Different Flooring Types
The type of flooring you’re dealing with will determine the materials you’ll need. Different materials are suited for different types of floors.
Wood Floor Solutions
For wooden floors, solutions include using powdered graphite to lubricate the squeaky area or applying construction adhesive to bond the floorboards together.
Carpeted Floor Solutions
For carpeted floors, you can use specialised carpet repair kits that often include breakaway screws to secure the floorboards from below.
Fixing a Squeaky Floorboard Without Removing Flooring
You don’t need to remove the flooring to fix a squeaky floorboard; there are simpler solutions. Whether you have wooden or carpeted floors, there are various methods to eliminate the squeak without undergoing a major renovation.
Solutions for Wooden Floors
For wooden floors, the approach involves reducing the friction between the floorboards and the subfloor or joists. Two effective methods include using powdered graphite and applying construction adhesive.
Using Powdered Graphite
Powdered graphite is a dry lubricant that can be sprinkled between the floorboards. It reduces the friction, thereby eliminating the squeak. To apply, simply sprinkle the graphite between the boards and sweep it into the gaps. This method is easy and non-invasive, making it a great first step.
Applying Construction Adhesive
For more persistent squeaks, applying construction adhesive between the floorboards and the subfloor can be effective. You’ll need to carefully lift the boards and apply the adhesive. Once dry, it will secure the boards in place, stopping the squeak. This method requires some patience but is highly effective.

Techniques for Carpeted Floors
Carpeted floors require a different approach, as you can’t directly see the subfloor or the joists. However, there are still effective ways to fix squeaky floorboards without removing the carpet.
Using Specialised Squeak-Relief Kits
Squeak-relief kits are designed specifically for this problem. They contain specialised screws that can be driven through the carpet into the subfloor, securing loose boards without damaging the carpet. To use these kits, you’ll first need to locate the joist using a stud finder or by tapping. Once you’ve identified the joist, follow the kit’s instructions to drive the screws into place.
Nail and Screw Methods Through Carpet
If you don’t have a squeak-relief kit, you can still fix the squeak by nailing or screwing through the carpet. Start by identifying the squeak and locating the nearest joist. Drill a pilot hole to avoid damaging the carpet, then drive a nail or screw into the subfloor. Test after each nail to ensure you’re not causing unnecessary damage. For more information on fixing squeaky floors, you can visit this guide.
- Identify the squeak precisely to avoid random nailing.
- Use a drill with a small diameter bit to create pilot holes.
- Drive nails or screws and test after each installation.
- Minimise visible damage by using the fewest nails or screws necessary.
- Consider consulting a professional for expensive or delicate carpeting.
Advanced Repair Methods for Persistent Squeaks
For persistent squeaks, it’s time to consider advanced repair methods that go beyond simple fixes. When basic repairs don’t solve the problem, you may need to access and repair the floorboards from below or replace damaged boards entirely.
Accessing and Repairing from Below
Accessing the underside of your floorboards can be a bit more complicated, but it’s often necessary for persistent squeaks. This involves working in the space below your floor, such as a basement or crawl space.
Using Shims to Fill Gaps
One effective method is using shims to fill gaps between the floorboards and the joists. You can apply construction adhesive to the shims before inserting them to ensure a secure fit. This helps to eliminate movement and, consequently, the squeaking noise.
Securing Loose Joists
If the joists themselves are loose, you may need to secure them. Check for any signs of damage or wear on the joists and the surrounding area. Use screws to tighten any loose joists, ensuring they are firmly attached to the subfloor.

Removing and Replacing Damaged Boards
In some cases, floorboards may be too damaged to repair. Identifying the extent of the damage is crucial to determine whether replacement is necessary.
When to Replace Rather Than Repair
If your floorboards are severely warped, rotting, or splitting, it’s often more effective to replace them rather than attempting a repair. Assess the damage carefully to make this decision.
Step-by-Step Board Replacement
Replacing damaged boards involves carefully removing the affected boards without damaging the surrounding flooring. For tongue-and-groove flooring, this requires precision to avoid affecting adjacent boards. Measure and cut the replacement boards to fit perfectly, and secure them using appropriate fastening techniques.
By following these advanced repair methods, you can effectively eliminate persistent squeaks and ensure your floorboards remain secure and quiet.
Conclusion: Preventing Future Squeaks
Preventing squeaky floorboards is a matter of regular upkeep and knowing what to look out for. Maintaining proper humidity levels in your home is crucial as it prevents wood expansion and contraction that often leads to squeaks.
Using the right fasteners, such as screws instead of nails, during the initial installation can significantly reduce future squeaking problems. Allowing wood flooring to acclimate to your home environment before installation is also vital.
Regular maintenance practices, including checking for loose boards and addressing them promptly, can help prevent squeaks. Using proper underlayment materials during floor installation reduces the likelihood of squeaks developing. By following these guidelines and being mindful of seasonal changes that affect wooden floors, you can minimise the occurrence of squeaks.
If DIY methods aren’t sufficient, it may be time to consider professional help or complete floor replacement. Rest assured, most squeaky floor issues can be resolved with the methods described, restoring peace and quiet to your home.
## FAQ
### Q: What causes floorboards to squeak?
A: Squeaky floorboards are often caused by movement between the floorboards and the joists, which can be due to gaps or uneven surfaces. This movement can be triggered by changes in humidity, uneven subfloors, or worn-out flooring.
### Q: Can I fix squeaky floorboards without removing the carpet?
A: Yes, you can fix squeaky floorboards without removing the carpet. One method is to screw the floorboards to the joists from the top. You can also use construction adhesive to bond the floorboards to the subfloor, reducing movement and squeaks.
### Q: How do I identify the source of the squeak?
A: To identify the source of the squeak, walk on the floor and listen carefully to locate the squeak. You can also use a systematic approach, checking each floorboard and joist intersection to pinpoint the source of the noise.
### Q: What is the best way to fix squeaky floorboards on a wooden floor?
A: For wooden floors, you can use screws to secure the floorboards to the joists. If the squeak persists, you can apply powdered graphite or construction adhesive to the affected area to reduce friction and movement.
### Q: Can I use nails to fix squeaky floorboards?
A: While nails can be used to fix squeaky floorboards, they may not provide a long-term solution. Nails can work loose over time, allowing the squeak to return. Screws are generally a better option as they provide a more secure fix.
### Q: How can I prevent future squeaks?
A: To prevent future squeaks, ensure that your subfloor is level and securely attached to the joists. Regularly inspect your floorboards for signs of wear and tear, and address any issues promptly. You can also use construction adhesive to bond the floorboards to the subfloor, reducing movement and squeaks.
### Q: What if the squeak is coming from underneath the floor?
A: If the squeak is coming from underneath the floor, you may need to access the underside of the floor to repair it. This can involve removing insulation or accessing the crawl space to identify and fix the source of the squeak.
