Are you tired of dealing with faulty recessed lighting in your home? Perhaps you’ve noticed that some of your ceiling lights are not functioning properly, or maybe you’re concerned about the safety implications of a malfunctioning light installation.
Properly functioning recessed lighting is crucial for both the aesthetics and safety of your home. A well-maintained ceiling light can make a significant difference in the overall ambiance of a room. In this comprehensive guide, we’ll walk you through the process of diagnosing and fixing common issues with your recessed light housing, enabling you to save money on costly repairs by tackling the job yourself as a DIY project.
Key Takeaways
- Understand the common signs that indicate a problem with your recessed lighting installation.
- Learn how to diagnose issues with your recessed light housing.
- Discover the step-by-step process for fixing faulty recessed lighting.
- Save money by undertaking DIY repairs for your ceiling lights.
- Ensure the safety and aesthetics of your home’s lighting.
Understanding Recessed Light Components
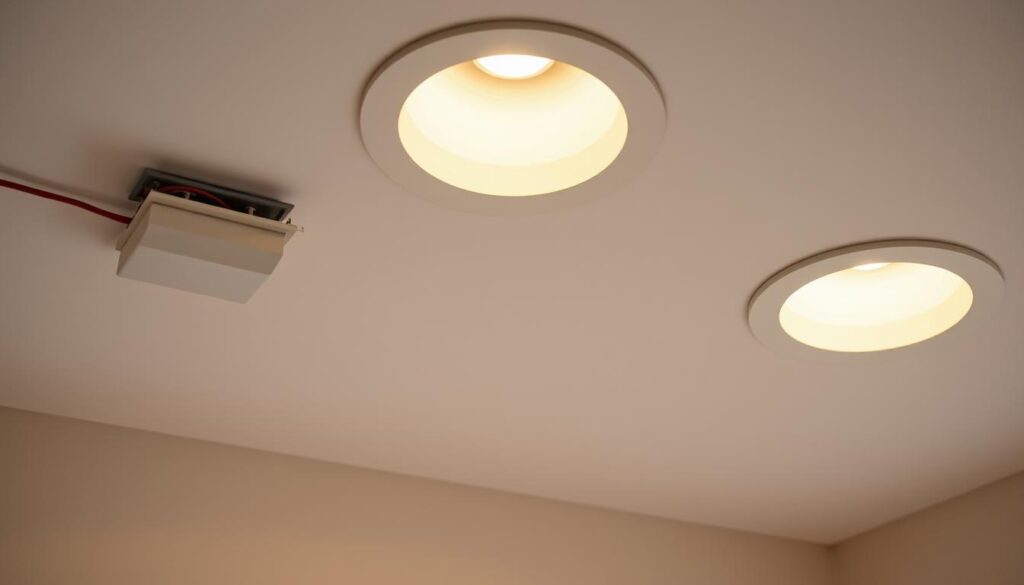
Recessed lighting systems are complex assemblies that require a thorough understanding of their components. The housing is the main structural component, usually mounted within the ceiling cavity. This plastic or metal shell supports the entire lighting device and includes electrical connections.
Housing Types and Their Functions
Modern housings range in style from new construction to remodeling versions, each with different mounting systems. The type of housing used depends on the specific installation requirements. For instance, new construction housings are ideal for new builds, while remodel housings are suited for retrofits. Understanding the differences between IC-rated and non-IC-rated housings is also crucial, as they affect the lighting’s performance and safety.
LED Modules and Electrical Connections
The LED module is the heart of the lighting system, responsible for generating illumination. Unlike traditional bulb fixtures, LED modules are connected directly to the housing unit. The electrical components within recessed lighting, including junction boxes and wire connections, integrate with your home’s electrical system. Proper management of these components is vital for the overall functionality and appearance of the recessed lights.
Common Issues with Recessed Light Housing
Issues with recessed light housing are typically related to the ceiling, housing selection, or wire management. When these elements are not properly aligned, it can lead to a range of problems during installation.
Ceiling Irregularities
Ceiling irregularities are a common culprit behind non-flush recessed lights. Uneven drywall or slight bumps can create subtle surface variations that prevent precise mounting. Older homes with plaster ceilings or multiple layers of paint often present additional challenges.
Incorrect Housing Selection
Not all recessed light housings are compatible with every ceiling type or thickness. Selecting the wrong housing can compound installation difficulties, making it essential to choose a housing that matches your specific ceiling construction.
Wire Management Problems
Improperly bundled or excessively long wires can prevent housings from sitting flat against the ceiling surface
By understanding these common issues, you can take steps to mitigate them and ensure a successful installation of your recessed lighting.
Essential Tools for Fixing Recessed Light Housing

To successfully repair recessed lighting, you’ll need a comprehensive toolkit. Having the right tools is crucial for a safe and effective repair.
Hand Tools and Measuring Equipment
For recessed light housing repair, you’ll require a set of hand tools, including adjustable screwdrivers and needle-nose pliers. Measuring equipment like digital calipers and laser levels help diagnose installation discrepancies, ensuring proper alignment and flush installation.
Electrical Safety Equipment
When working with electrical systems, safety is paramount. You’ll need specialised electrical supplies such as a voltage tester to ensure the power is off, wire strippers for managing electrical connections, and insulation tape for secure wiring.
Investing in these tools and supplies will make the repair process easier and more professional, allowing you to work on your recessed light fixtures with confidence.
Safety Precautions Before You Begin
When it comes to fixing recessed light housings, safety precautions are not just recommended, they’re vital. Ensuring your safety is paramount, and it starts with understanding the risks associated with electrical installations.
Turning Off Power Supply
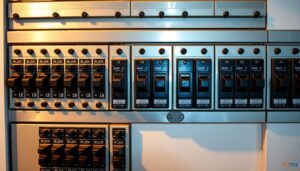
Begin by powering down the electrical circuits to ensure your safety. Locate the circuit breaker that controls the power to your recessed light fixtures and switch it off. Verify that the light is completely dark before proceeding.
- Identify the correct circuit breaker for your recessed lighting.
- Switch off the power and double-check that the light is off.
Testing for Electrical Current
Use a voltage tester to confirm there’s no electrical current flowing to the light fixture. This step is crucial for your safety, as it ensures you’re not working with live wires.
- Carefully insert the voltage tester into the wiring.
- Check the tester’s reading to ensure it’s safe to proceed.
By following these steps, you’ll be able to work on your recessed light housing safely. Always prioritize electrical safety when dealing with installations in your home.
How to Fix Recessed Light Housing: Step-by-Step Process
To ensure your recessed lighting is installed correctly, it’s crucial to understand the step-by-step process of fixing its housing. This guide will walk you through the necessary steps to repair and install your recessed light housing effectively.
Removing the Trim and Inspecting the Housing
The first step in fixing your recessed light housing is to remove the trim. Gently pull the trim away from the ceiling to access the housing. Be cautious not to damage the trim or the surrounding ceiling area. Once removed, inspect the housing for any signs of damage or wear. Check that the housing is properly seated and that there are no obstructions preventing it from sitting flush against the ceiling.
Make sure to handle the trim with care to avoid any unnecessary damage.

Adjusting Mounting Springs and Clips
Inspect the housing’s mounting springs, verifying they provide even pressure across the ceiling surface. Uneven or compressed springs often prevent flush installation. If necessary, adjust or replace the springs to ensure they are providing the correct tension. Additionally, check the clips that hold the housing in place, making sure they are secure and not damaged.
Managing Electrical Wires Properly
Check for wire bundling issues by gently repositioning the electrical connections. Excess wires should be carefully coiled and secured within the housing cavity. Use zip ties or specialized wire management clips to create a compact, organized wire arrangement that allows for complete housing seating. Proper wire management is crucial for a successful installation.
Reinstalling the Light Fixture
Once the housing is properly adjusted and the wires are managed, you can reinstall the light fixture. Ensure the trim is properly aligned with the ceiling and sits flush against it. Turn on the power and test the light to make sure everything is functioning correctly. Adjust the bulb position within the housing for optimal lighting performance.
By following these steps, you can ensure your recessed light housing is fixed correctly, providing a sleek and safe lighting solution for your space.
Troubleshooting Specific Housing Problems
Troubleshooting recessed light housing issues requires a systematic approach to identify and fix problems effectively. You need to examine the housing and its components to determine the root cause of the issue.
Dealing with Loose Housings
Loose recessed light housings can be stabilized by adjusting the mounting springs or clips. Ensure they are securely fastened to the ceiling to prevent the housing from shifting or wobbling. If the housing is old or damaged, consider replacing it with a new one.
Fixing Damaged Mounting Brackets
Damaged mounting brackets in old recessed fixtures can be repaired or replaced. Inspect the brackets for any signs of wear or damage. If necessary, replace them with new brackets that are compatible with your recessed light housing.
Addressing Ceiling Surface Issues
Examine the ceiling surface for irregularities that may prevent the recessed fixture from being mounted flush. Minor bumps can be sanded down, while more significant issues may require drywall repair. Some housings have adjustment mechanisms to compensate for minor surface variations.
| Issue | Solution |
|---|---|
| Loose Housing | Adjust mounting springs or clips |
| Damaged Brackets | Replace with new brackets |
| Ceiling Surface Irregularities | Sand down or perform drywall repair |
When to Call a Professional Electrician

While many homeowners can fix simple recessed lighting problems, complex issues demand expert intervention. Electrical work involving structural changes or complicated wiring requires professional knowledge to ensure safety and compliance with building codes.
Complex Electrical Issues
Complex electrical issues, such as wiring problems or circuit overloads, necessitate the expertise of a licensed electrician. These professionals can diagnose and fix issues that may be beyond the capabilities of a typical homeowner, ensuring your recessed lighting operates safely and efficiently.
Structural Ceiling Problems
Structural ceiling problems, including load-bearing considerations or significant damage, require the intervention of a professional. Whether you’re dealing with drywall repairs or complex construction issues, a certified electrician can assess and address these problems effectively.
For new construction or major renovations, it’s essential to consider building code requirements and how they impact recessed lighting installation. A professional electrician can guide you through these regulations, ensuring your lighting fixtures are installed correctly and safely.
Conclusion
By following this guide, you’ll be able to tackle recessed light housing repairs with confidence. To ensure safety, make sure to turn off the power supply before starting work. Proper wire management and recessed lighting installation are crucial for both function and appearance. For complex issues, consider consulting a professional electrician. With the right tools and know-how, you can successfully repair your recessed lights and enhance your home’s ambiance.