Are you tired of looking at the unsightly cracks on your wooden bed frame? Damage to furniture can be a significant problem, especially if it’s an antique or a family heirloom. Cracks and gouges on wood surfaces are common issues that arise due to wear and tear over time.
Fortunately, various repair methods can restore your damaged furniture to its original state. Regular maintenance and timely repairs can extend the life of your bed frame and prevent further damage. In this article, we will explore simple and advanced techniques to fix the cracks and gouges on your wooden headboard, helping you to make informed decisions about the best repair approach.
Key Takeaways
- Identify different types of cracks in wooden headboards and determine whether they can be repaired at home.
- Learn simple and advanced repair methods suitable for various levels of damage.
- Discover how to select the right repair materials and tools for your specific headboard damage situation.
- Understand how proper repair techniques can extend the life of your wooden headboard.
- Follow step-by-step instructions for each repair method to confidently tackle your headboard restoration project.
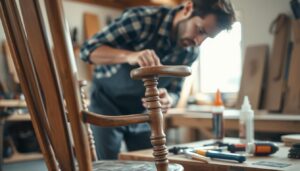
Understanding Wooden Headboard Damage
Wooden headboards are prone to different types of damage, and identifying these issues is crucial for effective restoration. Over time, various factors can cause deterioration, affecting both the appearance and structural integrity of your bed.
Common Types of Cracks and Splits
Wooden headboards typically develop several distinct types of damage, including surface cracks, deep splits, veneer separation, and structural fractures. Surface cracks are often cosmetic issues that appear due to changes in humidity and temperature affecting the wood over time.
| Type of Damage | Description | Typical Cause |
|---|---|---|
| Surface Cracks | Cosmetic issues on the surface | Changes in humidity and temperature |
| Deep Splits | Significant splits that can compromise structural integrity | Physical stress or aging |
| Veneer Separation | Veneer pulling away from the substrate | Moisture or aging |
Assessing the Severity of Damage
When assessing damage, you’ll need to determine if the crack affects only the surface finish or extends into the wood structure itself. The age and quality of the furniture significantly impact how it responds to repairs and whether restoration is worthwhile.

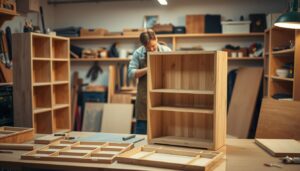
When to Repair vs. When to Replace
Some damage indicators suggest replacement might be more practical than repair, particularly when the headboard has multiple structural failures. Understanding whether your bed frame is made of solid wood or veneered will influence your repair approach, as veneer requires different techniques than solid wood.
Tools and Materials Needed for Headboard Repair
The key to a smooth and effective repair process lies in having the correct tools and materials on hand. Before you start fixing your cracked wooden headboard, it’s crucial to gather everything you need to avoid interruptions and ensure a successful restoration.
Essential Repair Supplies
To repair your wooden headboard effectively, you’ll need a selection of essential supplies. These include various types of wood fillers and putties to fill gaps and holes, high-quality adhesives and glues to bond the wood, and a range of sandpaper grits to smooth out the repaired areas.
Wood Fillers and Putties

For larger holes and gaps, wood fillers and putties are the most suitable options. These fillers come in various formulations, including water-based, solvent-based, and epoxy-based, allowing you to choose the best type for your specific repair needs.
Adhesives and Glues

A good-quality wood glue, such as polyvinyl acetate (PVA) glue like Gorilla Wood Glue, is vital for bonding cracked or split wood. Apply the glue using a thin, flexible tool to ensure an even spread, and clamp the area securely to achieve a strong bond.
Sandpaper and Finishing Materials

To achieve a smooth finish, use a range of sandpaper grits, progressing from coarse to fine. Additionally, apply finishing materials like wood stains, sealers, and protective topcoats to blend the repaired areas with the surrounding wood.
Necessary Tools for the Job
In addition to the essential repair supplies, you’ll need various tools to facilitate the repair process. These include clamps and securing devices to hold the repaired areas in place, application tools to apply fillers and adhesives accurately, and sanding and finishing tools to achieve a smooth finish.
Clamps and Securing Devices

Clamps, such as bar clamps and C-clamps, are essential for holding repaired sections together while adhesives cure. You can also use modified scrap wood with tape as an effective clamping solution.
Application Tools

Application tools like putty knives, plastic spreaders, and small brushes enable precise placement of fillers and adhesives in damaged areas, ensuring a professional-looking finish.
Sanding and Finishing Tools

To achieve a smooth finish, use sanding tools like sanding blocks, and follow up with finishing tools to apply the final coat, ensuring a seamless blend with the surrounding wood.
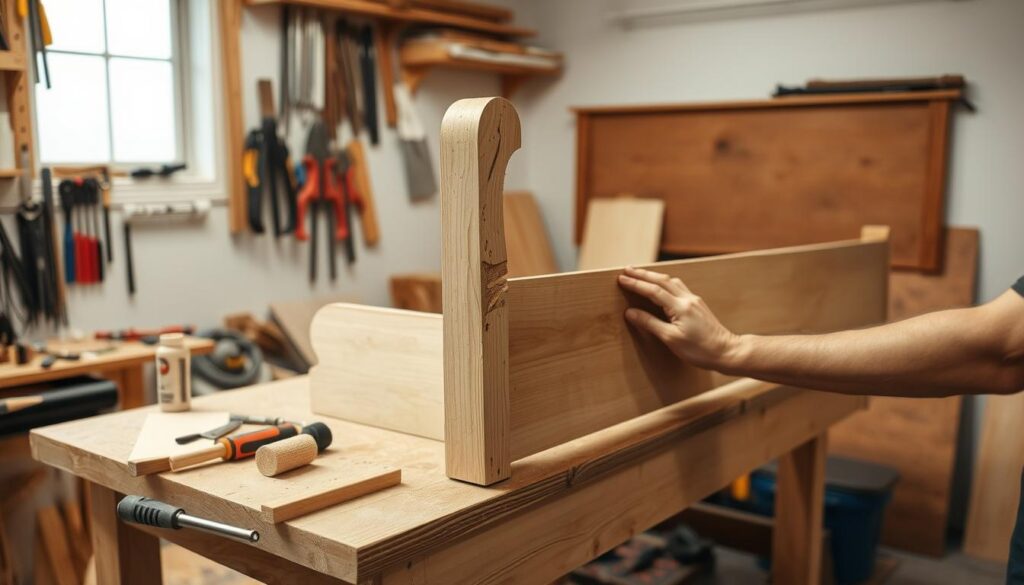
How to Fix a Cracked Wooden Headboard
To fix a cracked wooden headboard, you’ll need to prepare the area and apply the appropriate repair method. This involves several steps to ensure a durable and visually appealing fix.
Preparing the Damaged Area
Before attempting any repair, you must thoroughly clean the damaged area to remove dirt, old finish, and loose wood fragments that could prevent proper adhesion. Use a craft knife or small chisel to carefully clean out the crack, creating a clean surface for the glue or filler to bond with.
Cleaning the Crack
Carefully clean the crack with the tip of a craft knife to remove any debris. This step is crucial for ensuring a strong bond between the wood and the repair material.
Removing Loose Pieces
Gently remove any loose wood pieces from the cracked area. This will help prevent further damage and ensure a smooth repair process.
Basic Gluing Method for Simple Cracks
For simple hairline cracks where the wood pieces still align perfectly, wood glue provides the strongest and most invisible repair solution. Apply the glue carefully to avoid excessive overflow.
Applying Wood Glue
Use a thin applicator to work the adhesive deep into the crack, ensuring complete coverage. Make sure to follow the manufacturer’s instructions for application.
Clamping Techniques
Proper clamping is crucial for glued repairs. Apply even pressure across the repair using bar clamps, C-clamps, or improvised clamping systems with scrap wood and tape.
Drying Time and Considerations
Allow sufficient drying time for adhesives – typically 24 hours for wood glue – before removing clamps and proceeding with any sanding or finishing.

Using Wood Filler for Gaps and Gouges
For gaps and gouges where wood is missing, select a wood filler that matches your headboard’s wood type and can accept stain if needed. Apply the filler slightly above the surface level to account for shrinkage during drying.
Selecting the Right Filler
Choose a wood filler that is suitable for your headboard’s wood type and can be stained to match the original finish. For more information on reinforcing a bed frame, you can visit this guide.
Application Process
Press the filler firmly into the gap or gouge using a putty knife or craft knife. Make sure it is tightly packed to minimize shrinkage.
Sanding and Finishing
Once the filler is completely dry, sand it flush with the surrounding wood using fine-grit sandpaper. Then, buff the area with No.0000 steel wool to achieve a smooth finish.
Matching the Original Finish
Matching the original finish requires careful observation of color, sheen, and texture. Test your finishing products on an inconspicuous area first to ensure a seamless blend.
Feathering the edges of your repair area when applying stain or finish helps create a seamless transition between the repaired section and the original surface. Use an artists’ brush to apply the finish, feathering the edges for a professional result.
Advanced Repair Techniques for Severe Damage
For wooden headboards with extensive damage, using advanced repair techniques is crucial for a successful restoration. Severe damage can compromise the structural integrity and aesthetic appeal of your bed, making it essential to employ sophisticated methods to restore it to its original condition.
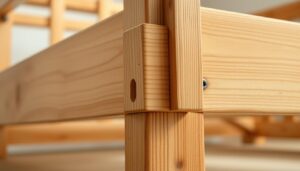
Repairing Split Veneer
Split veneer requires special attention as it involves a thin layer of decorative wood separating from the base material of your headboard. To repair veneer, you’ll need to carefully clean both surfaces, apply wood glue evenly, and use a distributed clamping method with scrap boards and tape to ensure even pressure across the.
Using Shellac Sticks for Professional Results
Shellac sticks provide professional-quality repairs for finished wood surfaces, creating nearly invisible patches when properly matched to the wood tone. When using shellac sticks, you’ll need to heat them carefully over an appropriate heat source until they reach the right consistency for filling the damaged area.

Wood Patch Method for Large Holes
For large holes or missing chunks of wood, creating a custom wood patch from matching material offers the most structurally sound and visually appealing repair. When fitting a wood patch, cut the replacement piece slightly oversized, then carefully trim and sand it to match the surrounding contours of the headboard.
Reinforcing Structural Damage
Reinforcing structural damage may require adding support blocks or brackets to the back of the headboard in areas where the wood has weakened. Advanced repairs often require combining multiple techniques – such as using wood patches for structural integrity followed by shellac sticks for surface finishing.
Conclusion: Maintaining Your Repaired Headboard
After successfully repairing your wooden headboard, it’s essential to implement proper maintenance routines to prevent future damage and extend the life of your furniture. Regular cleaning with appropriate wood care products helps preserve the finish and allows you to spot potential issues before they worsen.
To maintain your headboard’s condition, ensure consistent humidity levels in your bedroom to prevent the wood from expanding and contracting, which often leads to new cracks developing over time. Periodically check and tighten any screws or hardware on your headboard, as loose connections can place stress on the wood and cause cracks to reappear.
- Apply a fresh coat of protective finish every few years to shield the wood from moisture, UV damage, and general wear.
- When moving your bed, always lift the headboard rather than dragging it to prevent stress on repaired areas.
- Keep your repaired headboard away from direct heat sources and radiators to prevent excessive dryness.
By following these maintenance tips and being mindful of your headboard’s condition, you can enjoy your beautifully restored wooden headboard for years to come. With proper care and maintenance, your repaired furniture piece will remain a stunning focal point in your bedroom.