Organising your workshop efficiently is crucial for productivity. A magnetic tool holder is a versatile solution that can transform your workspace by keeping your tools organised and within easy reach.
By implementing a magnetic tool organisation system, you can maximise your workshop space, improve your workflow, and prevent damage to your tools. This guide will walk you through creating a customised tool holder that suits your specific needs.
Key Takeaways
- Maximise your workshop space with a wall-mounted tool holder.
- Improve your workflow efficiency by keeping tools visible and accessible.
- Prevent tool damage by securely storing them on a magnetic strip.
- Create a customised tool organisation system tailored to your needs.
- Enhance your overall workshop productivity with a well-organised workspace.
Benefits of Using a Magnetic Tool-Holder Strip in Your Workshop
Implementing a magnetic tool-holder strip in your workshop can revolutionise your tool organisation. By utilising a magnetic tool holder, you can keep your tools organised and easily accessible, thereby enhancing your overall work efficiency.
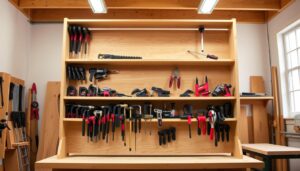
Space-Saving Organisation
A magnetic tool-holder strip is particularly beneficial for saving space in your workshop. By attaching your tools to a wall-mounted magnetic strip, you can free up valuable workspace and reduce clutter. This is especially valuable in smaller workshops where every square centimetre of work surface is precious.

| Benefits | Description |
|---|---|
| Space Saving | Frees up workspace by utilising wall space |
| Reduced Clutter | Tools are organised and off the work surface |
| Increased Efficiency | Tools are easily accessible and visible |
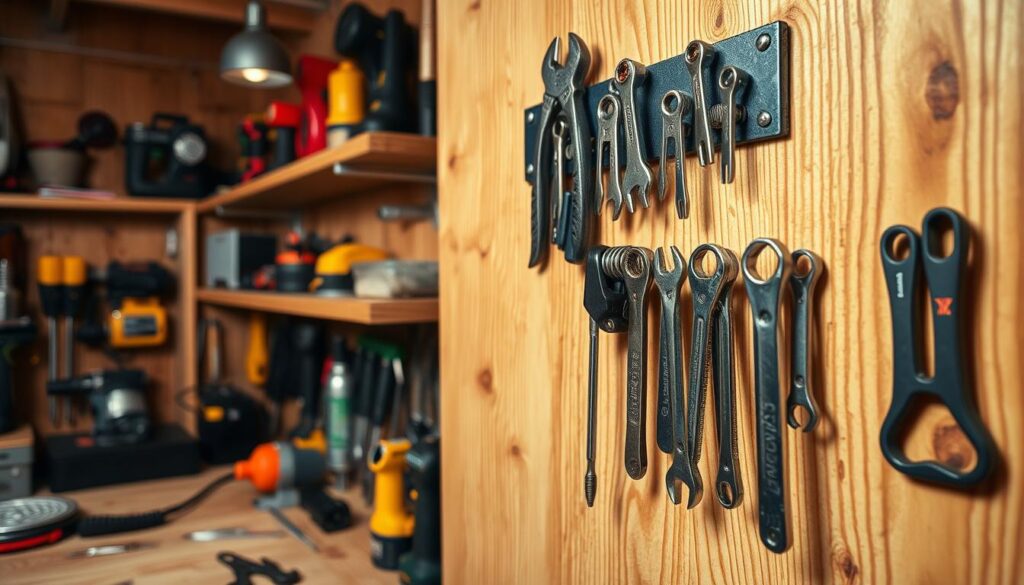
Quick Access to Frequently Used Tools
Having your tools displayed visibly on a magnetic strip allows you to quickly identify and grab the tool you need. This eliminates time wasted searching through drawers or toolboxes. The magnetic tool holder system creates a visual inventory of your most frequently used tools, making it immediately apparent if something is missing.
The accessibility of tools on a magnetic holder also encourages proper tool maintenance and care, as you’re more likely to clean and inspect tools that are visible rather than hidden away.
Materials and Tools Needed for Your DIY Magnetic Tool-Holder Strip
The success of your DIY magnetic tool-holder strip project depends on selecting the right materials and tools. To ensure your tool holder is both functional and durable, you’ll need to carefully choose the components that will make up your project.
Essential Materials List
To start, you’ll need a strong ferromagnetic base material, such as a metal ruler or flat steel bar, that can provide sufficient magnetic attraction. Strong neodymium magnets are also crucial, as they offer superior holding strength compared to standard magnets. Additionally, you’ll require appropriate mounting hardware like screws, wall anchors, or Command Strips to secure your tool holder to the wall. Basic tools like a drill, measuring tape, and level are necessary for assembly.
Optional Materials for Customisation
For customisation, consider using decorative materials like Washi Tape, Scrapbook Paper, or Spray Paint to give your tool holder a personal touch. These materials can help your tool holder blend in with your workshop aesthetic while protecting the metal from corrosion. You can also use Contact Paper to cover your magnets, adding an extra layer of protection and style.

Step-by-Step Guide to Creating Your DIY Magnetic Tool-Holder Strip
With a few simple steps, you can create a magnetic tool-holder strip tailored to your specific needs. This project is a great way to enhance your workshop’s organisation and efficiency.
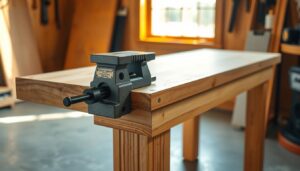
Preparing Your Base Material
Begin by carefully measuring and marking your base material to ensure it’s long enough to accommodate all the tools you plan to display. If you’re using a wooden base, you’ll need to drill precise holes to embed the magnets, using a forstner bit for clean, flat-bottomed holes.
Installing the Magnets
Install your magnets using an appropriate adhesive—epoxy provides the strongest bond for heavy-duty applications, while hot glue offers easier repositioning for lighter tools. Make sure to test the magnetic strength by attaching and removing your tools several times.
Mounting Your Finished Tool Holder
When mounting your finished tool holder, use a level to ensure it’s perfectly horizontal. Consider the height placement carefully, positioning it at a comfortable reaching height. Use suitable screws or Command Strips for mounting on non-magnetic surfaces.
- Carefully measure and mark your base material to fit your tools.
- Drill precise holes for the magnets if using a wooden base.
- Test the magnetic strength before final installation.
- Mount your tool holder at a comfortable height.
Alternative Methods and Design Ideas
You have multiple options for designing a magnetic tool holder that suits your workshop needs. Beyond the standard wooden base method, there are several alternative approaches to creating magnetic tool holders that might better suit your specific workshop requirements or available materials.
Using a Metal Ruler as Your Base
Using a metal ruler as your base offers a pre-made, perfectly straight foundation that often requires minimal modification. Simply attach mounting hardware, and it’s ready to hold magnetic tools. For a ruler-based holder, you can stick the magnet on the back of your tools. You can also spray paint your ruler if desired, and for added decoration, run a strip of tape down the middle.
Decorative Options for Workshop Aesthetics
For a more customized appearance, you can explore decorative options like applying wood veneer to a metal base, using coloured tape for visual organization by tool type, or spray painting with chalkboard paint to allow for labeling. These DIY approaches enable you to create a tool holder that not only serves its purpose but also complements your workshop’s aesthetic.
Conclusion
With a DIY magnetic tool-holder strip, you can revolutionize your workshop’s organization and accessibility. By selecting the right type of magnetic tool holder and installing it properly, you’ll significantly enhance your DIY experience. This simple yet transformative project yields significant returns in workshop efficiency and tool organization.
To get the most out of your magnetic tool holder, remember to regularly check the strength of your magnetic connections and the security of your mounting hardware, particularly for heavier tools. As your tool collection grows, consider expanding your tool storage system, creating dedicated areas for different tool types. By doing so, you’ll maintain a well-organized and efficient workshop that makes your DIY projects more enjoyable.