Are you experiencing mysterious lighting issues in your home, with lights flickering or not turning on at all? Diagnosing the problem can be a daunting task, especially when it’s related to a neutral fault in your lighting circuit. Understanding how to identify and address such issues is crucial for ensuring your home’s electrical system is safe and functioning properly.
This comprehensive guide is designed to walk you through the process of diagnosing neutral faults in your home’s lighting circuit. You’ll learn about the common symptoms and causes of such faults, as well as the safety precautions you need to take when troubleshooting electrical issues.
Key Takeaways
- Understand the symptoms and causes of neutral faults in lighting circuits.
- Learn safety precautions for troubleshooting electrical issues.
- Discover how to identify the location of neutral faults.
- Know when to call a qualified electrician for assistance.
- Gain insights into the basics of lighting circuits and how they work.
Understanding Neutral Faults in Lighting Circuits
A neutral fault in your lighting circuit can cause a range of issues, from flickering lights to complete circuit failures. To effectively diagnose and repair these faults, it’s essential to understand the basics of how lighting circuits work and the role of the neutral conductor.
What Is a Neutral Fault?
A neutral fault occurs when there’s a break or issue in the neutral conductor of your electrical circuit. This disrupts the return path for electrical current, leading to various symptoms. Unlike live wire faults, which typically trigger circuit breakers, neutral faults often present more subtle symptoms that can be confusing to diagnose.
How Lighting Circuits Work in UK Homes
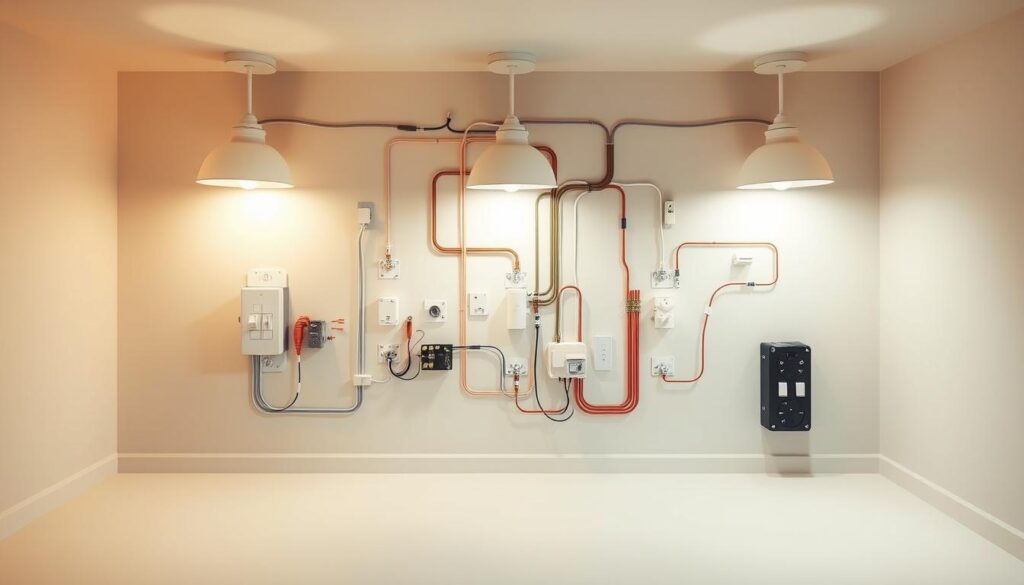
In UK homes, lighting circuits typically operate on a ‘loop-in, loop-out’ system. Cables run between fittings in a continuous circuit, and the neutral wire (usually blue in newer installations or black in older ones) completes the circuit by providing a return path for electricity. Understanding this setup is crucial for identifying potential fault areas.
Common Symptoms of Neutral Faults
Common symptoms of neutral faults include lights that flicker, dim unexpectedly, or operate at varying brightness levels. You might also notice that some lights work while others on the same circuit fail completely. Additionally, neutral faults can cause voltage issues that damage light bulbs or LED drivers, resulting in frequent replacements. Recognizing these symptoms early can help you address the underlying issue before it causes more significant problems.
Safety Precautions Before Diagnosing Electrical Issues
Ensuring your safety is vital when tackling electrical faults in your home. Diagnosing issues with your lighting circuit can be challenging, but it’s crucial to approach the task with caution.
Turning Off Power at the Consumer Unit
Before beginning any diagnostic work, always switch off the power at the consumer unit (fuse box) and lock it off if possible to prevent accidental reconnection. Verify that the power is off using a reliable voltage tester before touching any wires.
Essential Safety Equipment for Home Repairs
To ensure your safety while diagnosing electrical issues, use essential safety equipment such as insulated tools, rubber-soled shoes, and ideally insulating gloves rated for electrical work. This equipment will help protect you from electrical shock.

When to Call a Professional Electrician
If you encounter complex issues involving concealed wiring, multiple circuit problems, or situations where you cannot identify the fault, it’s time to call a professional electrician. Certain electrical work in the UK must be completed by a registered electrician who can certify the installation complies with building regulations.
Tools Required to Diagnose Neutral Fault Lighting Circuit
Diagnosing a neutral fault in your lighting circuit requires the right tools to ensure a safe and effective process. To get started, you’ll need a range of equipment to help you identify and fix the issue.
Multimeter and Voltage Tester
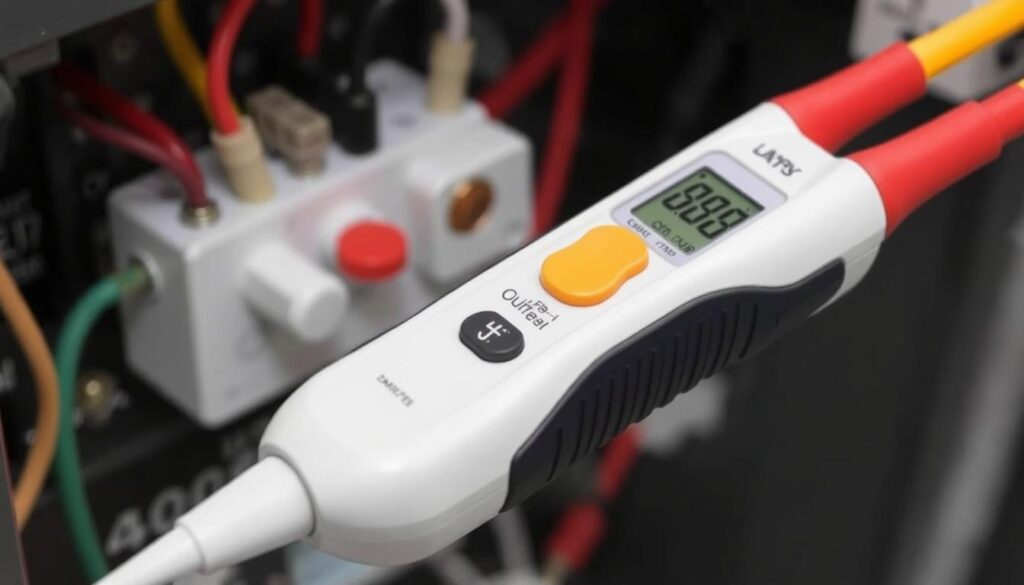
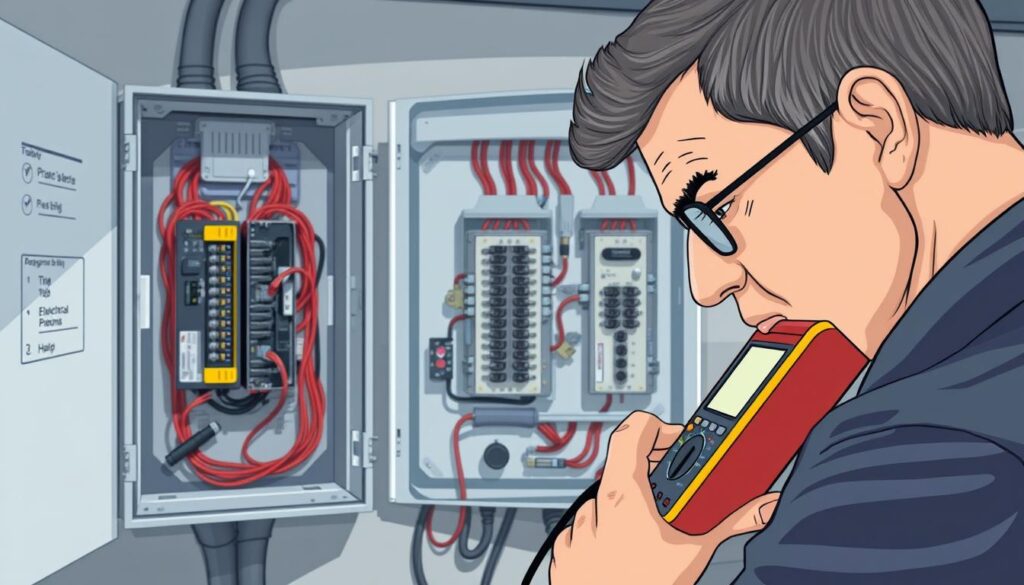
A quality multimeter is essential for diagnosing neutral faults, allowing you to measure voltage, resistance, and continuity in your lighting circuit. A non-contact voltage tester provides a quick and safe way to check whether wires are live before handling them during your diagnostic process.

Circuit Testers and Continuity Checkers
Circuit testers that plug into light fittings can help identify specific wiring issues and confirm whether neutral connections are functioning correctly. A continuity checker or the continuity setting on your multimeter will help you trace breaks in the neutral conductor within your lighting installation.
Basic Hand Tools for Inspection
Basic hand tools including insulated screwdrivers (both flat and Phillips head), wire strippers, and needle-nose pliers will be needed to access junction boxes and light fittings. A torch or headlamp is invaluable when working in dark spaces such as lofts or under floorboards where lighting circuits often run.
Consider investing in a wire tracer if you’re dealing with concealed wiring, as this can help identify cable routes without extensive damage to walls or ceilings. Keep a notebook and pencil handy to map out the circuit as you test it, which will help you track your progress and identify patterns in the fault.
Step-by-Step Diagnostic Process
A step-by-step diagnostic process is essential for resolving neutral faults in lighting circuits. This structured approach ensures that you can identify and fix the issue efficiently, minimizing downtime and potential safety hazards.
Initial Assessment at the Consumer Unit
Begin your diagnostic process at the consumer unit by checking if the circuit breaker for the affected lighting circuit trips when reset or shows signs of damage. This initial assessment can provide valuable insights into the nature of the fault.
Examine the circuit breaker and the surrounding area for any signs of wear or damage. Ensure that all connections are secure and that there are no visible signs of overheating.
Testing the Neutral Bar Connections
Next, examine the neutral bar connections in the consumer unit. Ensure that all neutral wires are securely connected and free from corrosion or damage. Loose or corroded connections can often be the cause of neutral faults.
Use a multimeter to check the continuity of the neutral wires and ensure that they are properly connected to the neutral bar.

Checking Individual Circuit Components
When testing the lighting circuit, you can choose between a methodical approach (testing every component systematically) or a targeted approach (focusing on common fault locations). For the methodical approach, start at the consumer unit and work your way through each junction box, switch, and light fitting in sequence, testing connections at each point.
The targeted approach focuses on common fault locations first, such as checking if fixing screws on light switches are touching neutral wires, which is a frequent cause of neutral faults.
Methodical Testing vs. Targeted Testing
You can adopt either a methodical or targeted testing strategy. The methodical approach involves systematically checking every component, while the targeted approach focuses on likely fault locations, such as light switches and junction boxes.
Test the cable at the consumer unit first, then systematically remove screws in each light switch to see if the fault disappears, indicating you’ve found the problem area. Use your multimeter to check for voltage between neutral and earth at various points in the circuit – a reading here often indicates a neutral fault.
Common Causes of Neutral Faults in Lighting Circuits
Understanding the common causes of neutral faults is crucial for diagnosing and repairing lighting circuit issues effectively. Neutral faults can manifest due to various reasons, often related to the integrity of electrical connections and wiring.
Loose Connections in Junction Boxes
Loose connections in junction boxes are among the most common causes of neutral faults. These loose connections can result from vibration over time or poor initial installation. To identify such issues, you should check all junction boxes in the lighting circuit for loose wire nuts, terminal screws that have backed out, or wires that have pulled away from their terminals.
Damaged Wiring and Conductors
Damaged wiring and conductors can occur due to nails or screws driven through walls, rodent damage, or natural deterioration of older cable insulation. Inspecting the wiring for any signs of damage is crucial in diagnosing neutral faults.
Light Switch and Fitting Issues
Light switch issues are frequently responsible for neutral faults, particularly when fixing screws are too long and penetrate the back of the switch box, making contact with neutral wires. When inspecting light switches, remove the fixing screws one by one and test the circuit after each removal to identify if any particular screw is causing the fault. Similarly, light fitting problems can include loose connections at the rose or terminal block, damaged neutral conductors within the fitting, or issues with the fitting’s internal wiring.
Fixing Screws Touching Neutral Wires
A common issue is fixing screws touching neutral wires, which can cause a fault. This often happens when screws are too long and penetrate the back of the switch box.
Circuit Overloads
Circuit overloads can damage neutral conductors, particularly in older installations where the wiring wasn’t designed for modern lighting loads like multiple halogen or LED fittings. In kitchens, heat and moisture can accelerate the deterioration of connections and conductors, making this room a common location for neutral faults to develop. For more information on diagnosing flickering lights, you can visit this resource.
By understanding these common causes, you can systematically diagnose and repair neutral faults in your lighting circuit, ensuring your electrical system operates safely and efficiently.
Locating the Break in a Neutral Circuit
Locating a break in a neutral circuit requires a methodical approach, especially in homes with concealed wiring. You need to understand the layout of your downstairs lighting circuit and identify the pattern of the fault.
Systematic Approach to Tracing Wiring
Begin by mapping out which lights are affected and which are working. This pattern can provide clues about where in the circuit the break might be located. For instance, if all the lights in your kitchen and half of the downstairs lights are not working, it indicates a problem in a specific section of the circuit.

Using Process of Elimination
The process of elimination involves testing at various junction points, starting from the consumer unit and working towards the affected lights, checking continuity at each stage. This method helps narrow down the location of the break.
Dealing with Concealed Wiring
When dealing with concealed wiring, look for accessible points such as light fittings, switches, and known junction boxes. Checking these areas can provide valuable insights without having to lift floorboards or chase back walls.
Case Study: Downstairs Lighting Circuit Failure
In a recent case, a homeowner noticed that when the kitchen lighting was switched on, all kitchen lights failed along with half the downstairs lights. Testing confirmed a break in the neutral return path. A temporary fix was achieved by cross-connecting a neutral from a power circuit.
| Step | Action | Outcome |
|---|---|---|
| 1 | Map out affected lights | Identify pattern of fault |
| 2 | Test junction points | Check continuity |
| 3 | Inspect accessible wiring points | Locate break |
By following these steps, you can systematically locate the break in your neutral circuit and plan the necessary repairs.
Fixing Neutral Faults Safely
After identifying the neutral fault in your lighting circuit, it’s crucial to proceed with repairs safely and in accordance with UK wiring regulations. Ensuring your safety and the integrity of your electrical installation are paramount.
Repairing Loose Connections
When repairing loose connections, make sure the power is off at the consumer unit. Clean the contact surfaces and tighten terminal screws to the manufacturer’s recommended torque. Over-tightening can damage the terminals, so it’s essential to be precise.
Replacing Damaged Wiring
If you need to replace damaged wiring, use the correct cable type and conductor size for your lighting circuit. Typically, 1.5mm² twin and earth cable is used in UK domestic installations. Maintain proper colour coding: brown for live, blue for neutral, and green/yellow for earth in new installations.
| Cable Component | Colour Coding |
|---|---|
| Live | Brown (New), Red (Old) |
| Neutral | Blue (New), Black (Old) |
| Earth | Green/Yellow |
Correcting Light Switch and Fitting Issues
For light switch issues, consider using shorter fixing screws or adding insulating pads to prevent contact with neutral wires behind the switch. When repairing light fittings, ensure all connections are secure and exposed conductors are properly insulated.
After completing repairs, test the circuit thoroughly before restoring power. This ensures the neutral fault has been resolved and no new issues have been introduced, maintaining the safety and integrity of your electrical installation.
Conclusion: Preventing Future Neutral Faults
Now that you’ve learned how to identify and repair neutral faults, it’s essential to take proactive measures to prevent future issues. Regular inspection of your home’s lighting circuits can help you catch potential problems early.
To maintain a safe and efficient electrical system, consider scheduling an Electrical Installation Condition Report (EICR) every 5-10 years. When renovating, be cautious not to damage concealed wiring by checking for cable locations before drilling.
Other preventive measures include keeping junction boxes accessible, not exceeding circuit capacities when adding new lighting fixtures, and documenting any electrical work done in your home. If you’re unsure about any aspect, consult a qualified electrician.
By following these guidelines, you can significantly reduce the likelihood of neutral faults occurring in your home’s lighting circuits, ensuring a safer and more reliable electrical system over time.


