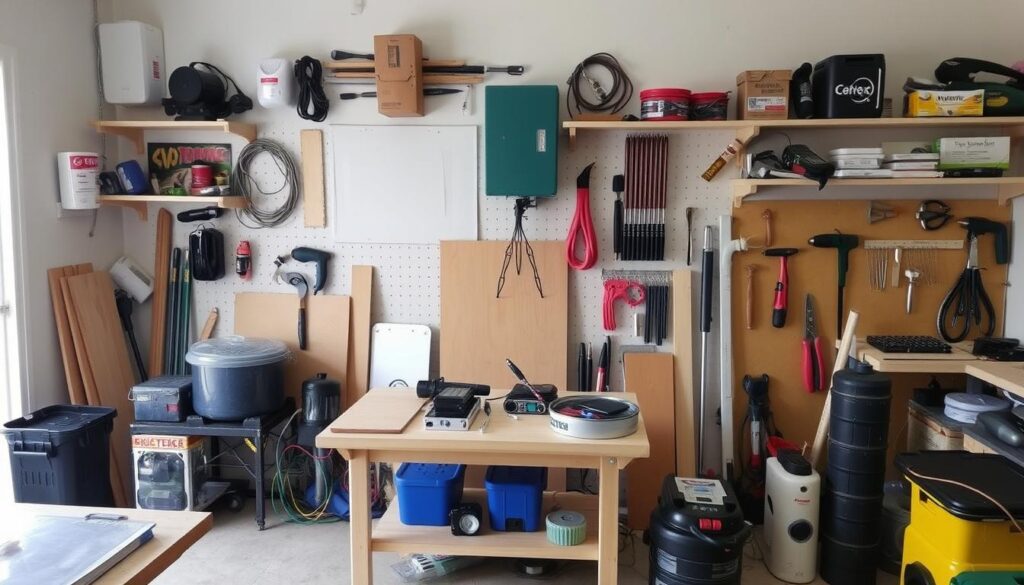
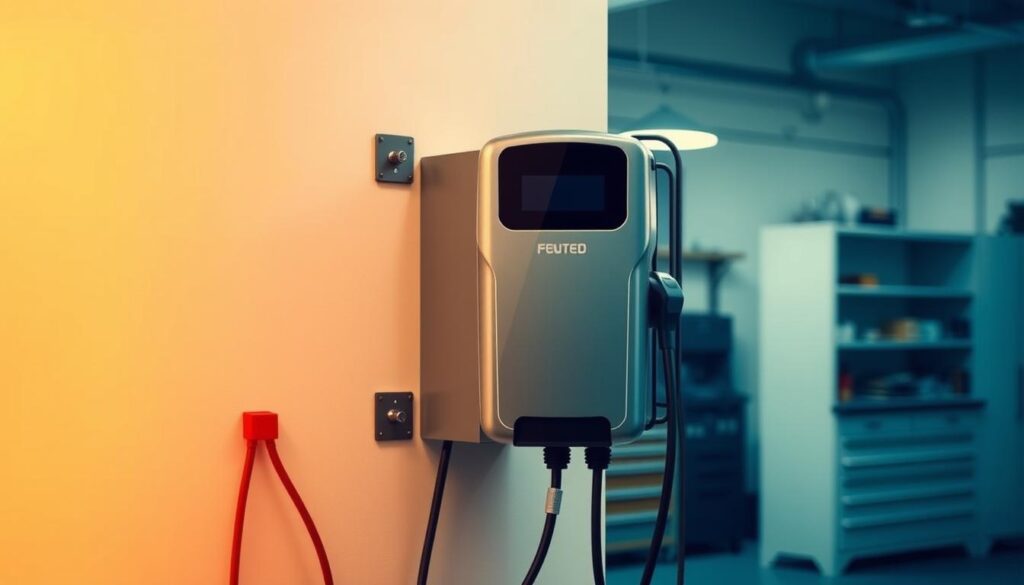
Are you tired of a cluttered workshop with chargers and batteries scattered everywhere? Are you looking for a way to improve your workshop’s efficiency and organisation?
Having a dedicated charging station can make a significant difference. It not only eliminates the chaos but also helps you keep your workshop tidy and your tools ready for use.
In this comprehensive guide, we will walk you through the process of planning, designing, and installing a battery charging hub that meets your specific needs. Whether you’re a seasoned DIY enthusiast or a beginner, this step-by-step guide will help you transform your workshop into a more functional space.
Key Takeaways
- Plan and design a charging station that suits your workshop needs.
- Install a charging hub that accommodates various battery types.
- Improve workshop efficiency and organisation.
- Complete the project in a weekend with basic woodworking skills.
- Transform a cluttered corner into a functional battery-charging hub.
Why You Need a Dedicated Battery Charging Station
The chaos of multiple chargers and batteries scattered across your workspace is more than just an eyesore; it’s a hindrance to efficiency. A dedicated battery charging station transforms this chaos into an organised system, saving you valuable time and workshop space.
Benefits of Centralising Your Charging Needs
Centralising your charging needs offers several benefits. By having all your chargers and batteries in one location, you can quickly assess which ones need charging and which are ready for use, improving your workflow efficiency. A dedicated charging station also reduces fire hazards by preventing overheating and ensuring proper ventilation for multiple charging devices.
| Benefits | Description |
|---|---|
| Improved Efficiency | Quickly identify which batteries need charging |
| Reduced Fire Hazards | Proper ventilation for charging devices |
| Extended Lifespan of Chargers | Prevents damage from improper storage |
Common Problems with Disorganised Charging Areas
Disorganised charging areas often lead to tangled cords, misplaced chargers, and batteries being left uncharged when needed for projects. The clutter of multiple chargers plugged into various outlets creates both visual chaos and potential safety hazards in your home or workshop.
By creating a dedicated battery charging station, you can eliminate these problems and enjoy a more streamlined workflow. Your workshop or home will benefit from the reduced clutter and improved safety.
Planning Your Battery Charging Station Design
To build a functional battery-charging station, you need to start with a solid design plan. This involves considering your current and future needs.
Assessing Your Battery Charging Needs
Begin by taking stock of your battery-powered tools and devices. Consider the types of chargers you need, including wall-mounted, desktop, and USB chargers for smaller electronics. Measure each charger’s dimensions to ensure your design accommodates everything efficiently. Proper planning prevents wasted space and ensures a clutter-free charging station.
- Inventory your current battery-powered tools and anticipated future purchases.
- Consider the variety of chargers needed.
- Measure charger and battery dimensions for an efficient design.
Choosing the Right Location in Your Workshop or Home
When selecting a location, prioritise proximity to power outlets and ensure the station won’t obstruct your workflow. Consider ventilation needs to prevent overheating. The ideal location balances accessibility with safety, away from water sources and flammable materials. Careful placement enhances both functionality and safety.
- Choose a location near existing power outlets.
- Ensure the station doesn’t interfere with your workflow.
- Consider ventilation to prevent overheating.
Essential Materials for Your Charging Station

When building your DIY battery charging station, selecting the right materials is crucial for a sturdy and functional final product. You’ll need a combination of wood components, fasteners, adhesives, and electrical parts to bring your project to life.
Plywood and Wood Components
For the main structure, 3/4-inch plywood offers the ideal balance of strength, stability, and workability. You’ll need approximately one 4’x8′ sheet for a standard-sized charging station. Consider using hardwood plywood for a more finished appearance or Baltic birch for excellent durability in workshop environments. Additional wood components might include 1×2 or 1×3 pine strips for creating dividers, supports, and trim pieces.
Fasteners and Adhesives
Essential fasteners include wood screws in various lengths, particularly 1-1/4″ and 2″ sizes, and pocket hole screws if using that joinery method. Wood glue provides crucial reinforcement for all joints, significantly increasing the strength and longevity of your charging station.
Electrical Components and Power Strips
For electrical components, invest in a high-quality power strip with surge protection. Consider adding a timer to prevent overcharging and reduce fire risks. Cable management supplies such as zip ties, adhesive cable clips, and wire channels help maintain organisation and prevent tangled cords.
Tools Required to Create Battery-Charging Station
Gathering the right tools is crucial for the efficient creation of your battery-charging station. The right tools will make each step of the process smoother and more manageable.

Cutting and Shaping Tools
To cut and shape the components of your charging station, you’ll need a selection of powerful tools. A circular saw or table saw is essential for cutting plywood sheets to size. While a table saw offers greater precision, a circular saw with a straight-edge guide can also produce excellent results. Additionally, a jigsaw is useful for cutting curved components or creating holes for cable management.
For precise holes, a drill with various bit sizes is necessary, including a 1-1/2″ Forstner bit for larger cable passages. A pocket hole jig system, like Kreg, makes creating strong, hidden joints easier.
Assembly and Finishing Tools
For assembly, you’ll need a quality drill/driver for driving screws, ideally with clutch settings to prevent over-tightening. A brad nailer speeds up the assembly process, allowing you to secure pieces temporarily while the glue dries. Measuring and marking tools are also crucial for accurate layout work. Finally, sanding tools will be needed to smooth edges and surfaces, providing an excellent finish.
By using these tools effectively, you’ll be able to complete your battery-charging station efficiently and to a high standard.
Building the Base Structure
To start constructing your charging station, you’ll need to build a sturdy base. This involves several key steps, from cutting the plywood to size to assembling the final structure.
Cutting the Plywood to Size
Begin by carefully measuring and marking your plywood sheets according to your design plans. Use a circular saw or a table saw to make precise cuts. Always cut with the good side down to prevent splintering on the visible surface.
Create a cutting diagram to ensure you’re using your plywood efficiently and maintaining the proper grain direction for structural integrity.
Creating the Frame and Supports
For the frame components, cut pieces that will form the back, sides, and bottom according to your measured dimensions. Consider using pocket hole joinery for a clean look and strong connections. Drill these holes before assembly for easier access.
Assembling the Base Structure
Start by attaching the side to the back using wood glue and 1 1/4″ pocket hole screws. Then, attach the two shelves to the side, ensuring accurate spacing. Finally, attach the other side to the back and the shelves, completing the base structure.
Designing the Charger Mounting System
An effective charger mounting system is essential for maintaining an organised and efficient workspace. You need to consider the layout and positioning of your chargers to maximise convenience and safety.
Measuring and Marking Charger Positions
Begin by gathering all your chargers and experimenting with different configurations on your mounting surface. Consider the dimensions of each charger and the length of their power cords. Use a pencil to trace the outline of each charger, then mark the mounting hole locations. You can use the tape transfer method by placing masking tape on the back of the charger and pressing it against your mounting surface to transfer the screw locations.
Drilling Mounting Holes and Cable Passages
When drilling mounting holes, use a drill bit slightly smaller than your mounting screws to ensure a tight fit. Create cable passages using a 1-1/2″ Forstner bit, positioning these holes to allow power cords to pass through while remaining hidden. This will keep your workspace tidy and reduce clutter.
Creating Storage Compartments for Extra Batteries
Design storage compartments based on the types of batteries you own. Consider creating adjustable or modular compartments to accommodate future purchases. Include labels or colour-coding for each charger and battery storage area to maintain organisation. This is particularly useful if you have multiple tools from the same manufacturer with similar-looking batteries.

Installing the Electrical Components
As you move forward with your battery-charging station project, installing the electrical components requires careful attention. This step is crucial for ensuring that your charging station is both functional and safe to use.
Setting Up the Power Strip
To begin, you’ll need to set up the power strip inside the cabinet. Route the wire out through the side hole and plug in each of the chargers. For smaller chargers with larger plugs, consider placing them on the top shelf to keep them accessible. A high-quality power strip with surge protection capabilities is essential to safeguard your chargers and batteries from power surges.
Cable Management Techniques
Effective cable management is vital for maintaining a tidy and efficient charging station. Use velcro cord organizers to tie up any extra wire and keep the area organized. Consider creating dedicated channels for cable routing and using adhesive cable clips to secure wires along predetermined paths.
Safety Considerations for Electrical Installations
Safety should be your top priority when installing electrical components. Ensure that your power strip is not overloaded by calculating the total amperage of all chargers that might be operating simultaneously. Consider incorporating a timer or smart plug to automatically cut power after a set charging period, preventing overcharging and reducing fire risks.
| Safety Measure | Description | Benefit |
|---|---|---|
| Surge Protection | High-quality power strip | Protects equipment from power surges |
| Cable Management | Velcro cord organizers and cable clips | Keeps the area organized and reduces tripping hazards |
| Timer or Smart Plug | Automatically cuts power after a set period | Prevents overcharging and reduces fire risks |
Mounting and Finishing Your Charging Station
The final stage of creating your charging station involves mounting it to the wall, ensuring it’s both secure and easily accessible. This step is crucial for the overall functionality and safety of your charging station.
Wall Mounting Options (French Cleats vs Direct Mounting)
When deciding how to mount your charging station to the wall, you have two primary options: French cleats or direct mounting. French cleats offer superior versatility, allowing you to reposition your charging station easily or temporarily remove it when needed. They consist of complementary angled pieces attached to the wall and the back of your station. For direct mounting, you’ll need to locate and mark wall studs using a stud finder, then secure the charging station with heavy-duty screws driven directly through the back panel into these studs.

| Mounting Method | Advantages | Disadvantages |
|---|---|---|
| French Cleats | Highly versatile, easy to reposition | Requires additional hardware |
| Direct Mounting | Simple, straightforward | Limited flexibility, requires precise stud alignment |
Adding Final Touches and Labels
Once your charging station is mounted, you can add finishing touches such as edge banding on exposed plywood edges, sanding all surfaces smooth, and applying a clear finish if desired for protection and easier cleaning. It’s also a good idea to create and apply labels for each charger and battery storage location using a label maker, engraved plates, or even handwritten tags laminated for durability. Consider adding small LED indicator lights near charger locations to provide at-a-glance status information.
Conclusion: Enjoying Your Organised Workshop
With your battery charging station now complete, you’ll experience a significant transformation in your workshop’s organisation and efficiency. Your new charging station eliminates the frustration of searching for the right charger or finding batteries at various stages of charge.
The dedicated charging station creates a consistent routine for battery management, extending the lifespan of both your batteries and chargers. For more DIY projects, you can visit Instructables for inspiration.
Take pride in your custom solution that perfectly matches your specific needs. Enjoy the convenience of having all your power tool batteries charged and ready to use, making your workshop a more productive space.


