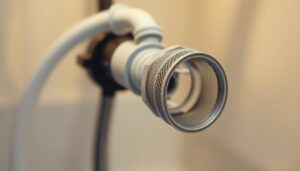
Replace Dishwasher Inlet Hose Filter: Your Guide to Maintenance
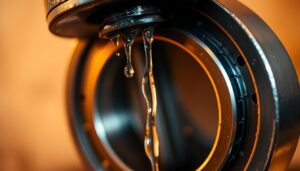
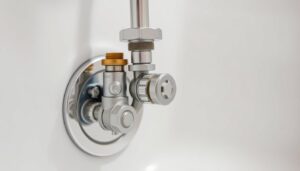
Are you aware of the crucial role the inlet valve plays in your appliance’s functioning? It controls the water flow,…
🕒 6 min read
Read More →