Are you getting the expected results from your new oven, or are there discrepancies in cooking times and temperatures that leave you puzzled? Ensuring your oven’s temperature is accurately calibrated is crucial for achieving perfect dishes.
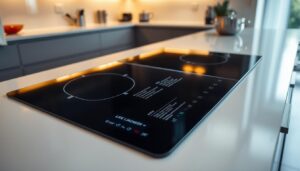
Calibration is key to maintaining the precision of your oven’s touchscreen controls. Over time, ovens can drift out of calibration, affecting cooking outcomes. Fortunately, adjusting your oven’s internal temperature settings is a straightforward process that can significantly enhance your cooking experience.
Understanding the importance of calibration and how to effectively adjust your oven can make a significant difference in your cooking results. This guide will walk you through the process, ensuring you can cook with confidence.
Key Takeaways
- Calibration is essential for maintaining your oven’s accuracy and cooking precision.
- The process involves adjusting your oven’s internal temperature to match the displayed temperature.
- Calibration can significantly improve cooking results and extend the life of your appliance.
- The adjustment process typically takes less than 30 minutes and requires no special tools.
- Most major smart oven brands can be calibrated using the methods outlined in this guide.
Why Calibrating Your Smart Oven is Important
Calibrating your smart oven is a crucial step in ensuring your cooking results are consistent and accurate. When your oven is properly calibrated, you can trust that your dishes will turn out as expected every time you cook.

A well-calibrated oven is essential for achieving perfect cooking results. To determine if your oven needs calibration, look out for signs such as inconsistent cooking results or longer cooking times.
Signs Your Oven Needs Calibration
If you notice that your recipes are not turning out as expected, it may be a sign that your oven needs calibration. Common indicators include overcooking or undercooking, and inconsistent results. To test your oven’s accuracy, you can use a simple cookie recipe and make small batches of 3-6 cookies.
Benefits of Proper Calibration
Proper calibration of your oven offers several benefits. These include:
- Consistent cooking results, ensuring recipes turn out as expected every time.
- Reduced energy consumption by preventing unnecessary strain on heating elements.
- Extended lifespan of your oven due to accurate temperature control.
- More precise cooking, especially important for temperature-sensitive recipes.
By calibrating your oven, you can enjoy professional-quality results, enhanced food safety, and reduced cooking times. Regular calibration is a simple yet effective way to ensure your smart oven performs optimally.
| Benefits | Description |
|---|---|
| Consistent Results | Ensures recipes turn out as expected every time. |
| Energy Efficiency | Reduces energy consumption by preventing unnecessary strain. |
| Extended Lifespan | Accurate temperature control extends the oven’s lifespan. |
Preparing to Calibrate Your Smart Oven Touchscreen Controls
Before you start calibrating your smart oven, it’s essential to prepare properly. Calibration is not just about adjusting the temperature; it’s about ensuring your oven is working accurately and efficiently.
Gathering Necessary Tools and Information
To begin, you’ll need to gather a few essential tools and pieces of information. This includes your oven’s user manual, a thermometer to test the current temperature, and any recipes you plan to use for testing. Having the right tools on hand will make the calibration process smoother.
Testing Your Oven’s Current Temperature Accuracy
Next, you’ll need to test your oven’s current temperature accuracy using a thermometer. Place the thermometer in the oven and set it to a specific temperature. Compare the thermometer reading with the oven’s displayed temperature to identify any discrepancies.
Determining the Calibration Amount Needed
To determine the calibration amount, repeat a test recipe until you achieve the desired results, noting the temperature setting each time. Calculate the difference between the recipe’s recommended temperature and the temperature that produced the best results. For instance, if a recipe recommends 180°C but your dish turns out perfectly at 185°C, you need to adjust your oven’s calibration accordingly. Most smart ovens allow adjustments in 5-degree increments, so round your calculation to the nearest 5 degrees.

How to Calibrate Smart Oven Touchscreen Controls: Step-by-Step Process
Calibrating your smart oven’s touchscreen controls is a straightforward process that ensures your cooking results are accurate and consistent. This process involves accessing the calibration settings, making the necessary temperature adjustments, and verifying that the changes have taken effect.
Accessing the Calibration Settings on Different Models
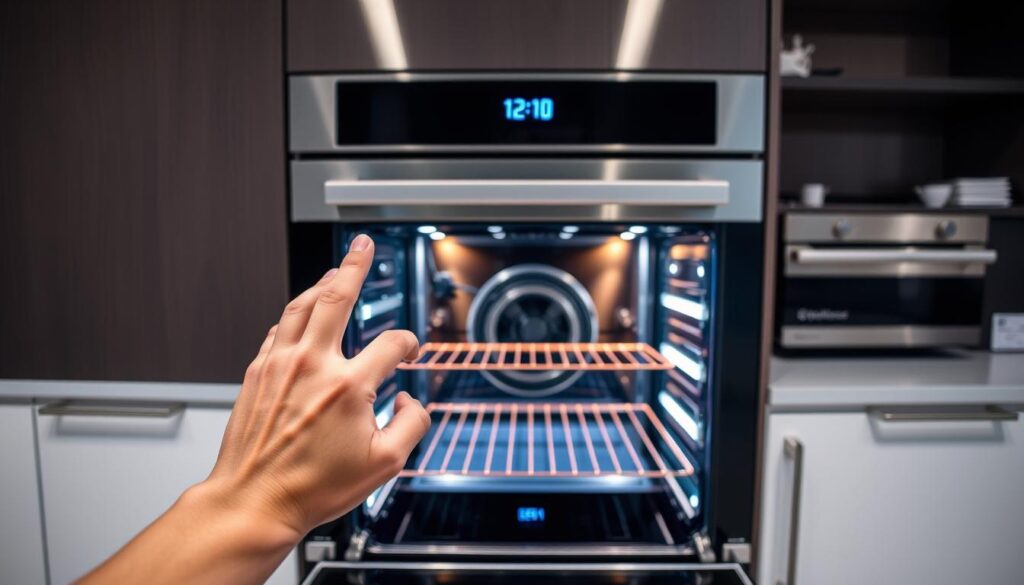
The method for accessing calibration settings can vary depending on your smart oven model. For LCD touch screen models, you typically need to navigate through the settings menu to find the calibration option.
LCD Touch Screen Models
On LCD touch screen models, look for a ‘Settings’ or ‘Options’ menu, where you can find the calibration settings.
Keypad Models
For keypad models, you may need to press a specific combination of buttons to access the calibration mode.
Setting the Correct Temperature Adjustment
Once you have accessed the calibration settings, you need to determine the correct temperature adjustment. This involves comparing your oven’s actual temperature to the displayed temperature and making the necessary adjustments.
Confirming Your Calibration Was Successful
After making the adjustments, it’s crucial to verify that your oven is now cooking at the correct temperature. To do this, you can re-run a test recipe using the original temperature. If the results are as expected, your calibration was successful. Some key points to consider include:
- Cooking a test recipe again at the original temperature to verify the adjustment was effective.
- Keeping a log of your cooking results to track any patterns or remaining inconsistencies.
- Allowing your oven a “settling period” after calibration before deciding on further adjustments.
By following these steps, you can ensure your smart oven is properly calibrated, providing you with consistent and accurate cooking results every time.
Conclusion
By calibrating your smart oven’s touchscreen controls, you can significantly improve your overall kitchen experience. Accurate temperature control is crucial for achieving perfect cooking results, and regular calibration checks can help maintain optimal oven performance.
Different oven models may have varying calibration methods, so it’s essential to consult your owner’s manual for model-specific instructions. The time invested in properly calibrating your oven will pay dividends in better cooking results and fewer recipe failures.
To summarise, calibrating your smart oven is a straightforward process that can greatly enhance your cooking. By following the steps outlined in this guide, you can ensure your oven maintains accurate temperature control for years to come.