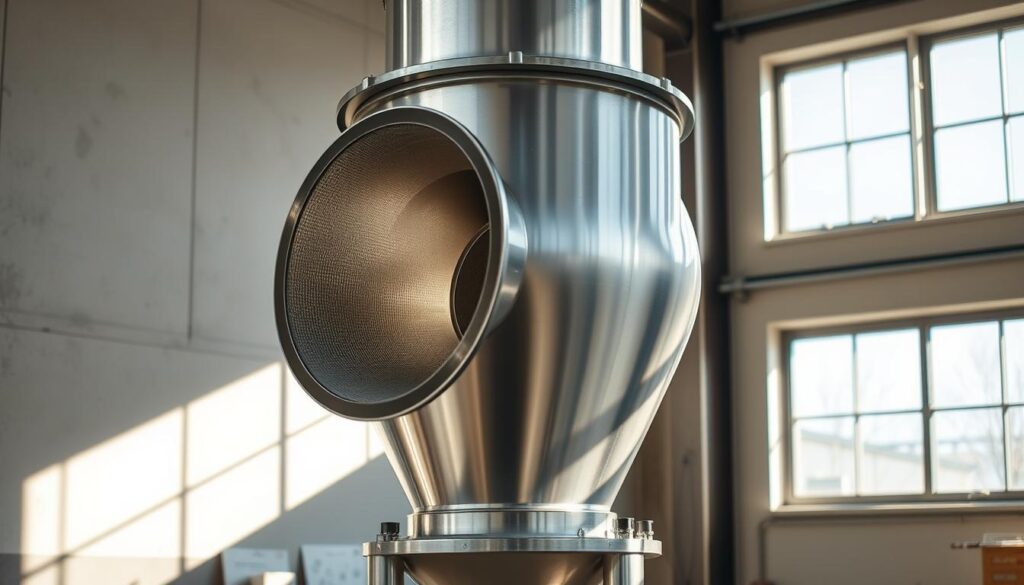
Creating an efficient dust collection system for your workshop is crucial for maintaining a clean and safe environment. One effective way to achieve this is by building a cyclone dust separator using buckets, a cost-effective solution compared to commercial systems.
This DIY project requires minimal tools and materials, making it accessible even for beginners. By understanding how cyclone separators work and following this guide, you’ll be able to create a functional dust separator that improves your workshop cleanliness and tool maintenance routine.
Key Takeaways
- Learn how to create an efficient dust collection system for your workshop.
- Understand the science behind cyclonic separation and its effectiveness.
- Discover how to build a cost-effective cyclone dust separator using buckets.
- Improve air quality in your workshop and extend the life of your vacuum filters.
- Follow a step-by-step guide to testing your finished system.
Understanding Cyclone Dust Separators
To effectively manage dust in your workshop, understanding the functionality of cyclone dust separators is crucial. A cyclone separator is a device designed to improve the efficiency of your dust collection system.
What Is a Cyclone Dust Separator and How Does It Work
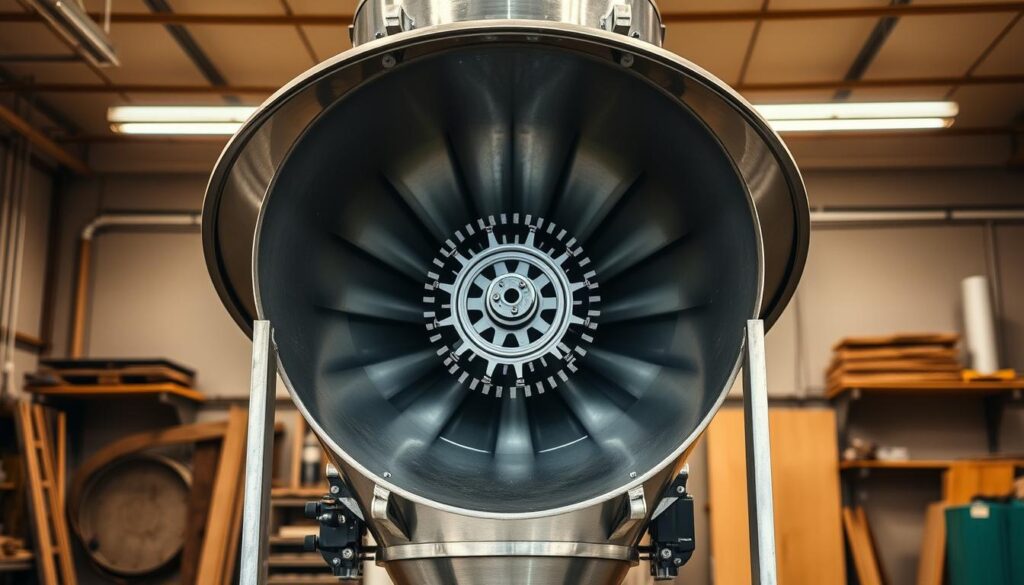
A cyclone dust separator works by creating a spinning vortex of air inside a container. When dust-laden air enters the cyclone through the inlet, it spins around the outside of the container. The centrifugal force causes heavier particles to lose velocity and drop into the collection bucket below, while the clean air continues through the top outlet to the vacuum, thus maintaining suction power by preventing the filter from clogging.
Benefits of Building Your Own Cyclone Bucket System
Building your own cyclone bucket system allows you to customise the size and configuration to match your specific workshop needs and available space. This DIY approach not only saves money but also provides comparable performance to commercial dust collection systems. By capturing dust at the source, you improve workshop air quality and reduce the amount of fine particles that become airborne during cleaning, making it a valuable addition to your workshop’s system.
Materials and Tools You’ll Need to Build Dust-Separator Cyclone Bucket
Before starting your DIY project, it’s essential to have the required materials and tools at hand. Building a dust-separator cyclone bucket is a cost-effective and straightforward project that can be completed with basic materials and tools.
Essential Buckets and Containers
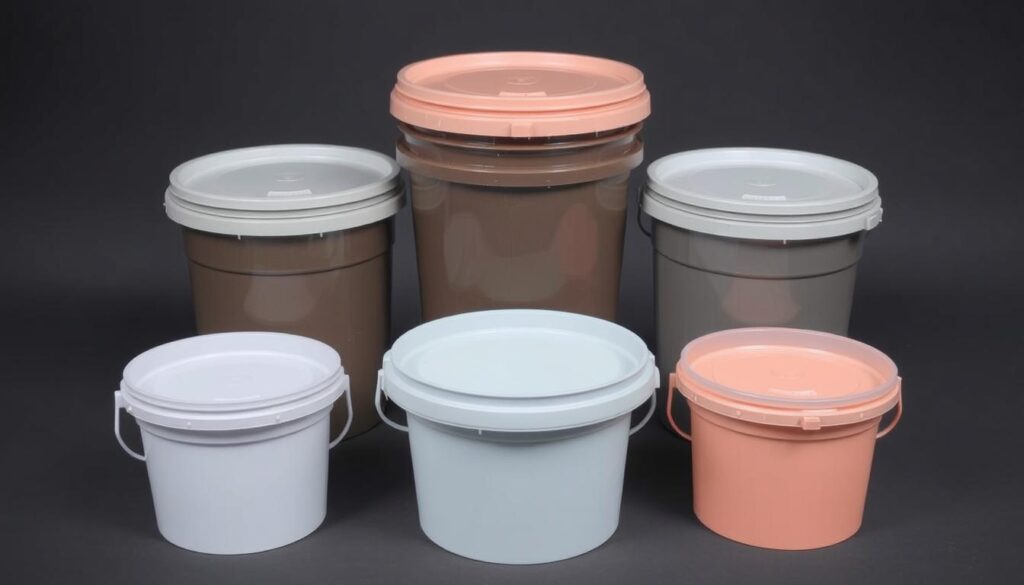
You’ll need two buckets of different sizes—a larger one (approximately 5 litres or more) that will serve as your dust collection container and a smaller one that will function as the cyclone component. Look for sturdy plastic buckets with airtight lids, as the system will be under vacuum pressure during operation; paint buckets work particularly well for this project.
Required Hardware and Fittings
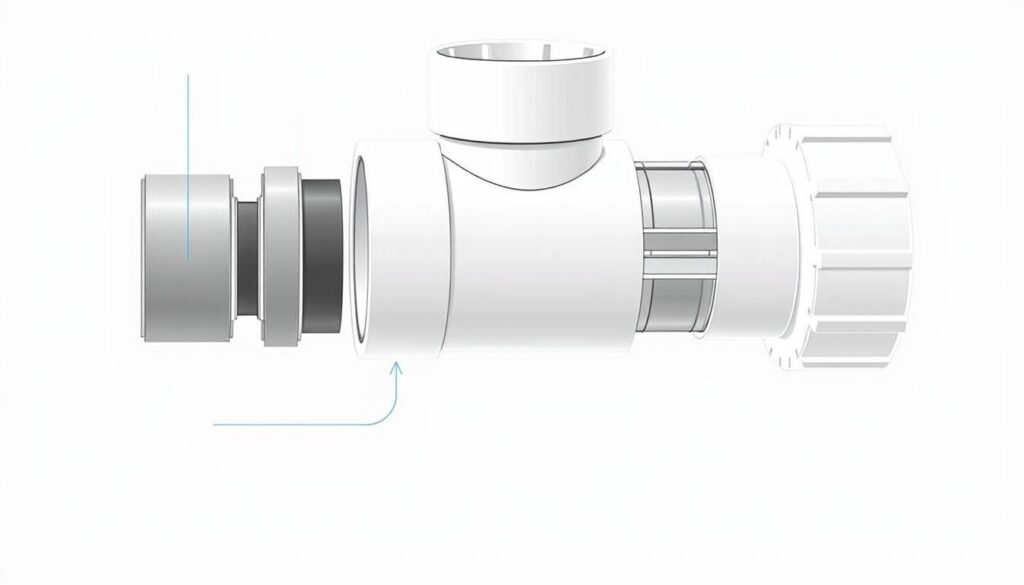
For the hardware components, you’ll require PVC pipe and fittings (approximately 50mm in diameter), which will serve as the inlet and outlet connections for your dust separator. You’ll also need 16mm plywood to create the baffle and connecting ring between the buckets, which is crucial for the cyclone’s efficiency.
Tools for Assembly
Essential tools for this project include a jigsaw or utility knife for cutting the buckets and lid, a drill for making holes, a screwdriver, and measuring tools for precise fitting. You’ll also need silicone sealant or hot glue for creating airtight seals, screws for securing components, and hose clamps for connecting vacuum hoses.
The total cost for all materials typically ranges from £30-40, making this a budget-friendly alternative to commercial dust collection systems that can cost hundreds of pounds. Consider sourcing used buckets to further reduce costs and increase the sustainability of your DIY project.
Step-by-Step Guide to Build Your Cyclone Dust Separator
You can build a highly effective cyclone dust separator by following this step-by-step guide. The process involves several key steps that ensure your dust separator functions efficiently.
Preparing the Buckets and Creating the Baffle
Begin by preparing the buckets; the larger bucket will serve as your dust collection container, while the smaller bucket will be inverted and mounted on top to create the cyclone chamber. To create the baffle, trace the circumference of the top bucket onto a piece of plywood and cut out a disk with a central cutout following the Thien baffle design.
Installing the Inlet and Outlet Connections
Install the inlet connection by cutting a hole in the side of the top bucket and fitting a PVC elbow at a tangential angle to create the cyclonic action. Create the outlet connection by cutting a hole in the centre of the inverted top bucket and installing a straight piece of PVC pipe that will connect to your vacuum hose.
Assembling the Cyclone Components
Assemble the cyclone components by mounting the baffle inside the top bucket, ensuring that the inlet aligns with the end of the baffle cutout to maximise cyclonic action. Use a connecting ring made from plywood, about 25mm wider than the bucket diameter, to secure the top bucket to the bottom bucket and create an airtight seal.
Sealing the System for Maximum Efficiency
Seal all connections thoroughly with silicone or hot glue to ensure the system maintains proper vacuum pressure during operation. Pay special attention to the joints between the buckets and the plywood components. Test the fit of all components before applying permanent adhesives to achieve optimal performance of your cyclone dust separator.
Testing and Optimising Your Cyclone Dust Separator
After assembling your cyclone dust separator, it’s time to test its capabilities and fine-tune its operation. This process is crucial to ensure your system works efficiently and effectively in your workshop.
Initial Testing Procedures
Begin by testing your cyclone dust separator with dry materials like sawdust from your workshop floor. This will allow you to observe the separation efficiency easily. Check your vacuum’s dust container after the test; it should remain relatively clean if the cyclone is working properly.
- Test with dry sawdust to observe separation efficiency.
- Check the vacuum’s dust container for cleanliness.
Troubleshooting Common Issues
If you experience reduced suction power, consider using a shorter or smaller diameter hose to increase air velocity. Watch for signs of bucket collapse, which can be solved by doubling up buckets or using more rigid containers. Ensure all connections are properly sealed to maintain vacuum pressure.
| Issue | Solution |
|---|---|
| Reduced suction power | Use a shorter or smaller diameter hose |
| Bucket collapse | Double up buckets or use more rigid containers |
Tips for Improving Suction and Efficiency
To improve suction and efficiency, ensure all connections are sealed properly. Testing the system with different types of debris will help you understand its limitations. Consider adding a clear section of hose or viewing window to observe the cyclonic action during operation.
- Seal all connections properly.
- Test with different types of debris.
- Consider adding a viewing window.
Conclusion
With your DIY cyclone separator, you’re not just improving your workshop’s cleanliness, but also extending the life of your vacuum equipment. The cyclone bucket you’ve built captures approximately 90% of dust and debris before it reaches your vacuum’s filter, maintaining suction power and reducing maintenance frequency.
This project offers performance comparable to commercial dust separators at a fraction of the cost, typically saving you hundreds of pounds while providing customised functionality. The modular design of your bucket-based cyclone separator allows for future modifications and improvements as your workshop needs evolve.
By adopting this dust management system, you’re enhancing your workshop’s cleanliness and protecting your lungs by capturing fine dust particles. Consider building additional cyclone separators for different areas of your workshop or for specific tools that generate substantial dust, creating an integrated dust management system.
