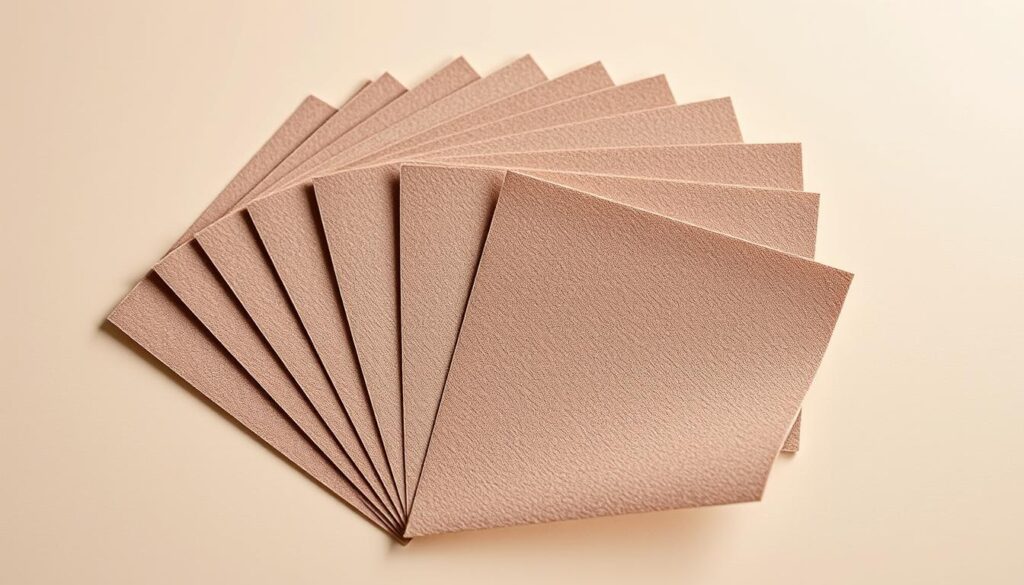
Are you struggling to achieve a smooth finish on your woodworking projects? Selecting the correct sandpaper can make all the difference.
The type of grit used on sandpaper significantly impacts the sanding process and the quality of the final finish. With numerous options available, understanding the different grits and their applications is crucial for achieving professional results.
Whether you’re refinishing furniture or preparing surfaces for painting, choosing the appropriate grit sandpaper is vital. This guide will help you navigate the complexities of sandpaper selection, ensuring you achieve a flawless finish every time.
Key Takeaways
- Understand the different types of sandpaper grits and their uses.
- Learn how to select the perfect grit for your specific project needs.
- Discover how the correct sandpaper can improve your sanding process.
- Find out how to achieve a smooth, professional finish.
- Explore the benefits of using the right sandpaper for your projects.
Understanding Sandpaper and Its Importance
When it comes to achieving a smooth finish, the right sandpaper is an indispensable ally in your toolkit. Choosing the right sandpaper is akin to selecting the perfect tool for a specific task, a decision that profoundly impacts the outcome of your hand-sanding project.
What Makes Sandpaper Essential for DIY Projects
Sandpaper is crucial for DIY projects as it directly influences the quality of the finished surface. Using the appropriate sandpaper ensures that your workpiece is silky smooth, rather than marred by imperfections. Different materials respond uniquely to various sandpaper types, making your selection vital for achieving the desired results.
How the Right Sandpaper Affects Your Results
The right sandpaper choice significantly affects how efficiently you can complete your project. Proper selection improves efficiency and reduces fatigue. By choosing right sandpaper, you can achieve smooth finishes and professional-looking results, underscoring the importance of understanding sandpaper’s role in your DIY endeavors.
The Sandpaper Grit System Explained
Sandpaper grit is more than just a number; it’s a key to unlocking the perfect finish for your projects. The grit of your sandpaper plays a significant role in determining the quality of your sanding work.
What Grit Numbers Mean
Grit numbers represent the size of the abrasive particles on the sandpaper. A lower grit number indicates larger particles, which are used for coarse sanding, while higher grit numbers signify smaller particles, ideal for fine sanding. For instance, 40 grit is considered coarse, whereas 220 grit is fine.
How Grit Affects Surface Finish
The grit you choose directly affects the surface finish of your project. Coarser grits (lower numbers) are used for removing material quickly, leaving a rough finish. In contrast, finer grits (higher numbers) produce a smoother finish, making them perfect for final stages of sanding.
Grit Ranges and Their Classifications
Sandpaper grits are typically classified into four main categories: coarse (40-60), medium (80-120), fine (150-180), and very fine (220+). Understanding these classifications is crucial for selecting the right grit for your project and achieving professional results. As noted by industry experts, “the right grit can make all the difference in the quality of your finish.”
By knowing how to use different grit ranges, you can ensure a smooth progression in your sanding sequence, ultimately leading to a high-quality finish.
Coarse-Grit Sandpaper: When and How to Use It
For rough shaping and surface preparation, coarse-grit sandpaper is the ideal choice. Coarse-grit sandpaper is typically used for removing significant amounts of material, such as old paint or varnish, and for shaping wood.
Understanding 40-80 Grit Applications
Coarse grits, ranging from 40 to 80, are used for the most aggressive sanding tasks. These grits are ideal for removing old paint or varnish, shaping wood, and creating a textured surface. For instance, when working with hardwoods like oak, maple, or walnut, coarse-grit sanding can be particularly effective for significant material removal.
Best Materials for Coarse-Grit Sanding
Different materials respond differently to coarse-grit sanding. The following table outlines the suitability of various materials for coarse-grit sanding:
| Material | Suitability for Coarse-Grit Sanding |
|---|---|
| Hardwoods (oak, maple, walnut) | Highly suitable; can withstand aggressive sanding. |
| Softwoods | Moderately suitable; requires careful application to avoid gouging. |
| Metal surfaces with rust or old paint | Highly suitable with the right backing material. |
| Concrete, stone, and masonry | Highly suitable for material removal. |
Understanding the best materials for coarse-grit sanding helps you achieve efficient results while avoiding damage to your workpiece.
Medium-Grit Sandpaper: Perfect for Preparation
Medium-grit sandpaper plays a crucial role in the sanding process, serving as a bridge between coarse and fine grits. It is used for the final shaping work, to remove marks left over from planing, or for smoothing a surface after coarse grit sandpaper has been used.
Working with 100-150 Grit Sandpaper
When working with 100-150 grit sandpaper, you’re effectively removing the deeper scratches left by coarse grits while preparing the surface for finer sanding. This grit range is ideal for addressing major imperfections that were not resolved in the coarse sanding stage.
Transitioning from Coarse to Medium Grit
The transition from coarse to medium grits is a critical step that requires attention to detail. A methodical approach ensures that each successive grit removes the scratches left by the previous one. Understanding when to make this transition depends on when the major imperfections have been addressed, making it a pivotal moment in achieving a smooth finish.
| Grit Range | Application |
|---|---|
| 100-150 | Smoothing surfaces, removing minor imperfections |
| Coarse to Medium | Transitioning to remove deep scratches |
Fine-Grit Sandpaper: Achieving Smooth Finishes
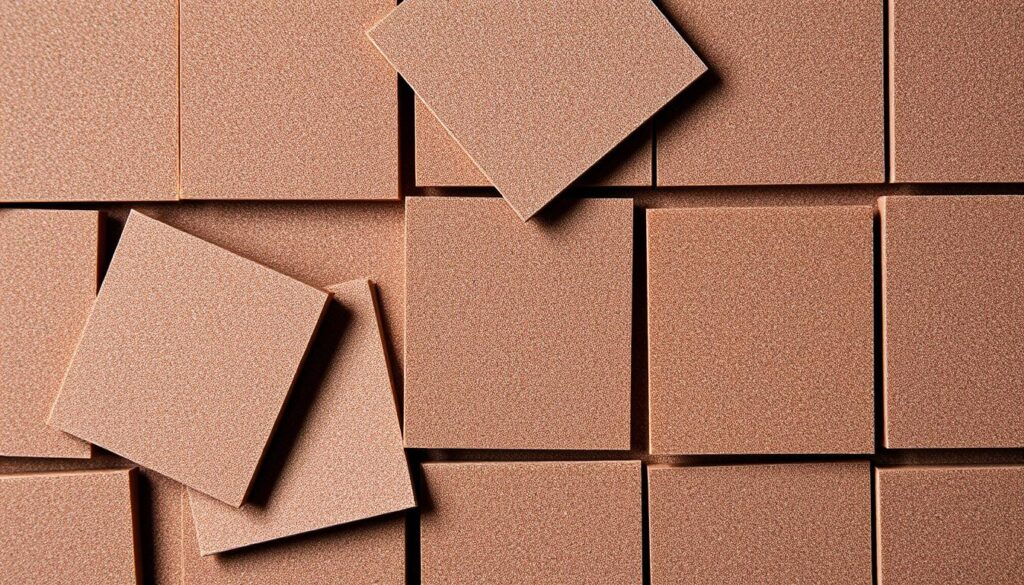
Achieving a smooth finish is crucial for any woodworking or DIY project, and fine-grit sandpaper is the key to getting it right. Fine-grit sandpaper is used to refine the surface of your workpiece, removing minor imperfections and preparing it for finishing.
The Benefits of 180-220 Grit
Using 180-220 grit sandpaper provides a high-quality finish by smoothing out the surface. This grit range is ideal for the final stages of sanding before applying a finish. It helps to remove small scratches and imperfections, resulting in a smooth surface that is ready for staining or varnishing. The 180-220 grit range is particularly useful for woodworking projects where a smooth finish is essential.
When to Use Extra-Fine Grits (400+ Grit)
Extra-fine grits, 400 and above, are used for specialty applications that require an ultra-smooth surface. These grits are ideal for wet sanding between coats of varnish, lacquer, or other clear finishes. They help eliminate tiny imperfections that would otherwise be magnified, especially when working with high-gloss finishes. Additionally, extra-fine grits are used in metal polishing to achieve a mirror-like finish. Understanding when to use these specialty grits is crucial for achieving professional results in fine woodworking and finishing projects.
Choosing Right Grit Sandpaper for Different Materials
To achieve professional results, it’s essential to understand how to choose the right grit sandpaper for various materials. Different surfaces require specific grit sandpapers to achieve the desired finish. The right grit sandpaper can make all the difference in your project.
Sanding Wood: Hardwood vs. Softwood
When sanding wood, the type of wood you’re working with is crucial. Hardwood typically requires a finer grit (120-150) to avoid scratches, while softwood can often be sanded with a coarser grit (80-120). Always sand with the grain to avoid damaging the wood.
Metal Sanding Techniques
For metal surfaces, start with a coarse grit (80-120) to remove rust or old finishes. Progress to finer grits (220-320) for a smooth finish. Using the right grit sequence is key to achieving a professional finish.
Drywall, Plaster and Other Surfaces
Drywall and plaster require careful sanding to avoid damage. For drywall, use medium to fine grits (120-220) with light pressure. Plaster surfaces benefit from progressively finer grits, starting around 80-100 and finishing with 220. Specialised sanding screens or mesh abrasives are often preferred for drywall to prevent clogging with dust. Other surfaces, such as fibreglass, plastic, and composite materials, each require specific grit selections based on their hardness and desired finish.
Sandpaper Backing Materials: What You Need to Know
The backing material of sandpaper is a critical factor that influences its performance and durability. When choosing sandpaper, it’s essential to consider the type of backing material used.
Paper-Backed Sandpaper
Paper-backed sandpaper is a traditional and cost-effective option. It is suitable for most sanding tasks, including smoothing wood surfaces. However, it may not be as durable as other backing materials.
Cloth-Backed Sandpaper
Cloth-backed sandpaper offers greater durability and flexibility compared to paper-backed options. It is ideal for heavy-duty sanding applications and can withstand high levels of abrasion, making it suitable for sanding metal surfaces.
Film-Backed Sandpaper
Film-backed sandpaper is a relatively new innovation, featuring a thin, flexible plastic film as the backing material. It excels in precision and finish-oriented tasks, including fine finishing on wood, plastic, or metal. Key benefits include:
- Exceptional consistency and durability
- Perfectly flat surface for uniform sanding and superior finish
- Ideal for wet sanding applications due to water resistance and dimensional stability
- Premium results for projects requiring high-quality surface surfaces
For more detailed information on sandpaper and its applications, you can visit Wood Magazine’s guide on sandpaper.
Abrasive Materials: Making the Right Choice
Abrasive materials play a vital role in determining the effectiveness of sandpaper for various applications. The right abrasive material can significantly enhance the sanding process, whether you’re working with wood, metal, or other surfaces.
Aluminium Oxide Sandpaper
Aluminium oxide is a popular abrasive material known for its durability and versatility. It is suitable for sanding various materials, including wood and metal. This abrasive is often used for general-purpose sanding and is available in a range of grits.
Silicon Carbide Sandpaper
Silicon carbide is another widely used abrasive material, particularly effective for sanding metal and other hard materials. It offers a sharp cutting action and is often used for wet sanding applications.
Garnet Sandpaper
Garnet sandpaper is a traditional abrasive material that is still used today, particularly for sanding wood. It is known for its gentle cutting action and is often used for fine sanding and finishing.
Zirconia Alumina Sandpaper
Zirconia alumina is a high-performance abrasive material known for its aggressive cutting action and durable nature. It is often used in heavy-duty applications where rapid material removal is required, such as grinding and shaping metal, particularly stainless steel and alloys.
| Abrasive Material | Primary Use | Characteristics |
|---|---|---|
| Aluminium Oxide | General-purpose sanding | Durable, versatile |
| Silicon Carbide | Metal, hard materials | Sharp cutting action |
| Garnet | Wood sanding | Gentle cutting action |
| Zirconia Alumina | Heavy-duty applications | Aggressive, durable |
By understanding the characteristics and applications of different abrasive materials, you can make informed decisions when selecting sandpaper for your projects, ensuring effective sanding and optimal results.
The Progressive Sanding Technique
Achieving a flawless finish requires more than just the right sandpaper; it demands a strategic approach to sanding. The progressive sanding technique is a methodical process that involves progressing through a series of grits to achieve the desired surface finish.
Why You Should Never Skip Grits
Skipping grits can lead to a poor finish and potentially damage the surface you’re working on. Each grit level is designed to remove the scratches left by the previous grit, ensuring a smooth progression towards the final finish. By never skipping grits, you ensure that your sanding process is efficient and effective.
Creating a Sanding Sequence for Perfect Results
Creating an effective sanding sequence requires understanding both your starting point and your desired end result. For most woodworking projects, a typical sequence might progress from 80 to 120 to 180 to 220 grit. More demanding projects might require starting with coarser grits (40-60) or finishing with finer grits (320+). A well-planned sequence ensures that each step removes approximately 50-70% of the material from the previous step, leading to consistently excellent results.
| Project Type | Typical Grit Sequence | Result |
|---|---|---|
| Standard Woodworking | 80, 120, 180, 220 | Smooth Finish |
| Demanding Projects | 40, 60, 80, 120, 180, 220, 320+ | High-Gloss Finish |
By adopting the progressive sanding technique and creating a tailored sanding sequence, you can achieve the best results in your projects, ensuring a smooth finish that meets your expectations.
Common Sandpaper Mistakes to Avoid
To get the best out of your sanding, it’s essential to steer clear of frequent errors. Sanding is a critical process that can make or break the quality of your DIY projects. By understanding and avoiding common sandpaper mistakes, you can achieve professional-looking results.
Using the Wrong Grit for Your Project
Selecting the appropriate grit sandpaper is crucial for your project’s success. Using a grit that’s too coarse can leave scratches, while one that’s too fine can be ineffective. For instance, starting with a coarse grit like 40-80 for removing old finishes or smoothing out rough wood is advisable.
Sanding Against the Grain
Sanding with the wood grain is vital to avoid scratches and ensure a smooth finish. Sanding against the grain can lead to tear-outs and a poor surface quality. Always observe the wood grain direction before you start sanding.
Applying Too Much Pressure
Applying even pressure is key to effective sanding. Pressing too hard can cause uneven surfaces and premature wear of your sandpaper. Conversely, sanding too lightly may prolong the process. Letting the abrasive do the work with moderate pressure produces better results.
| Common Mistake | Consequence | Best Practice |
|---|---|---|
| Using wrong grit | Inadequate surface preparation | Choose grit based on project needs |
| Sanding against the grain | Scratches and tear-outs | Sand with the grain |
| Applying too much pressure | Uneven surfaces and sandpaper wear | Apply even, moderate pressure |
Essential Sanding Tools and Accessories
To achieve professional results in your DIY projects, it’s crucial to have the right sanding tools and accessories. Sanding can be a messy process, generating dust and particles that may be harmful to your health. Therefore, it’s essential to invest in tools that not only improve the quality of your work but also protect you from potential hazards.
Sanding Blocks and Their Benefits
Sanding blocks are invaluable for ensuring flat, even surfaces. They help prevent uneven sanding and reduce the risk of creating scratches or marks on your project. By using a sanding block, you can achieve a more uniform finish, which is particularly important when working with large surfaces.
Sanding Sponges for Contoured Surfaces
Sanding sponges are designed for sanding contoured or irregular surfaces. They are flexible, allowing you to sand complex shapes without damaging the material. This flexibility makes them ideal for projects that involve curved or rounded edges.
Dust Collection and Safety Equipment
Effective dust collection systems and safety equipment are crucial for protecting your health while sanding. A dust mask or respirator can prevent you from inhaling harmful dust particles. Additionally, safety glasses can protect your eyes from debris. Ensuring good ventilation or using a dust collection system can also significantly improve the sanding process, making it safer and more efficient. By investing in these tools, you can save time and ensure a safer DIY project.
- Effective dust collection systems protect your health while improving visibility and surface quality during sanding.
- Respiratory protection is essential when sanding, as wood dust and finishing materials can cause serious health issues.
- Eye protection prevents irritation and injury from airborne particles generated during the sanding process.
Conclusion: Selecting the Perfect Sandpaper for Professional Results
As you embark on your next woodworking or DIY project, selecting the right grit sandpaper is crucial for achieving professional results. Understanding the complete sanding process, from coarse material removal to fine finishing, helps you choose the right grit sandpaper for each stage, ensuring best results. By applying the knowledge gained from this guide, you’ll be well-equipped to achieve smooth finishes and enjoy professional-quality results in all your DIY endeavours.
To choose right sandpaper, remember that successful sanding requires patience and progression through appropriate grit sequences. The investment in quality sandpaper and proper technique pays dividends in the form of superior finishes and more efficient project completion.
