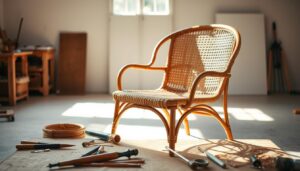
Have you ever wondered how to restore the beauty of your damaged furniture without breaking the bank? Loose or damaged veneer on your table top can be a real eyesore, but fortunately, it’s a problem that can be fixed with the right techniques and tools.
Repairing veneer is an accessible DIY project that can save your valuable wood pieces from being discarded. With a little patience and the right guidance, you can successfully reattach loose veneer and restore the original surface of your table.
This guide will walk you through the process, from identifying damage to completing the repair and finishing the surface. By following these steps, you’ll not only extend the life of your table but also maintain its aesthetic appeal.
Key Takeaways
- Reattaching loose veneer is a feasible DIY project.
- The right techniques and tools are essential for a successful repair.
- Proper veneer repair can extend the life of your furniture.
- Restoring your table top can maintain its original aesthetic appeal.
- Completing the repair yourself can save money compared to professional restoration.
Understanding Veneer Damage and When to Repair
Veneer, being a thin layer of wood, is susceptible to various forms of damage that can compromise its integrity. Environmental factors such as heat, humidity, and exposure to water are primary causes of veneer damage, as they can cause the adhesive that bonds the veneer to the substrate to break down.
What Causes Veneer to Peel or Chip
The glue holding the veneer in place can release due to exposure to heat, humidity, or water, resulting in chips, blisters, or peeling. This type of damage can be particularly problematic for vintage pieces.
Assessing Your Table’s Veneer Condition
To determine the extent of the damage, inspect your table top for signs of veneer damage, such as peeling, bubbling, chipping, or blistering. Assessing the severity of each issue will help you decide whether to repair or replace the veneer.
Veneer vs. Laminate: Identifying Your Table Top Material
It’s essential to distinguish between veneer and laminate table tops, as repair techniques differ significantly. Veneer is a thin wood overlay applied to a substrate, whereas laminate is a synthetic material that mimics wood but cannot be stained or sanded.
| Characteristics | Veneer | Laminate |
|---|---|---|
| Material | Thin wood overlay | Synthetic material |
| Substrate | Applied on particle board or other materials | Not applicable |
| Repairability | Can be repaired with adhesives and techniques | Cannot be repaired; requires replacement |
| Stainability | Can be stained | Cannot be stained |

To identify whether your table has a veneer or laminate surface, examine the edge patterns, check for wood grain, and observe damage patterns. The age and quality of the furniture piece should also factor into your decision to repair the veneer yourself or seek professional assistance.
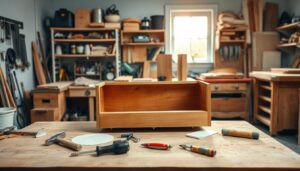
Essential Tools and Materials for Veneer Repair

To repair veneer effectively, you’ll need to assemble a toolkit with the right materials. Veneer repair requires precision and the correct equipment to achieve a professional finish.
Adhesives for Reattaching Veneer
The choice of adhesive is critical in veneer repair. You can use wood glue, such as Elmer’s, Titebond, or Gorilla Wood Glue, which are popular brands in the UK. Alternatively, contact cement can be used for a faster setting time, but it requires precise placement as it doesn’t allow for flexibility.
Other adhesive options include hide glue, which is suitable for certain types of veneer repair. It’s essential to choose the right adhesive for your specific repair needs.
Tools for a Professional Repair
To achieve a professional-quality repair, you’ll need a range of tools, including a sharp utility knife, scrapers, and sandpaper of various grits. Clamps or weights are also necessary to apply even pressure.
Additional Materials You’ll Need
In addition to adhesives and tools, you’ll need other materials to make the repair process easier. These include waxed paper to prevent adhesive from sticking to clamps, shims for proper pressure application, and clean cloths for wiping excess glue.
When selecting replacement veneer, consider matching grain patterns, thickness, and wood species to ensure a seamless repair.
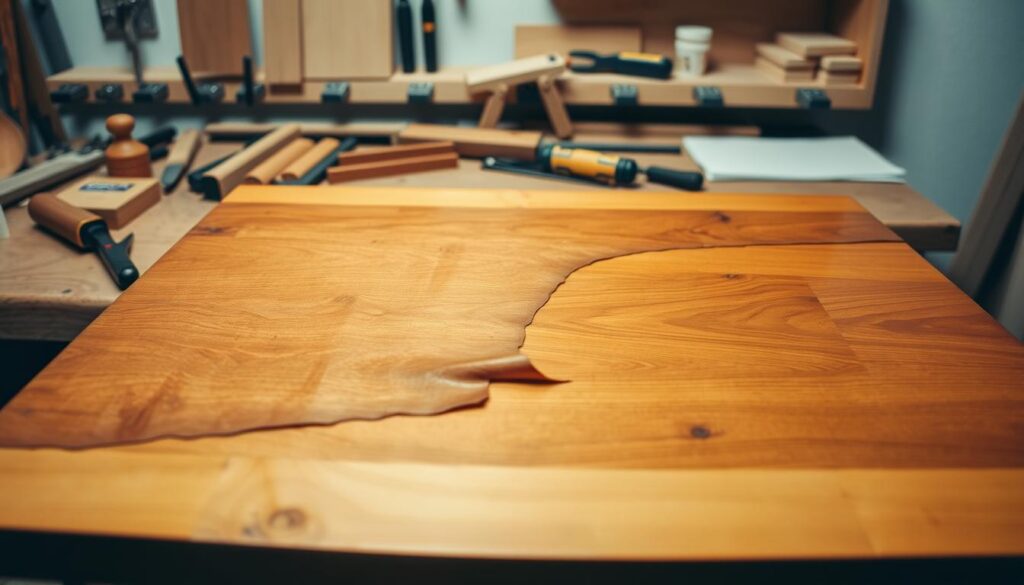
How to Reattach Veneer on Table Top: Step-by-Step Guide
With the right techniques and materials, you can successfully reattach veneer on your table top. The process involves several key steps that, when followed carefully, will help you achieve a professional-looking result.
Preparing the Surface for Repair
Before reattaching veneer, it’s essential to prepare the surface properly. Start by cleaning out old glue, dirt, and loose wood fibres using sandpaper, scrapers, and a utility knife. Ensure the area is free from debris to guarantee a strong bond between the veneer and the table top.
Reattaching Loose or Bubbling Veneer
There are two primary methods for reattaching loose or bubbling veneer: using wood glue and the heat and pressure technique.
Using Wood Glue Method
To reattach loose veneer using wood glue, be generous with the glue. Apply it using a small toothpick to spread it evenly into all the nooks and crannies of the repair area. Press down on the veneer with your fingers, wipe away the excess glue, and then clamp or weight down until the glue is totally dry. As a general rule, allow the table to dry for a full 2 hours before applying a second coat.
Heat and Pressure Technique
For stubborn bubbles or blisters, the heat and pressure technique can be effective. Apply heat to soften the old adhesive without damaging the wood surface. Use a clamp or weight to apply even pressure, ensuring the veneer adheres properly to the table top.
Clamping Techniques for Secure Bonding
Clamping is crucial for ensuring a secure bond between the veneer and the table top. Use clamps or weights to apply even pressure across the repair area. Make sure the pressure is distributed evenly to avoid creating further damage or bubbles.

Dealing with Warped or Blistered Veneer
In cases where the veneer is warped or severely blistered, it may be necessary to consider cutting and replacing the damaged section rather than attempting to reattach it. Assess the damage carefully to determine the best course of action.
Drying Times and What to Expect
The drying time for veneer repair can vary depending on the adhesive used and environmental conditions. Generally, it’s advisable to wait at least 2 hours before applying a second coat. After the final coat, allow the repair to dry completely, following the manufacturer’s instructions for the specific adhesive.
As a seasoned expert once said, “Be patient and meticulous in your approach, and you’ll achieve a repair that’s virtually invisible.” This patience is crucial during the drying phase, ensuring that the veneer adheres properly to the table top.
By following these steps and being mindful of the drying times, you can successfully reattach veneer on your table top, restoring its original beauty.
Repairing Damaged or Missing Veneer
Repairing damaged or missing veneer requires a meticulous approach to restore your table top’s original beauty. This process involves several key steps, from assessing the damage to applying the final touches.
Cutting and Removing Damaged Sections
To start, you’ll need to carefully cut and remove the damaged veneer sections using a sharp utility knife. It’s essential to score along the grain and above the damaged area where the glue is still holding to avoid causing further damage.
Patching with New Veneer
Once the damaged area is removed, you’ll need to create a template for cutting replacement veneer pieces. Select new veneer that matches the original grain pattern and direction to ensure a seamless repair. Properly adhere the new veneer patch by preparing both the substrate and the new veneer piece.

Using Wood Filler for Small Repairs
For small repairs or areas where matching veneer isn’t available, you can use wood filler or Bondo. Bondo is a good option as it doesn’t shrink like wood filler and dries faster, making it ideal for small repairs.

Finishing Your Repaired Veneer
With your veneer repairs complete, you can now focus on enhancing the appearance and durability of your table top. The finishing process involves several key steps to ensure a professional-looking result.
Sanding Techniques for a Smooth Finish
To achieve a smooth finish, start by sanding the repaired area with medium-grit sandpaper, progressing to finer grits. Make sure to sand the surface until it’s flush with the surrounding veneer. You can check for any remaining bumps or inconsistencies by running your hand over the surface.
Matching Stain and Colour
To blend the repaired area with the rest of the table top, you’ll need to match the stain colour as closely as possible. You can achieve this by mixing different stains and testing them on scrap pieces of wood before applying the stain to the repair. When applying stain to new veneer patches, feather the edges to create an invisible transition.

Applying Protective Sealant
Once you’re satisfied with the finish, apply a protective sealant to the entire table top to ensure durability and a consistent sheen. You can choose from various finishing options, including polyurethane, shellac, and oil finishes, depending on the table’s intended use and desired appearance.

To maintain the repaired surface, reapply protective coatings periodically to keep the finish looking great. Regular maintenance will ensure that your table top remains in good condition for years to come.
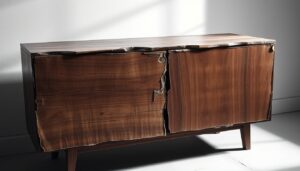
Conclusion
Restoring your veneered table top’s beauty is achievable with patience and the right approach. By following the outlined steps, you can reattach veneer and extend the life of your furniture. Take your time, assess carefully, and prepare the surface properly. With practice, you’ll become proficient in veneer repair, enhancing both functionality and beauty of your wooden piece, making it a successful project.