Is your doorbell remaining silent when you press it? Are you wondering if the issue lies with the transformer or another component of your doorbell system? A faulty transformer can be the culprit, and replacing it is a manageable DIY project with the right guidance.
The doorbell transformer plays a crucial role in your doorbell system, converting the high voltage from your electrical panel to a lower voltage that the doorbell can use. Understanding how to identify and replace a faulty transformer is essential to get your doorbell working again.
Key Takeaways
- Understanding the role of a doorbell transformer in your doorbell system.
- Identifying the signs of a faulty transformer that needs replacement.
- Learning the necessary tools and materials for a successful replacement.
- Safety precautions to take before attempting to replace the transformer.
- Overview of the step-by-step process for replacing a doorbell transformer.
- Alternative options to consider if replacing the transformer doesn’t solve the issue.
Understanding Doorbell Transformers and When They Need Replacement
A doorbell transformer is a crucial component of your home’s doorbell system, and understanding its function is key to diagnosing issues. The transformer is responsible for stepping down the high voltage from your home’s electrical circuit to a lower voltage that is safe for your doorbell to operate.
What is a Doorbell Transformer and How Does it Work?
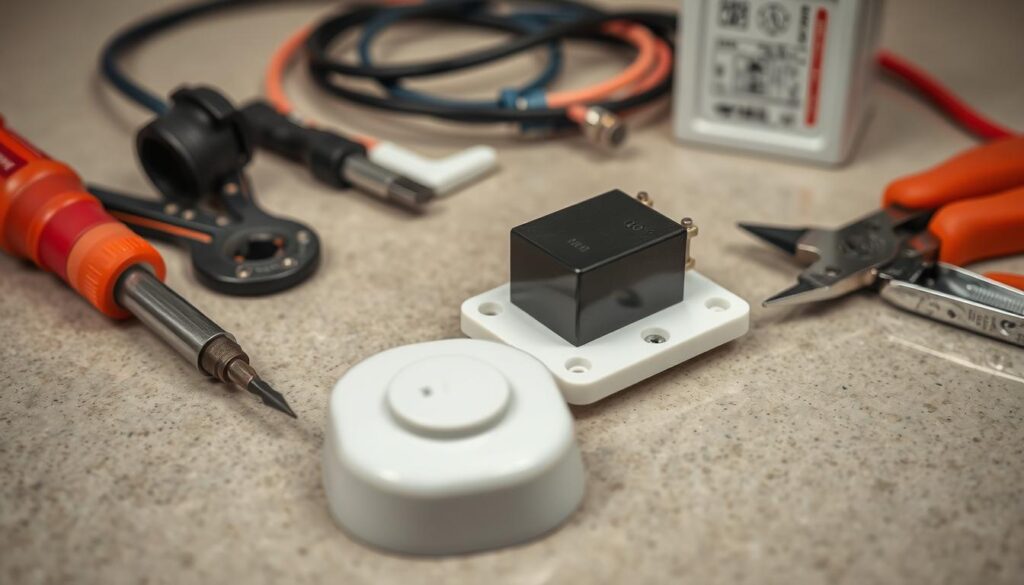
A doorbell transformer is essentially a voltage reduction unit that converts the high voltage from your home’s mains supply to a lower voltage, typically between 12 to 24 volts, which is required by the doorbell chime and other components. This conversion is crucial for the safe operation of your doorbell system, as it prevents the high voltage from damaging the doorbell’s electrical components.
Signs Your Doorbell Transformer Needs Replacing
If your doorbell is not working correctly, the transformer might be the cause. Common signs include a weak or absent chime, intermittent operation, or no sound at all. You might also notice visual signs such as discoloration or a burning smell from the transformer, indicating it has failed. Age can also affect transformer performance; over time, it may weaken, requiring replacement. Before concluding the transformer is faulty, it’s essential to perform some preliminary troubleshooting to rule out other issues with your doorbell system, such as problems with the wiring or the chime unit itself.
To determine if the transformer is the issue, you can check for voltage fluctuations using a multimeter. If the voltage output is significantly different from the transformer’s rated voltage, it may indicate a problem. Additionally, consider if recent weather or temperature changes have affected your doorbell’s operation, as these can sometimes impact the transformer’s performance.
Safety Precautions Before You Begin
Replacing a doorbell transformer requires careful preparation and adherence to safety guidelines. Ensuring your safety is crucial when working with electrical systems.
Turning Off Power at the Circuit Breaker
Before starting the replacement process, you must switch off the power supply to the doorbell system at the circuit breaker or fuse box. Locate the correct breaker or fuse, which controls the power to your doorbell system, and switch it off. Verify that the doorbell is not functioning to confirm the power is off. Use a voltage tester to double-check that there’s no electricity flowing to the transformer or doorbell wiring.
Essential Safety Equipment and Tools Needed
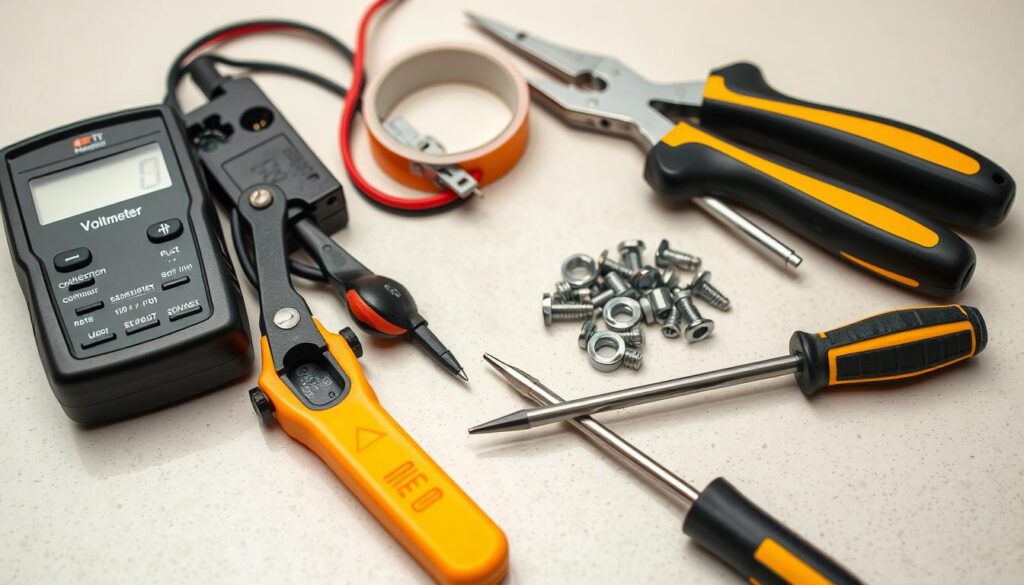
To safely replace your doorbell transformer, you’ll need the following tools and safety equipment:
- Electrical tape
- Voltage tester
- Screwdriver (flathead and Phillips)
- Flashlight
- Wire stripper
- Wire caps
- New transformer (correct voltage rating and mounting type)
Each of these tools plays a crucial role in ensuring the replacement process is done safely and efficiently. For instance, a voltage tester is essential for confirming that the power is off, while wire caps and electrical tape are necessary for securing connections.
| Tool | Purpose |
|---|---|
| Voltage Tester | Confirms that the power is off before starting work |
| Wire Stripper | Removes insulation from wires for secure connections |
| Electrical Tape | Insulates wires and connections |
| Wire Caps | Secures wire connections |

Locating and Testing Your Doorbell Transformer
Locating and testing your doorbell transformer are crucial steps in determining if it needs replacement. The doorbell transformer is a critical component of your doorbell system, responsible for stepping down the voltage to a level that is safe for the doorbell circuit.
Common Locations of Doorbell Transformers
Doorbell transformers are typically located in areas that are not frequently visited, such as attics, basements, or garages. They are often attached to a wall or mounted on a circuit breaker panel. You can also check near your doorbell chime unit, as some transformers are integrated into or located nearby.
To find your doorbell transformer, look for a small metal box with wires connected to it. It may be labelled as “doorbell transformer” or have a similar description. If you’re still unsure, consult your home’s electrical diagram or consult a professional.
How to Test if Your Transformer is Faulty
To test your doorbell transformer, you’ll need a multimeter. Set the multimeter to measure AC voltage at a minimum of 24 volts. Connect the multimeter probes to the low-voltage screw terminals on the transformer. If the reading differs from the transformer’s rated voltage by more than 2 volts, it may be faulty.
| Transformer Rated Voltage | Multimeter Reading | Status |
|---|---|---|
| 16V | 14V or 18V | Faulty |
| 24V | 22V or 26V | Faulty |
Testing your doorbell transformer is a straightforward process that can help you diagnose issues with your doorbell system. By using a multimeter to measure the voltage output, you can determine if the transformer is functioning correctly or if it needs to be replaced.
How to Replace Doorbell Transformer: Step-by-Step Process
Replacing your doorbell transformer is a straightforward process that requires some basic knowledge and tools. Before you start, ensure you have turned off the power at the circuit breaker to avoid any electrical shock. The process involves removing the old transformer, disconnecting the wires safely, and installing the new transformer.
Removing the Old Transformer
To remove the old transformer, you first need to locate it, typically found in the junction box near your main electrical panel or in the attic. Once located, you should turn off the circuit breaker switch to ensure your safety while working with electrical components. Use a screwdriver to remove the screws holding the transformer in place. Gently pull the transformer out of the junction box, taking care not to damage any wires.

Disconnecting the Wires Safely
After removing the old transformer, you need to disconnect the wires. Start by identifying the wires connected to the transformer. Typically, these include the power supply wires and the low-voltage doorbell wires. Use a wire nut or a connector to safely disconnect these wires from the old transformer. It’s essential to note the color coding of the wires: white wires connect to white wires, and black wires connect to black wires. The green wire, often used for grounding, can be connected to another green or brown wire, or to a metal ground bar or screw.
Installing the New Transformer
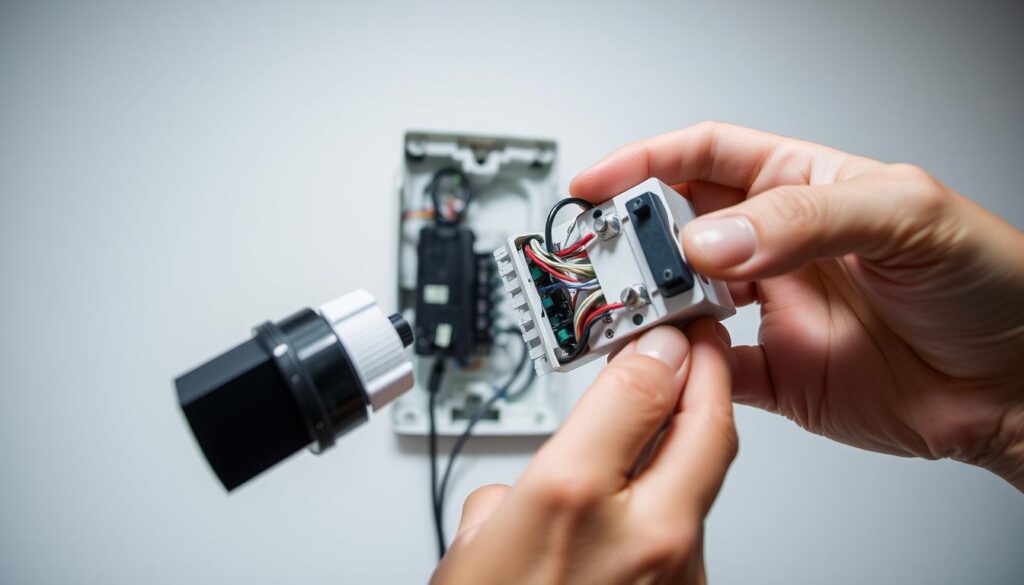
To install the new transformer, begin by passing the new transformer wires through the hole on the side of the junction box. Then, screw the new transformer into the junction box using the screws or bolts provided with the new transformer. Ensure the transformer is securely fastened to prevent vibration. Connect the existing wires to the new transformer’s wires, matching the colors as previously noted. Verify that the new transformer has the correct voltage rating for your doorbell system. Finally, check that all connections are accessible before final mounting.
By following these steps, you can successfully replace your doorbell transformer. Remember to turn the circuit breaker back on and test your doorbell to ensure it’s working correctly.
Reconnecting the Wiring System
Reconnecting the wiring system is a crucial step after replacing the doorbell transformer. This process involves connecting the power supply wires and attaching the low-voltage doorbell wires to the new transformer.
Connecting the Power Supply Wires
To connect the power supply wires, first, identify the wires that lead to the circuit breaker or fuse box. These wires are usually thicker and are connected to the transformer’s primary coil. Ensure that the power is still off at the circuit breaker before proceeding. Carefully strip the insulation from the ends of these wires if necessary, and then connect them to the designated terminals on the transformer. Secure the wires firmly using screw terminals. Make sure the connections are tight and not loose to prevent any electrical issues.
Attaching the Low-Voltage Doorbell Wires
To attach the low-voltage doorbell wires, locate the screw terminals on the transformer labelled for low-voltage connections. Strip the ends of the low-voltage wires if necessary, then wrap them around the screw terminals. Tighten the screws to secure the wires in place. If you have multiple sets of doorbell wires, replicate this process for each set, ensuring that they are securely attached to the appropriate terminals. Verify that the wire insulation does not interfere with the electrical contact. Once all connections are secure, replace the junction box cover.
Before turning the power back on, double-check all connections for security and ensure that the wires are neatly organized to prevent shorts or disconnections.
Conclusion
The final step in replacing your doorbell transformer is to revive power and check the doorbell’s functionality. To do this, turn on the circuit breaker switch or replace the fuse in the fuse box. Then, proceed to the doorbell button and ring it to test if it’s working correctly. If you have a supplementary button, be sure to test that as well.
If you hear a chime, your doorbell is functioning properly. However, if there’s no sound, try turning off the power again and verify that the transformer’s wiring connections are tight. If the issue persists, it may be advisable to seek the help of a professional electrician to ensure your doorbell system is safe and functional.


