Are you struggling to find the perfect transition between your flooring surfaces?
Transitioning between different flooring types, such as wood and carpet or laminate and tile, can be challenging. Threshold strips play a crucial role in creating a smooth transition, preventing trip hazards, and adding a professional finish to your home.
Correctly installing these bars ensures durability, functionality, and aesthetic appeal for your door and floor transitions. In this comprehensive guide, we will walk you through the process of understanding the purpose of threshold strips and provide step-by-step transition installation instructions.
Key Takeaways
- Understand the purpose and benefits of using threshold strips in your home.
- Learn how to choose the right strips for your flooring transitions.
- Discover the importance of correct installation for durability and aesthetic appeal.
- Follow step-by-step instructions for a professional finish.
- Improve the safety and appearance of your home with proper threshold installation.
Understanding Threshold Strips and Their Purpose
Threshold strips serve as a transitional element between different flooring surfaces. They are designed to bridge the gap between various types of flooring, ensuring a smooth transition. This is particularly important in doorways and open floor plans.
What Are Threshold Strips?
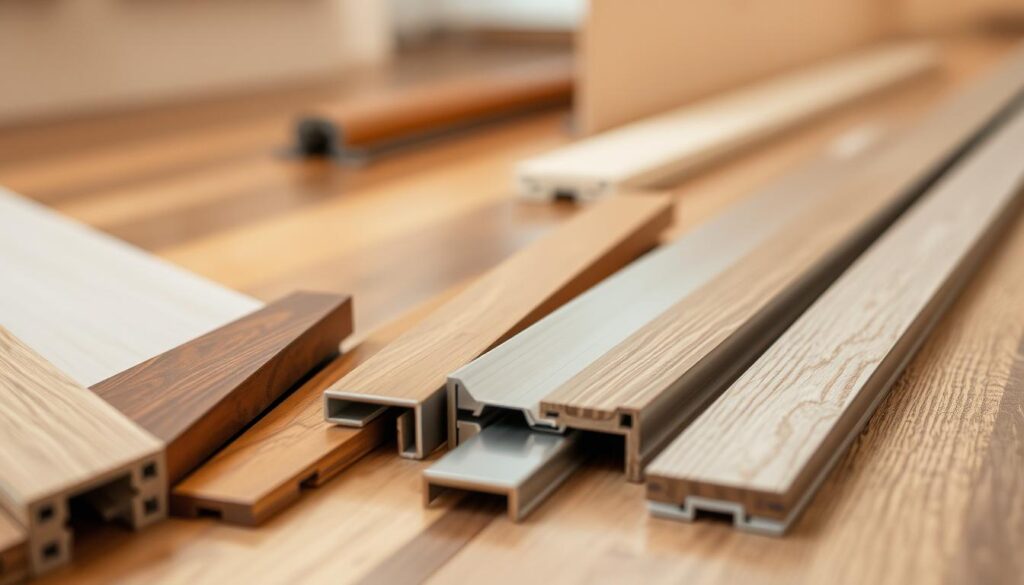
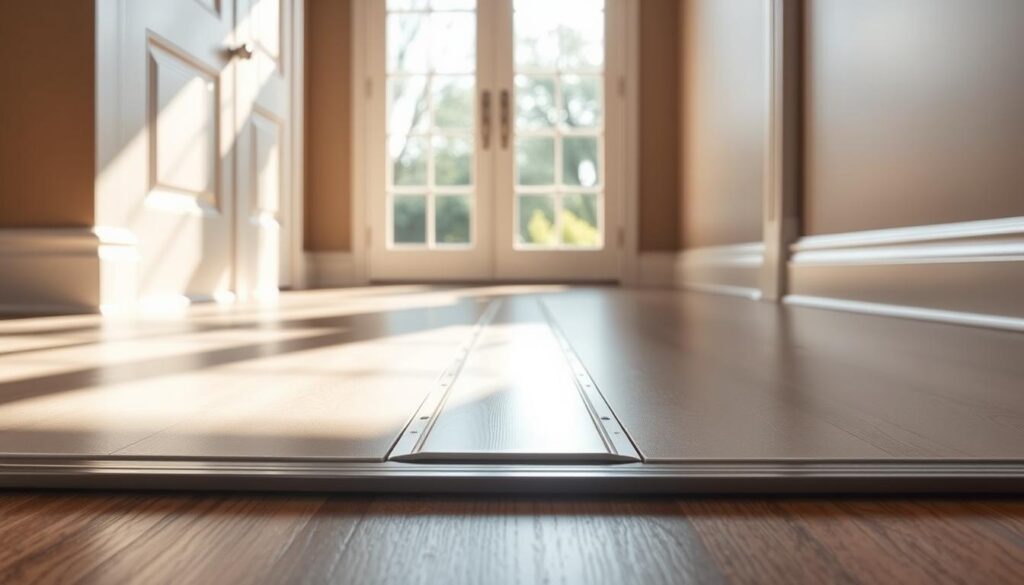
Threshold strips, also known as threshold bars or door thresholds, are typically made of wood, metal, or plastic. They are used to cover the expansion gaps that are necessary when installing different types of flooring, such as wood flooring. These strips help to create a seamless transition between floors of different heights or materials.
Why You Need Threshold Strips in Your Home
Threshold strips are not just functional; they also contribute to the aesthetic appeal of your home. By providing a finished look to flooring transitions, they can be selected to complement your interior design. Moreover, they serve multiple practical purposes, including protecting vulnerable floor edges from damage and reducing drafts in doorways.
| Purpose | Benefits |
|---|---|
| Covering expansion gaps | Maintains the integrity of the floor |
| Transitioning between different flooring types | Creates a smooth passage |
| Protecting floor edges | Prevents damage and wear |
In summary, threshold strips are a crucial element in flooring installations, providing both functional and aesthetic benefits. By understanding their purpose and importance, you can ensure a well-finished and durable flooring solution for your home.
Types of Threshold Strips for Different Flooring Transitions
Different flooring transitions require specific types of threshold strips to ensure a seamless join. Threshold strips are not one-size-fits-all solutions; they come in various types designed to accommodate different flooring materials and transitions.
T-Bar Thresholds
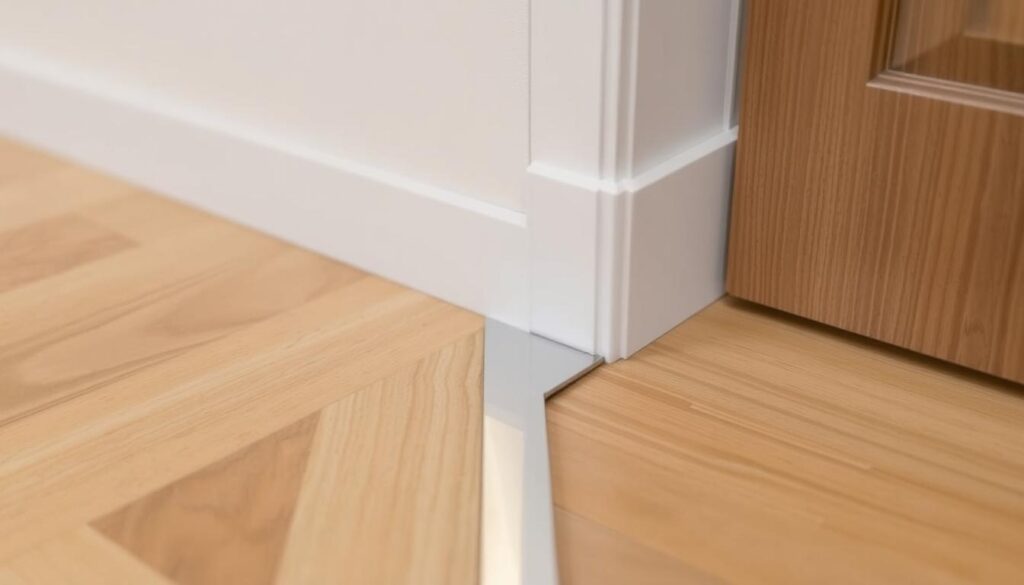
T-Bar thresholds are shaped like the letter T and are ideal for transitions between floors of equal height, such as between two wood floors or wood and laminate surfaces of the same thickness.
Reducer Strips
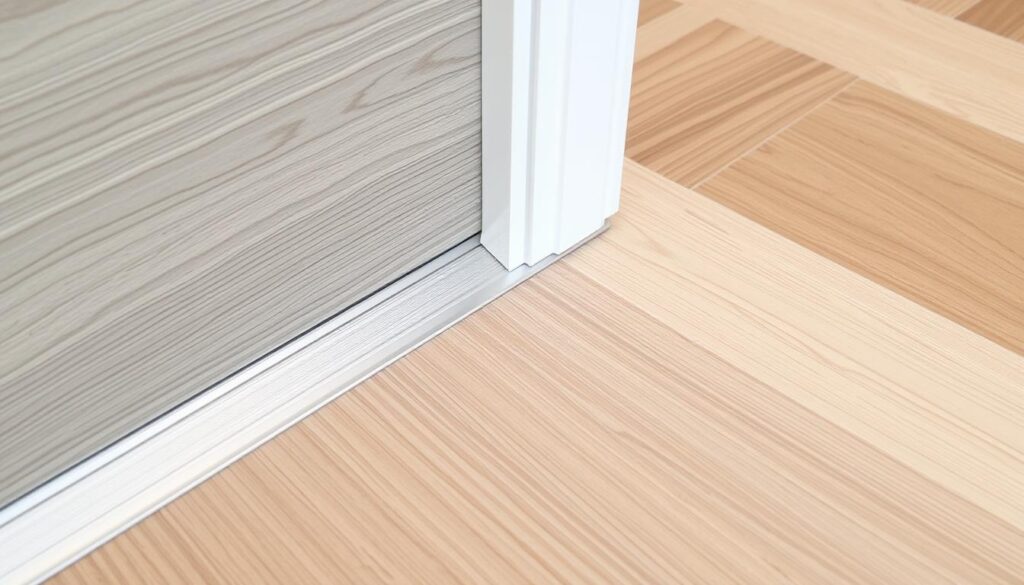
Reducer strips are designed specifically for joining floors of different thicknesses, creating a gentle slope between the higher and lower surfaces. They are commonly used when transitioning from wood flooring to vinyl or carpet.
End Bars and Stair Nosing
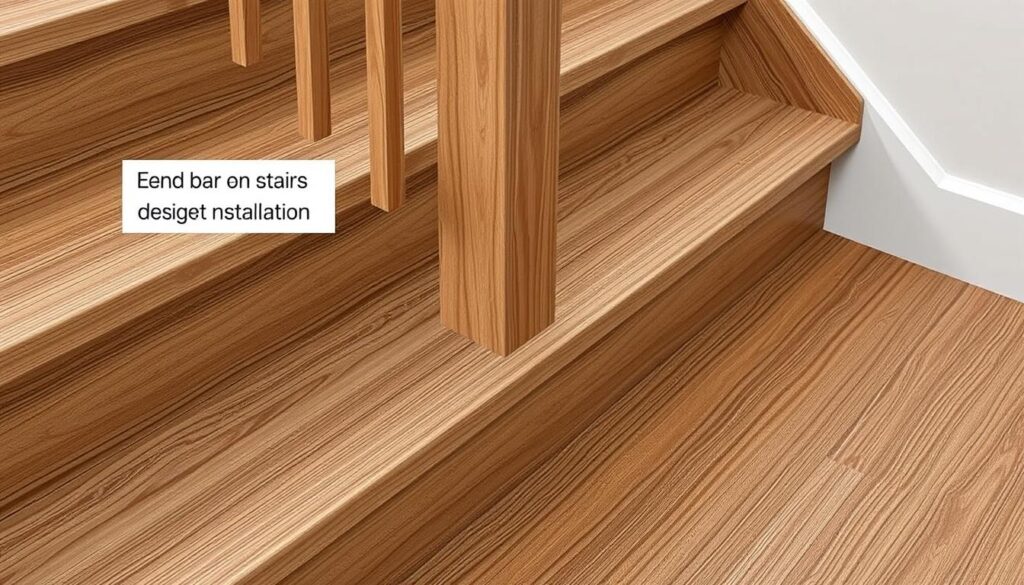
End bars, also called end caps, are used at the edges of flooring where it meets a different surface or where skirting boards cannot be used. Stair nosing thresholds are specialised strips designed for stair edges, extending the tread slightly and protecting the vulnerable front edge of each step from damage and wear.
Material Options: Wood vs Metal Threshold Strips
Wood threshold strips, particularly oak, offer a warm, natural appearance that complements wood flooring beautifully and can be stained to match your existing floors. Metal threshold strips, typically made from aluminium or chrome, provide durability in high-traffic areas and are especially useful for carpet-to-hard floor transitions.
Essential Tools and Materials for Installing a Threshold Strip
To ensure a successful threshold strip installation, you’ll need to prepare the right tools and materials. Having the correct equipment is vital for a smooth and efficient installation process.
Required Tools for Installation
Proper installation of threshold strips requires specific tools, including a tape measure for accurate width and length measurements, a hacksaw or circular saw for cutting the threshold to size, and sandpaper for smoothing cut edges.
Additional essential tools include a drill with appropriate bits for creating pilot holes, a screwdriver for securing screws, and a pencil or chalk for marking measurements and drill positions.
For threshold bars that need to be secured to concrete subfloors, you’ll need a masonry drill bit and appropriate wall plugs or anchors to ensure a secure fitting.
Choosing the Right Fixings: Adhesive vs Screws
When choosing between adhesive and screws for fixing your threshold, consider the subfloor material, the type of threshold strip, and the amount of foot traffic the doorway receives.
Construction adhesive provides a clean finish without visible fixings and works well for wooden thresholds on wooden subfloors, but may not be suitable for high-traffic areas.
Screw fixings offer superior strength and durability, particularly for metal threshold bars and areas with heavy foot traffic, though they require more precise installation.
Some threshold installations benefit from a combination approach—using both adhesive and screws—for maximum stability and longevity.
Step-by-Step Guide to Installing a Threshold Strip
Installing a threshold strip is a straightforward process that requires some basic tools and attention to detail. To achieve a professional finish, follow these steps carefully.
Preparing the Area and Taking Measurements
Begin by removing any old or damaged threshold strips from the hardwood floor using a small pry bar or flat head screwdriver. Carefully loosen the old threshold to avoid scratching the wood. Vacuum away dirt and dust from the area where the old threshold was to ensure it’s clean. Measure the width of the doorway and mark this measurement on your new threshold strip.
Cutting the Threshold Strip to Size
Clamp the threshold strip down securely and cut it to the marked length using a circular saw. Use 60-grit sandpaper to smooth the edges, ensuring a precise fit.
Securing the Threshold Strip in Place
Place the threshold strip in the doorway, aligning the holes with your wood flooring. For wooden subfloors, pre-drill pilot holes through the threshold at regular intervals.
Installation on Wooden Subfloors
Pre-drill approximately 5-6 holes for a standard door width before securing the threshold in place with screws.
Installation on Concrete Subfloors
You may need to use a masonry drill bit to create holes for wall plugs or apply a strong construction adhesive.
| Subfloor Type | Installation Method |
|---|---|
| Wooden | Pre-drill pilot holes and secure with screws |
| Concrete | Use masonry drill bit or apply construction adhesive |
Finishing Touches and Testing
After securing the threshold strip, ensure the carpet edge is tucked beneath it if installing over carpet on one side. Place weights along the length of the threshold while the adhesive dries, if used. Test your installation by opening and closing doors that pass over the threshold to ensure smooth operation. For more detailed guidance, you can refer to this resource.
Conclusion
With the right tools and materials, installing threshold strips can be a straightforward DIY project that significantly improves your home’s flooring. Properly installed threshold bars create smooth flooring transitions, protect vulnerable floor edges, and extend the life of your flooring.
By choosing the correct threshold type and following the installation guide, you can achieve professional-looking results that enhance both the safety and aesthetics of your home’s flooring transitions.


