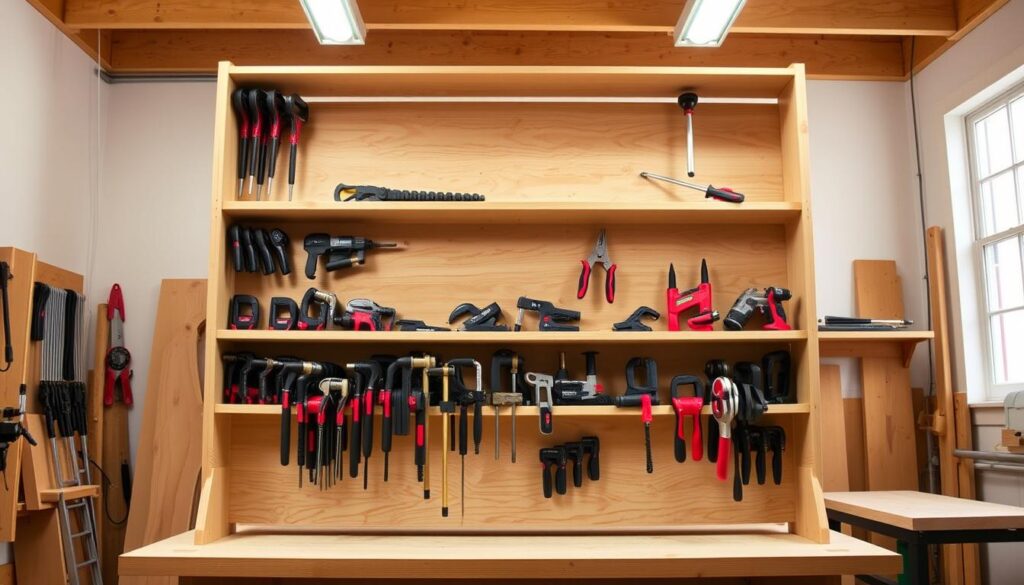
Are you tired of cluttered workshops and wasted time searching for the right clamps?
A well-organised storage system for your clamps can significantly enhance your workshop’s efficiency. By creating a dedicated rack, you can keep your tools organised, accessible, and protected, thus streamlining your workflow.
Investing a weekend in this project can transform your shop‘s layout, making the most of your available space. With basic woodworking skills, you can customise this rack to fit your specific needs, maximising vertical storage while keeping your workspace tidy.
Key Takeaways
- Efficiently organise your clamps with a custom-built storage rack.
- Maximise your workshop’s vertical storage space.
- Protect your clamps from damage with a dedicated storage solution.
- Customise the rack to fit your specific clamp collection and workshop layout.
- Complete the project over a weekend with basic woodworking skills.
Why Every Workshop Needs an Organised Clamp Storage Solution
Organising your clamps is a simple yet effective way to improve your workshop’s efficiency. A well-organised clamp storage system allows you to quickly locate the right tool, saving you time and reducing frustration.
The Problem with Disorganised Clamps
Disorganised clamps can lead to inefficiency in your workshop. When clamps are left lying around, they can become damaged, reducing their effectiveness and lifespan. Cluttered workbenches and floor space also limit your ability to work effectively on projects.
Benefits of a Dedicated Clamp Storage Rack
A dedicated clamp storage rack offers numerous benefits, including keeping your clamps off your workbench and floor, thus saving space in your workshop. It allows for a quick visual inventory of your collection and extends the life of your clamps by preventing warping, rust, and damage. By storing your clamps in one convenient location, you’ll be able to work more efficiently, making the most of your time in the shop.
Materials and Tools You’ll Need
Gathering the appropriate materials and tools is the first step towards creating an efficient clamp storage solution. To build a functional clamp rack, you’ll need to prepare the right materials and equipment.
Essential Materials for Your Plywood Clamp Rack
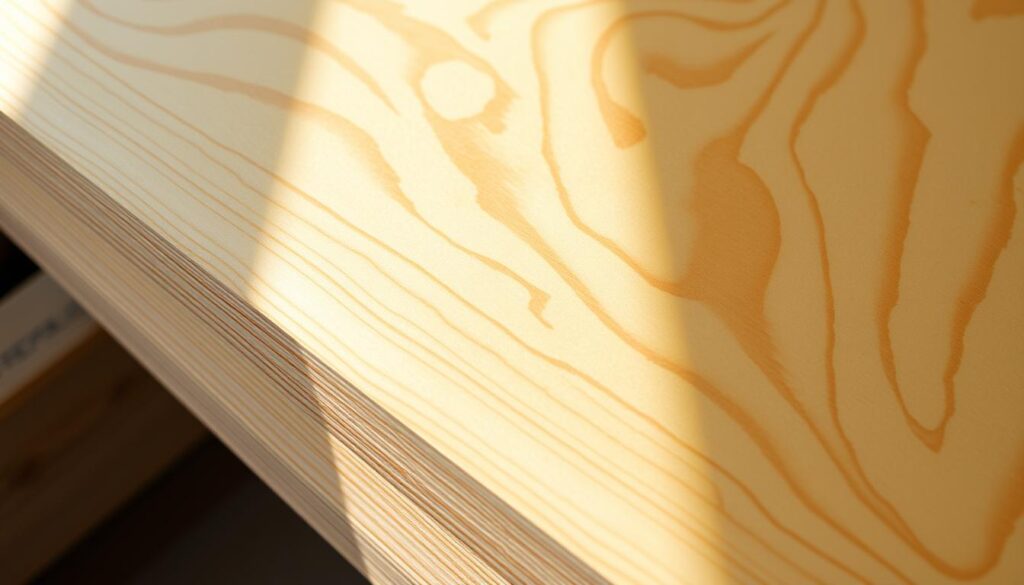
To construct a durable clamp rack, you’ll need 18mm plywood, which provides the necessary strength and durability to support your clamp collection. Other essential materials include wood glue and wood screws for assembling the rack, as well as CA Glue (superglue) for additional bonding. You may also consider using a water-based poly finish to protect the wood.
Required Tools for the Build
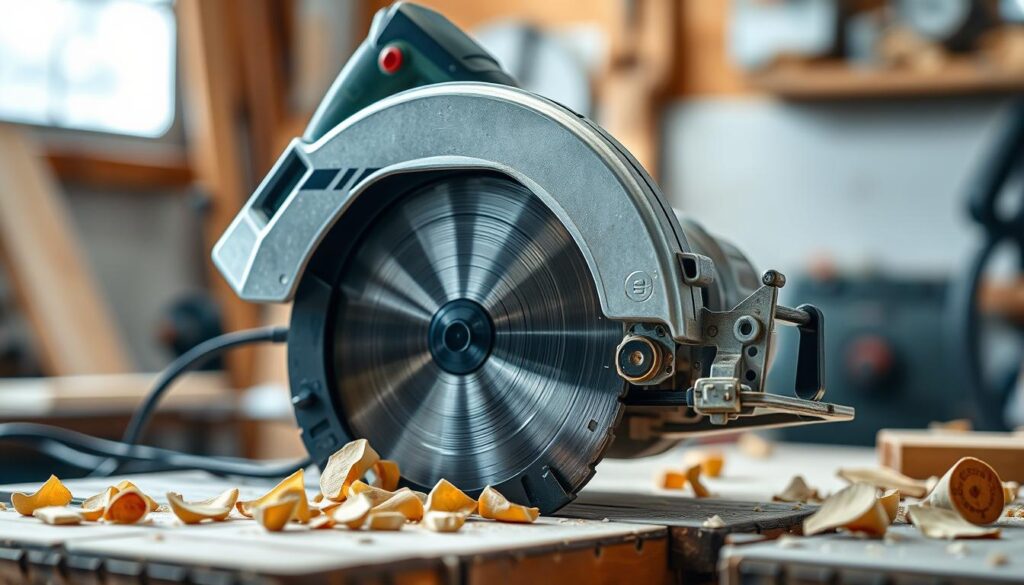
The right tools are crucial for accurate cutting and assembly. You’ll need a circular saw or miter saw for making precise cuts in the plywood. A drill or drill press is necessary for screwing the pieces together, and an orbital sander will help you achieve a smooth finish. Additionally, measuring tools like a tape measure and speed square are essential for ensuring accurate measurements.
Planning Your Clamp Rack Design
To maximise your workshop space, you need to plan your clamp rack design effectively. This involves understanding your current clamp collection and the space available in your workshop.
Assessing Your Clamp Collection
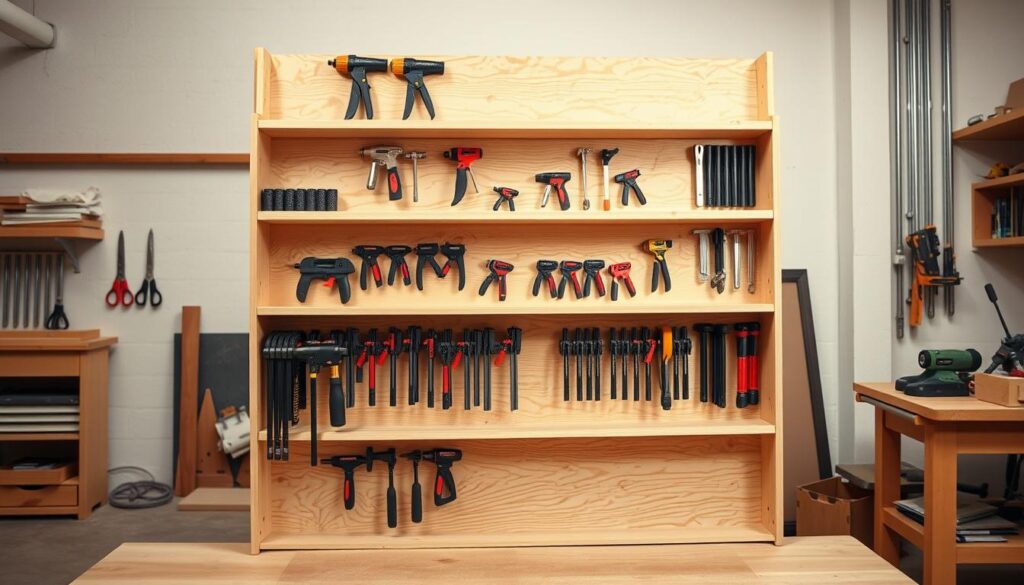
Start by arranging your clamps in groups based on the size of their bars. This will help you determine how many rows you need and how many clamps each row can hold. For instance, a rack can be designed to hold 5 rows of clamps, with up to 6 clamps in each row, allowing for future expansion.
Determining the Ideal Dimensions
When determining the dimensions of your rack, consider the space available in your workshop and the size of your clamp collection. Measure your available wall space to determine the optimal dimensions for your rack, ensuring it fits comfortably without obstructing other workshop activities.
Choosing Between Mobile or Wall-Mounted Options
Decide whether a mobile or wall-mounted clamp storage solution is best for your workshop layout. Consider the advantages and disadvantages of each option, including factors like accessibility, space utilisation, and mobility.
| Consideration | Mobile Rack | Wall-Mounted Rack |
|---|---|---|
| Space Utilisation | Flexible, can be moved | Fixed, saves floor space |
| Accessibility | Easily accessible from all sides | Limited accessibility, dependent on wall location |
| Mobility | High mobility with casters | Fixed, no mobility |
Cutting the Plywood Components
Cutting the plywood pieces accurately is crucial for the stability and functionality of your clamp rack. This step requires attention to detail and the right tools to ensure precise cuts.
Measuring and Marking the Plywood
Begin by measuring and marking the plywood sheets according to your design plan. Use a sharp pencil to mark the cut lines clearly. It’s essential to double-check your measurements to avoid errors. Techniques such as using a story stick or template can help in achieving accuracy.
Making Precise Cuts for the Rack Structure
To make precise cuts, you can use a circular saw, table saw, or track saw. Start by cutting one piece to 100cm by 20cm, which will serve as the back of the clamp rack. For the support arms, cut a board to 115cm by 22cm. Use a table saw sled to cut 22cm by 22cm squares from the 115cm long board.
Preparing the Support Pieces
To create the triangular support brackets, screw a piece of wood at a 45-degree angle to the table saw sled. This setup allows you to cut two triangle shapes from each board, providing the necessary support to prevent the rack from sagging under the weight of your clamps.
By following these steps, you’ll be able to efficiently cut the necessary components for your clamp-storage rack, ensuring a sturdy and functional final product.
How to Build Plywood Clamp-Storage Rack: Assembly Process
Building the main frame is the first step in assembling your plywood clamp rack. This involves using a combination of glue and screws to join the components together. Ensure that the corners are square and the frame is sturdy.
Building the Main Frame
To build the main frame, start by assembling the sides and the top and bottom panels. Use a speed square to ensure that the corners are square and avoid any misalignment. Apply glue to the edges and secure them with screws. Make sure the frame is sturdy enough to support the weight of your clamp collection.
Attaching the Support Pieces
The support pieces are crucial in holding the clamps in place. Attach them to the main frame using screws. Ensure that they are evenly spaced and aligned properly to accommodate your clamps. You can refer to projects like the one on Instructables for inspiration on designing the support pieces.
Adding Mobility with Casters (Optional)
If you want to make your clamp rack mobile, you can attach heavy-duty casters to the bottom. This will allow you to move the rack around your workshop as needed. Ensure that the casters are rated for the weight of the rack and its contents. You can choose casters that are suitable for workshop furniture and attach them to the bottom panel.
Throughout the assembly process, ensure that you check for square at multiple points to prevent a wobbly or unstable final product. You can also reinforce key stress points to bear the most weight when the rack is loaded with clamps. For wall mounting, use long screws and fasten it to the studs to ensure stability.
Creating Custom Holders for Different Clamp Types
A well-organised clamp storage system starts with custom holders tailored to your clamp collection. This approach ensures that every clamp has its designated place, making it easier to find and use the right clamp for your projects.
Holders for Bar Clamps and Parallel Clamps
Bar clamps and parallel clamps are among the most commonly used clamps in woodworking. To store them effectively, you can create holders with slots that match the width of the clamps. For bar clamps, consider a simple rack with slots to hold them securely. Parallel clamps, being bulkier, may require a sturdier holder with adequate support to prevent them from falling or getting damaged.
Storage Solutions for F-Style Clamps
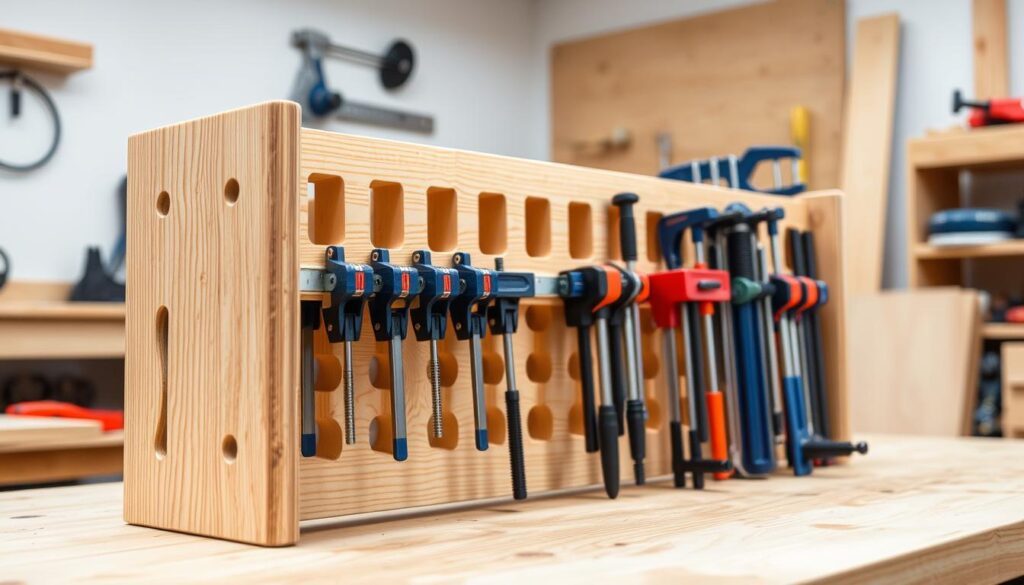
F-style clamps have a unique neck thickness that requires a specific storage solution. To store these clamps, start by using a dado stack that matches the thickness of the clamp’s neck. A cross lap jig can help you cut equally spaced slots for the clamps, ensuring they fit snugly. This method keeps your F-style clamps organised and easily accessible.
Accommodating Specialty Clamps
Specialty clamps, such as miter clamps, hand screw clamps, and spring clamps, require thoughtful storage solutions. For miter clamps, create a shelf with holes punched in it to match the diameter of the threads on these clamps. For wooden hand screw clamps, use a scrap piece with pocket holes to attach a holder. By designing custom storage for these specialty clamps, you can keep your workshop organised and ensure that every clamp is used efficiently.
By creating custom holders for your clamps, you can significantly improve your workshop’s organisation and efficiency. This not only saves time when looking for a specific clamp but also helps in maintaining your tools in good condition.
Enhancing Your Rack with Additional Features
To maximise your workshop’s efficiency, consider enhancing your clamp rack with additional features that can improve organisation and productivity. By incorporating a few thoughtful elements, you can transform your rack into a multi-functional tool.
Adding a Glue-Up Station
A glue-up station can be a valuable addition to your clamp rack. By keeping your small glue bottles close to full, you’ll find it easier to apply glue when needed. Adding a shelf for a gallon jug makes refilling smaller bottles more manageable, eliminating the need to occupy workbench space for small glue-ups.
Incorporating Paper Roll Storage
You can also add storage for paper rolls, such as brown craft paper or wax paper, to protect your workbench during glue-ups. This feature keeps essential supplies within easy reach, streamlining your workflow.
Creating a Bottom Shelf for Accessories
Consider adding a bottom shelf to your clamp rack for storing clamp accessories, glue bottles, and other related supplies. This keeps your workshop organised and ensures that everything you need is in one place.
Finishing Touches and Installation
Once your clamp rack is assembled, it’s time to add the finishing touches. This stage is crucial for both the aesthetic appeal and the durability of your clamp rack.
Sanding and Finishing the Rack
Sanding all edges and surfaces of your rack is essential to prevent splinters and achieve a professional finish. You can choose from various finishing options, including clear coats or coloured stains that match your workshop aesthetic. Sealing the plywood edges is also vital to prevent moisture absorption and extend the life of your storage rack.
Mounting Options for Your Workshop
When mounting your clamp rack to the wall, make sure to use a level to ensure it’s perfectly horizontal. Locate the wall studs and use long screws to secure the rack firmly. This is crucial as a full collection of metal clamps can be heavy. Ensure your mounting hardware is appropriate for the combined weight of the rack and your clamps.
Conclusion
By building a plywood clamp-storage rack, you’ll revolutionise your workshop’s organisation and efficiency. This project will pay dividends in future woodworking projects through improved workflow. Proper clamp storage extends the life of your essential tools, keeping them readily accessible. As your clamp collection grows, you can adapt or expand this design. A well-organised workshop contributes to more enjoyable and successful projects. The skills developed here can be applied to other storage solutions, maximising your space and enhancing your overall workshop experience.
