Are you tired of sitting on sagging dining chairs that make mealtime uncomfortable? Restoring your chairs can be a cost-effective and rewarding DIY project.
When was the last time you thought about the state of your dining chair seats? If you’re experiencing an uncomfortable sinking feeling when sitting, it may be a sign that the seat pad has collapsed.
Fortunately, you don’t need to replace your chairs entirely. With minimal specialist tools and basic skills, you can restore your chairs to their former glory. By addressing the structural issues, you can make your furniture both aesthetically pleasing and structurally sound for years to come.
Key Takeaways
- Restore your sagging dining chairs without replacing them entirely, saving you money.
- Identify common signs of a collapsed seat pad, including uncomfortable sinking and visible sagging.
- Understand that fixing a collapsed chair seat is a manageable DIY project.
- Learn how proper repair techniques can make your furniture last longer.
- Gain confidence in tackling upholstery projects with minimal specialist tools.
Understanding Why Dining Chair Seats Collapse
A collapsed dining chair seat is not just an inconvenience; it’s often a sign of underlying structural issues that need attention. When you sit on a dining chair, you expect it to support your weight comfortably. However, over time, the internal mechanisms that provide this support can deteriorate, leading to a collapse.
Common Causes of Seat Pad Collapse
The collapse of a dining chair seat is usually due to the deterioration of internal support structures rather than the foam padding itself. Stretched or broken elastic webbing is a primary culprit, especially in chairs with hollow wooden frames. Poor-quality materials in some furniture can accelerate this process. You should also be aware of the warning signs of impending collapse, such as a bouncy feeling when sitting or visible sagging under weight.
Assessing Your Chair’s Specific Issues
To properly assess your chair, you need to remove the seat and examine the underlying structure for specific damage patterns. Check the integrity of existing support materials to determine whether they can be salvaged or need replacement. This step is crucial in distinguishing between simple cosmetic issues and structural problems that require more comprehensive repairs. By understanding the root cause, you can plan the necessary repairs effectively.
| Cause of Collapse | Description | Repair Approach |
|---|---|---|
| Stretched Elastic Webbing | Elastic webbing loses its elasticity over time. | Replace with new elastic webbing or a suitable alternative. |
| Broken Frame | Wooden frame breaks or becomes hollow. | Reinforce or replace the wooden frame. |
| Poor Quality Materials | Use of low-quality materials accelerates deterioration. | Upgrade to higher-quality materials during repair. |
Essential Tools and Materials for Chair Seat Repair
The key to a successful chair seat repair lies in having the essential tools and materials at your disposal. To fix a collapsed dining-chair seat effectively, you’ll need to gather the right equipment to ensure a professional finish.
Required Tools for Disassembly
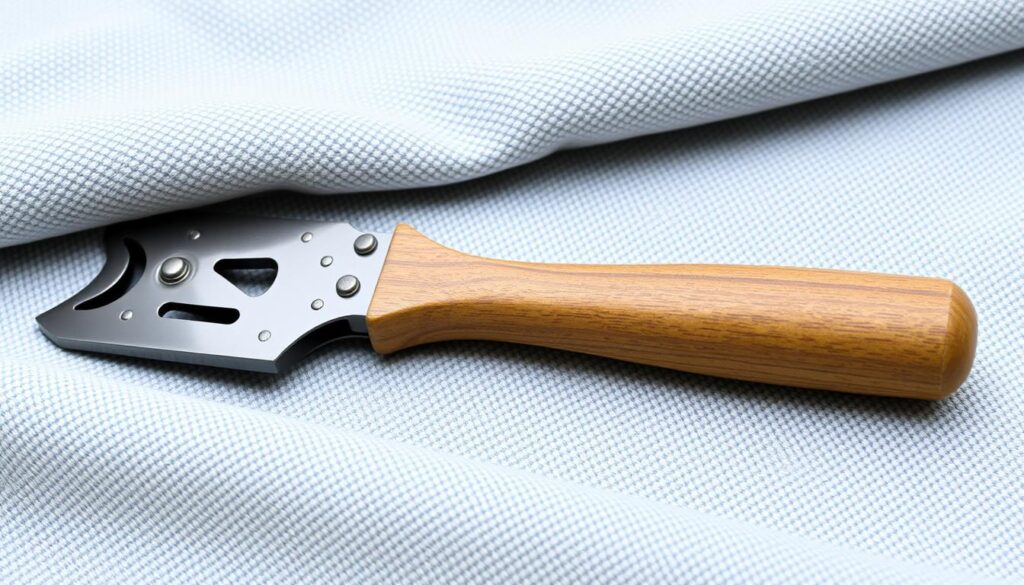
To begin the repair, you’ll need to disassemble the chair seat. This requires a proper upholstery staple remover to prevent damage to the wooden frame. You can find an upholstery staple remover tool on Amazon or Walmart.
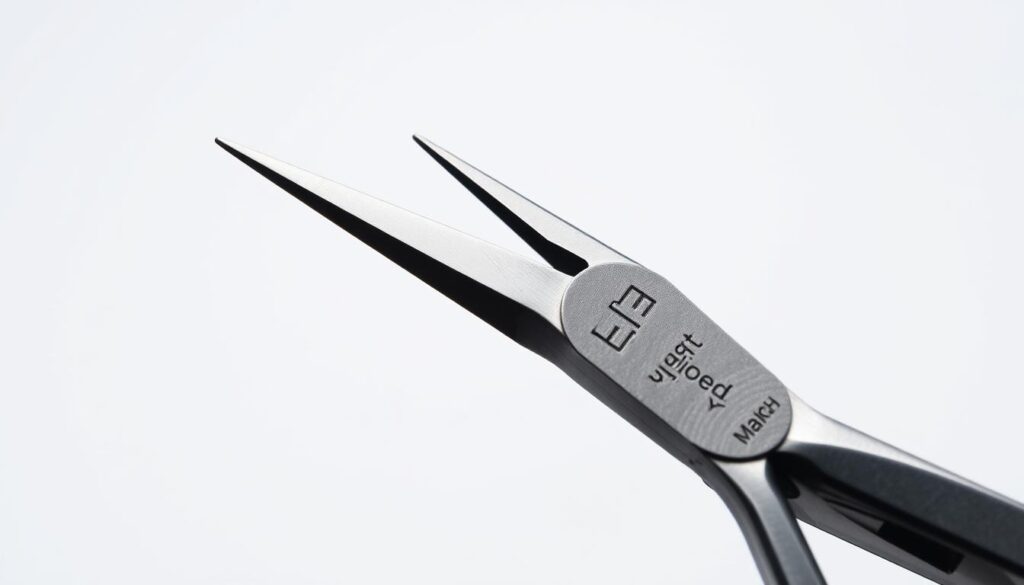
Additionally, needle nose pliers are necessary for extracting stubborn staples. These pliers are available on Amazon or Walmart.
Materials Needed for Structural Repair
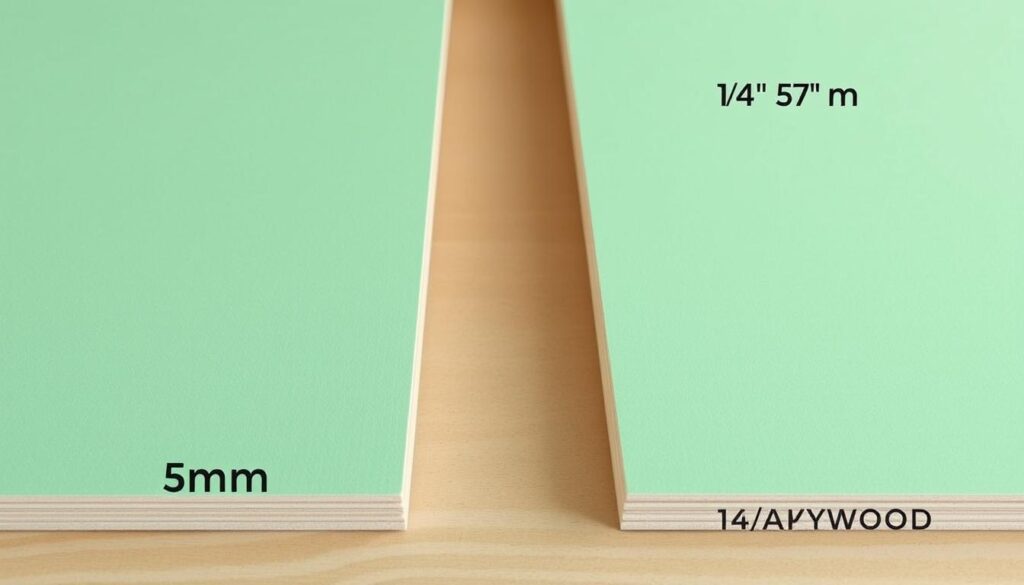
For the structural repair, you’ll need 5mm underlayment or 1/4″ plywood cut to size to provide the necessary support. You can purchase a 2’x4′ “Project Panel” at your local hardware store.
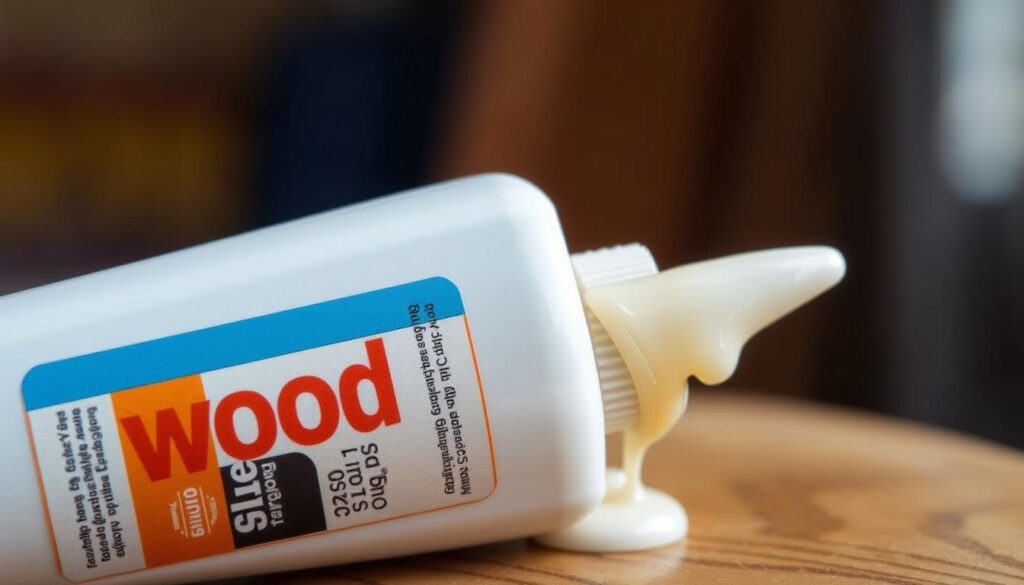
Wood glue is also essential for creating a permanent bond between the new support board and the existing chair frame. You can find wood glue on Amazon or Walmart.
Upholstery Supplies for Recovering
When it comes to reupholstering, you’ll need new fabric, upholstery staples, and a stapler or staple gun. Consider using a heavy-duty, manual stapler for a more secure job. You can find upholstery staples and staplers on Amazon or Walmart.
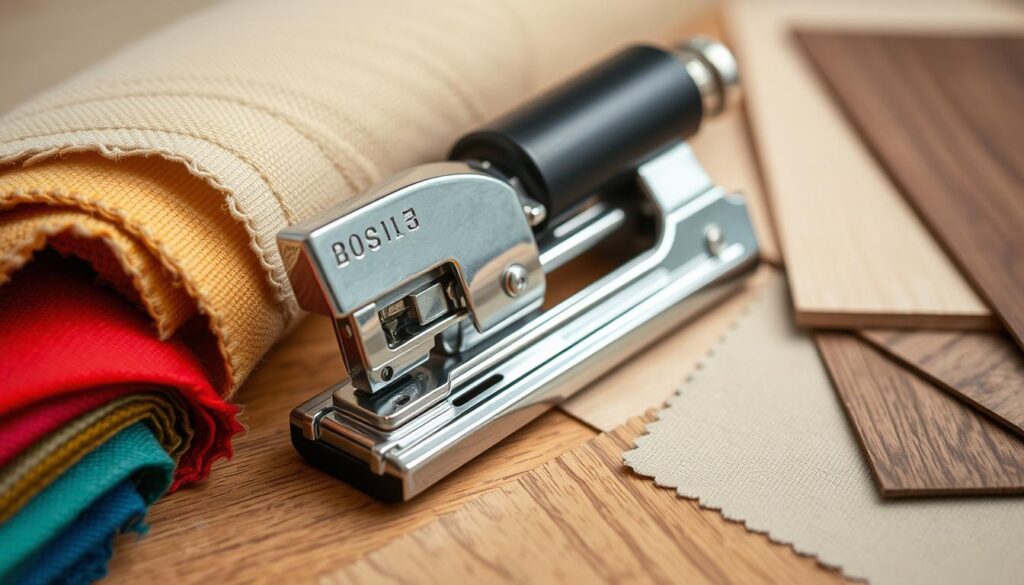
It’s also important to select the right fabric, balancing aesthetics with durability. Consider factors like pattern, weight, and resistance to wear.
Step-by-Step Removal of Old Upholstery
The process of reupholstering begins with the removal of the old seat, a task that requires patience and the right tools. To start, you’ll need to detach the seat from the chair frame, a step that is crucial for accessing the underlying structure.
Detaching the Seat from the Chair Frame
Begin by turning your dining chair upside down to locate the screws attaching the seat to the frame, typically found at each corner underneath the chair. Use a screwdriver to remove these screws carefully, ensuring not to strip them as you’ll need to reuse them later when reassembling the chair.
Removing the Dust Cover and Staples
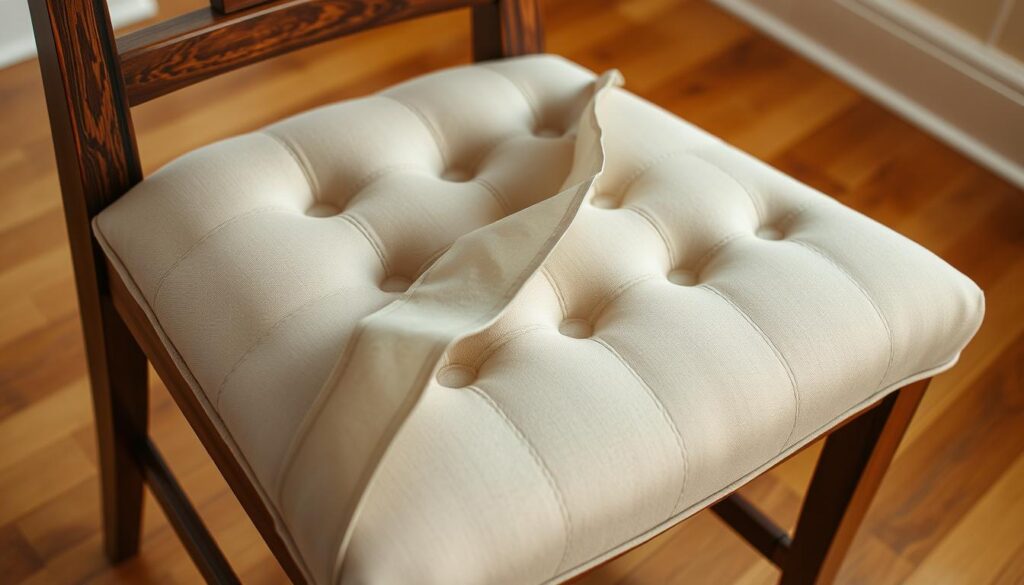
With the seat detached, you’ll notice a black fabric dust cover on the underside. Use a staple remover tool to methodically remove the staples holding this cover in place. Work in a systematic pattern around the edges to avoid missing any staples. As you remove the dust cover, you’ll likely encounter multiple layers, including the main upholstery fabric, batting, and support materials.
As noted by an experienced upholsterer, “Normally, when I re-cover dining chairs, I just stretch the new fabric over the old fabric and staple it on. But to actually fix the problem, you need to completely strip the chair seat down to the wooden frame.”
Stripping Down to the Wooden Frame
Continue removing layers until you reach the wooden frame. This process involves removing hundreds of staples and can be time-consuming, taking over an hour per chair seat. It’s essential to be patient and meticulous to avoid damaging the frame, which needs to remain intact for the repair.
By the end of this process, you’ll have a bare wooden frame, ready for the next stage of repair. Remember to preserve the old fabric as a template for cutting your new material, and document the original construction with photos or notes to guide your reassembly.
How to Fix Collapsed Dining-Chair Seat Pad
Fixing a collapsed dining-chair seat pad is a straightforward DIY project that can be completed with basic tools. The process involves several key steps, from adding structural support to reupholstering with new fabric.
Adding Structural Support with Plywood
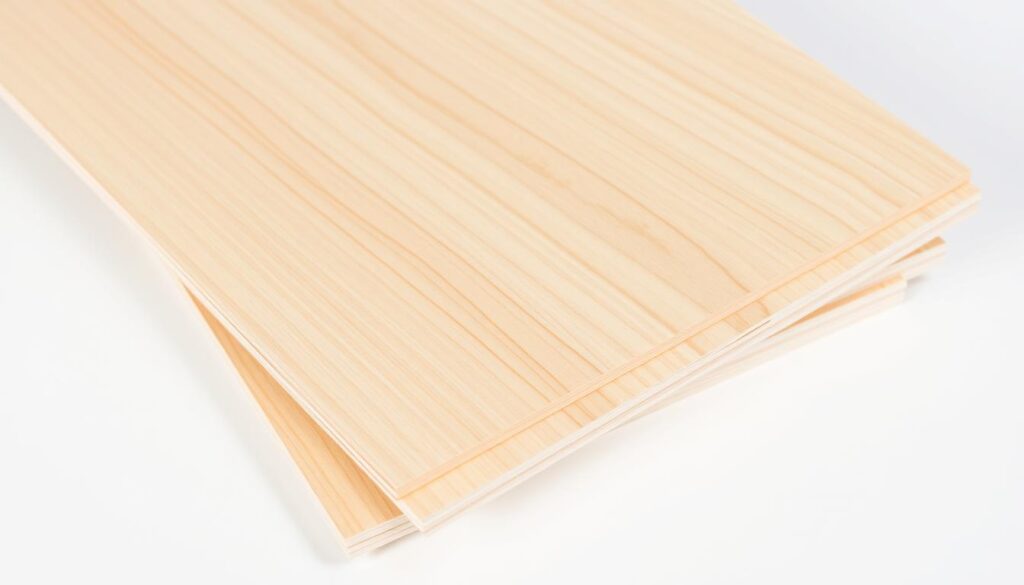
To begin, you’ll need to cut a piece of plywood to fit the seat frame. It’s essential to measure accurately and cut the plywood slightly larger than the hollow area to provide adequate support across the entire seating surface. Typically, a 5mm or 1/4″ thick plywood is recommended as it provides rigidity without making the seat too thick to reattach to the chair frame.
Measuring and Cutting Plywood: Use a hand saw or a jigsaw to cut the plywood. Ensure it’s slightly larger on all sides than the hole in the wooden seat frame.
Securing and Gluing the Support Board
Apply wood glue in a zigzag pattern around the edges of the plywood to create a strong bond with the wooden seat frame. Then, place the plywood on the frame and weigh it down with heavy objects like paint cans or bricks. Let it dry overnight to ensure a secure bond.
Replacing or Reusing Foam Padding
Assess the condition of your existing foam padding to determine if it can be reused or needs replacement. If it’s damaged or deteriorated, consider replacing it with new foam padding. Ensure that the new foam meets fire safety regulations.
| Component | Condition | Action |
|---|---|---|
| Foam Padding | Damaged/Deteriorated | Replace |
| Foam Padding | Good Condition | Reuse |
Reupholstering with New Fabric
Use the old upholstery fabric as a template for cutting the new fabric. Lay the new fabric face down, place the seat cushion upside down on it, and wrap the edges around the frame. Staple the fabric at the top, bottom, left, and right sides, then work your way out towards the corners, pulling the fabric taut as you go.
Tip: Start stapling from the middle of each side and work outward to achieve a smooth, professional finish.
By following these steps, you can effectively fix a collapsed dining-chair seat pad and give your chair a new lease on life.
Finishing Touches and Reassembly
The final touches bring a professional finish to your DIY chair repair project. As you complete the reassembly process, ensure that all parts are securely attached. Properly trimming excess fabric from the underside of the seat is crucial to prevent bulkiness and ensure a snug fit back into the chair frame.
Applying a new dust cover, also known as a bottom cloth, not only gives your chair a professional finish but also protects the underside of your upholstery work. When reattaching the seat to the chair frame, make sure screws are properly aligned and tightened without over-tightening. You should also consider applying fabric protector spray to your newly upholstered seats to guard against future stains and extend the life of your repair work.
Once reassembled, test your repaired chair for stability and comfort. If needed, make minor adjustments such as adding additional staples or trimming any visible fabric. With proper maintenance, your repaired chairs can enjoy an extended lifespan. Completing this DIY project yourself not only brings satisfaction but also results in cost savings compared to replacing expensive dining furniture. The skills you’ve acquired can be applied to other furniture pieces in your home, expanding your DIY capabilities.
By following these steps and paying attention to the finishing touches, you can enjoy your restored dining chairs for many years to come. The vintage Oriental rug-look tapestry fabric you’ve chosen adds a unique touch, making your dining chairs truly special.
