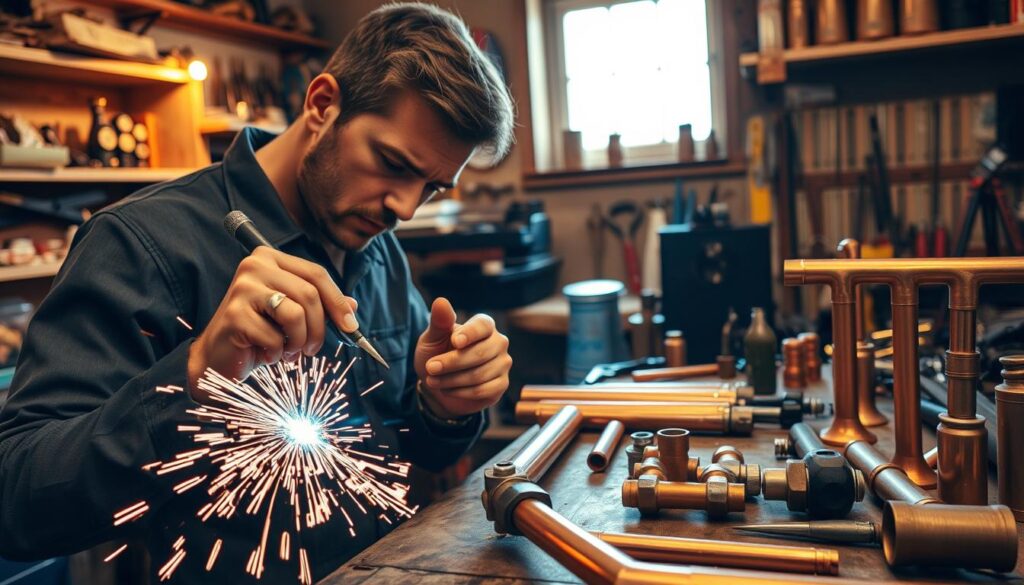
Can you imagine being able to fix a leaky copper pipe or install a new plumbing system without calling a professional?
Soldering copper pipes is an essential DIY skill that can save you money on plumbing repairs and modifications. It involves joining metal pieces using a filler metal with a lower melting point. Mastering this skill requires attention to detail, but with the right tools and technique, you can achieve professional-like results.
As you learn to solder copper pipes effectively, you’ll gain confidence in tackling other home improvement projects. This article will guide you through a step-by-step approach to soldering copper pipes, helping you to achieve a well-soldered joint and enjoy the satisfaction of a job well done.
Key Takeaways
- Learn the essential DIY skill of soldering copper pipes to save money on plumbing repairs.
- Understand the importance of proper soldering techniques for leak-free connections.
- Discover how mastering this skill can boost your confidence in home improvement projects.
- Find out the step-by-step approach to soldering copper pipes effectively.
- Gain the satisfaction of completing a well-soldered joint with the right tools and technique.
Essential Tools and Materials for Copper Pipe Soldering
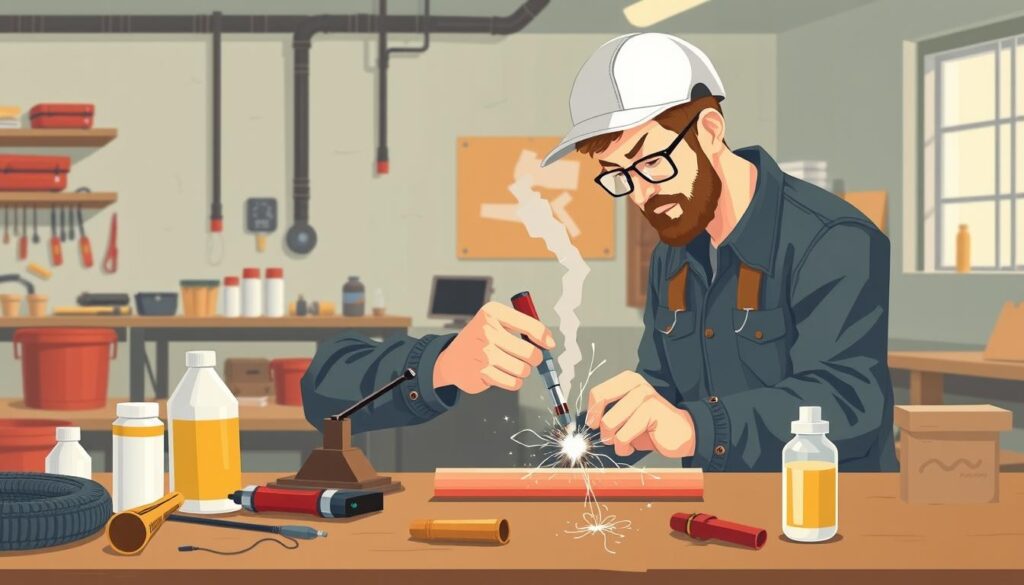
Soldering copper pipes requires a specific set of tools and materials to achieve a strong, leak-free joint. To begin, you’ll need to gather the essential tools and materials.
Required Tools
The right tools are crucial for soldering copper pipes. You’ll need a torch to heat the pipe and fitting, a pipe cutter to cut the copper pipe to the correct length, and a wire brush or pipe deburring tool to clean and prepare the pipe surface. Other necessary tools include a soldering flux applicator and a heat-resistant mat or work mat to protect your work surface.
Necessary Materials
The materials required for soldering copper pipes include the copper pipe and fitting you’ll be soldering, lead-free solder, and paste flux. It’s essential to use lead-free solder for safety, especially in plumbing applications where the solder joint will be in contact with potable water. The paste flux plays a critical role in preparing the metal surface and facilitating proper solder flow. You’ll also need to select the correct type and size of copper pipe fittings, such as elbows, couplings, and caps, based on your specific project requirements.
Safety Precautions Before You Begin
To solder copper pipes safely, you must prepare your workspace and personal protective equipment in advance. A well-prepared workspace and proper protective gear are crucial for a safe and successful soldering process.
Workspace Preparation
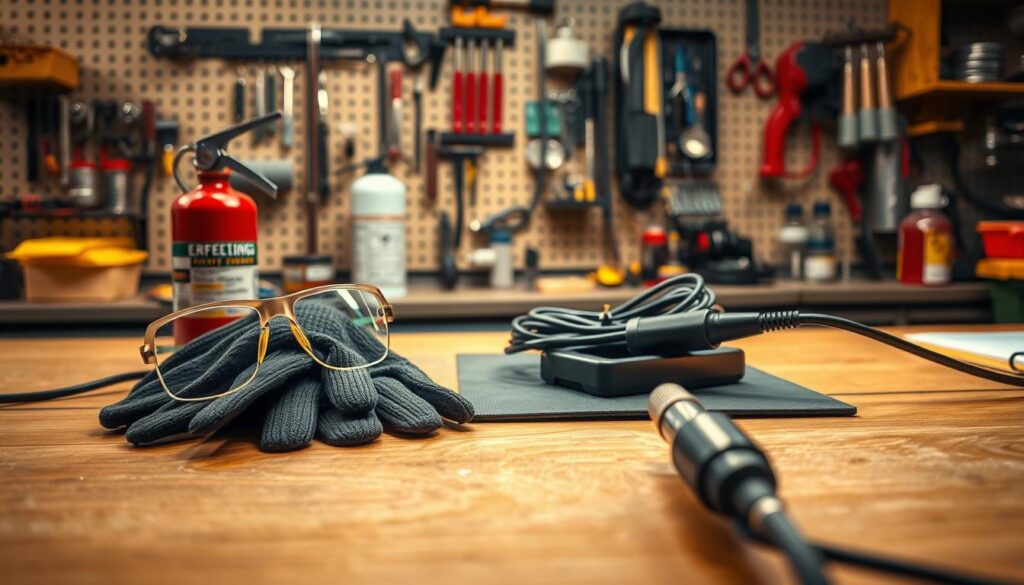
Preparing your workspace involves clearing the area of any flammable materials and ensuring good ventilation to prevent inhaling fumes from the soldering process. Keep a clean rag or cloth handy to wipe away excess flux and to handle hot components. It’s also essential to have a fire extinguisher nearby.
Personal Protection Equipment
When soldering, you’ll need to protect yourself with heat-resistant gloves and eye protection to guard against solder splatter and flux. Wearing appropriate clothing that protects against heat and potential solder drips is also advisable. Proper personal protective equipment (PPE) not only safeguards you against the high temperature involved but also allows for better control of the soldering process, ensuring a smooth flow of solder.
The Basics of Soldering Copper Pipes: Step-by-Step Process
To achieve a strong and leak-free joint, it’s essential to follow a systematic process when soldering copper pipes. This involves several key steps that must be executed in sequence to ensure a successful outcome.
Measuring and Cutting the Pipe
The first step in soldering copper pipes is to measure and cut the pipe to the required length. You should use a pipe cutter or a hacksaw to make a clean cut. It’s crucial to remove any burrs or debris from the cut end to ensure a smooth surface for soldering.
Cleaning and Preparing Surfaces
Before soldering, the surfaces to be joined must be thoroughly cleaned. Use a wire brush or sandpaper to remove any oxidation or debris from the pipe and fitting. This step is vital to ensure a strong solder joint.
Applying Flux and Assembling
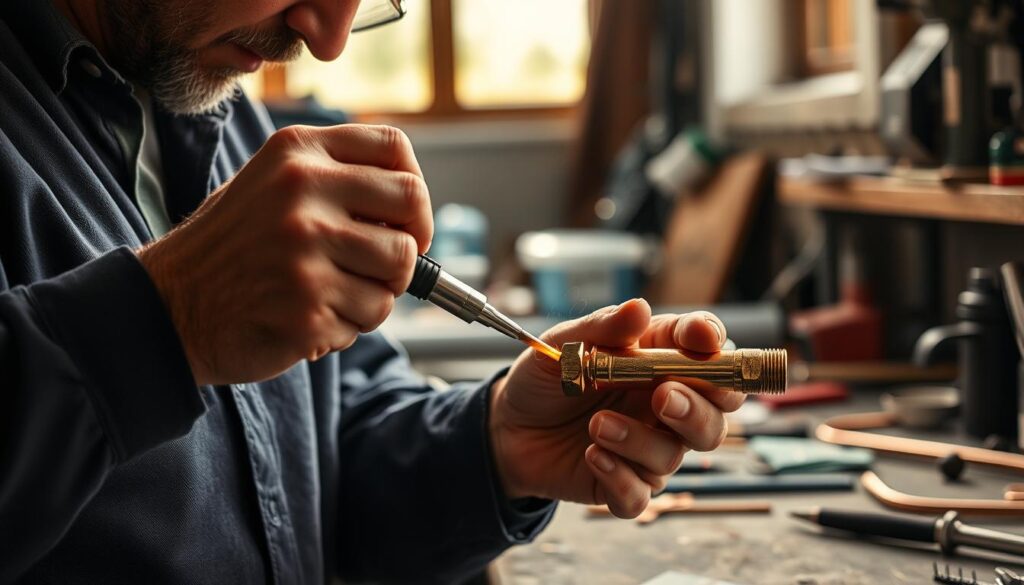
Apply a small amount of flux to the cleaned surfaces and assemble the pipe and fitting. The flux helps to remove oxidation and promotes the flow of solder into the joint.
Heating the Joint Properly
Use a propane torch to heat the joint evenly. Move the flame around the joint to ensure uniform heating. The goal is to heat the joint to a temperature that allows the solder to flow smoothly into the gap.
Applying Solder and Cooling
Once the joint is heated, feed the wire solder into the joint. When the solder has drawn around the entire joint, remove the heat. Allow the joint to cool undisturbed. When the joint is cool enough to handle but still warm, use a clean, dry rag to wipe away any flux residue.
| Step | Description |
|---|---|
| 1 | Measure and cut the pipe to the required length. |
| 2 | Clean the surfaces to be joined. |
| 3 | Apply flux and assemble the pipe and fitting. |
| 4 | Heat the joint evenly with a propane torch. |
| 5 | Apply solder and allow the joint to cool. |
By following these steps and ensuring that the joint is allowed to cool naturally without disturbance, you can achieve a strong and leak-free solder copper pipe connection.
Common Mistakes and Troubleshooting Tips
When soldering copper pipes, it’s crucial to be aware of common mistakes that can lead to leaks and other issues. Soldering copper pipes requires attention to detail and a bit of practice to master. Before you start, it’s a good idea to practice on a scrap piece of pipe to get a feel for the process, as suggested on Instructables.
Identifying Poor Solder Joints
A poor solder joint can be identified by visible signs such as insufficient solder penetration, overheated joints, or solder that hasn’t flowed properly into the joint. To avoid these issues, ensure that the pipe is fully inserted into the fitting and that the solder is heated correctly. Using a rag to clean up excess solder on the outside of the pipes is also a good practice.
- Check for insufficient solder penetration.
- Look out for overheated joints.
- Ensure proper solder flow into the joint.
Fixing Leaks and Common Issues
To fix leaky solder joints, completely disassemble and clean the area. If the solder won’t flow properly, check your torch settings and ensure the joint is not overheated. Testing the repaired joint under water pressure is essential to verify its integrity. In some cases, it may be necessary to cut out and replace the joint entirely.
Conclusion
By following the steps outlined in this guide, you’ll be well on your way to becoming proficient in soldering copper pipes. The key to success lies in proper preparation, cleaning, and technique. As you practice, you’ll find that soldering becomes easier and more efficient over time. Not only will you save money by completing your own plumbing repairs, but you’ll also gain a valuable DIY skill that will serve you well in multiple home improvement scenarios.
Remember to always follow safety precautions when working with open flames, and start with simple projects to build your confidence. With properly soldered copper pipes, you can ensure a leak-free and durable plumbing system that will last for decades. So, take the first step today and begin your journey to becoming a skilled DIY plumber.
