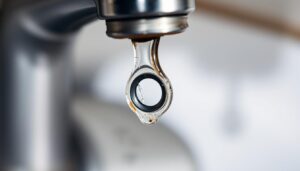
Are you tired of the constant drip from your stopcock that’s not only wasting water but also increasing your bills?
A leaking stopcock can be a significant issue, potentially causing water damage and unnecessary expenses if left unaddressed.
This guide is designed to empower you with the knowledge and confidence to diagnose and repair your leaking tap without necessarily calling a professional plumber.
Most stop tap repairs are straightforward DIY tasks that require minimal tools and can be completed in under an hour.
Key Takeaways
- Diagnose and repair a leaking stopcock with ease.
- Understand the different types of stopcock leaks, including compression nut, gland nut, and head gear joint issues.
- Learn how to control the main water supply to your home.
- Discover the importance of knowing how to fix your stopcock in emergency situations.
- Save money by avoiding unnecessary plumber calls.
Understanding Your Stopcock and Why It Leaks
Understanding the intricacies of your stopcock is crucial to fixing leaks and preventing future issues. Your stopcock is a vital component of your plumbing system, controlling the flow of water into your home.
What Is a Stopcock and Where to Find It
A stopcock, also known as a stop tap, is a valve that controls the flow of water into your home. It’s typically located near the boundary of your property or where the water supply enters your house. Knowing the location of your stopcock is essential for maintenance and emergency shut-offs.
Identifying the Parts of a Stopcock
The stopcock consists of several key parts, including the handle or spindle, gland nut, and compression nuts. The handle or spindle is used to turn the stopcock on and off, controlling the flow of water. The gland nut and compression nuts are critical in preventing leaks.

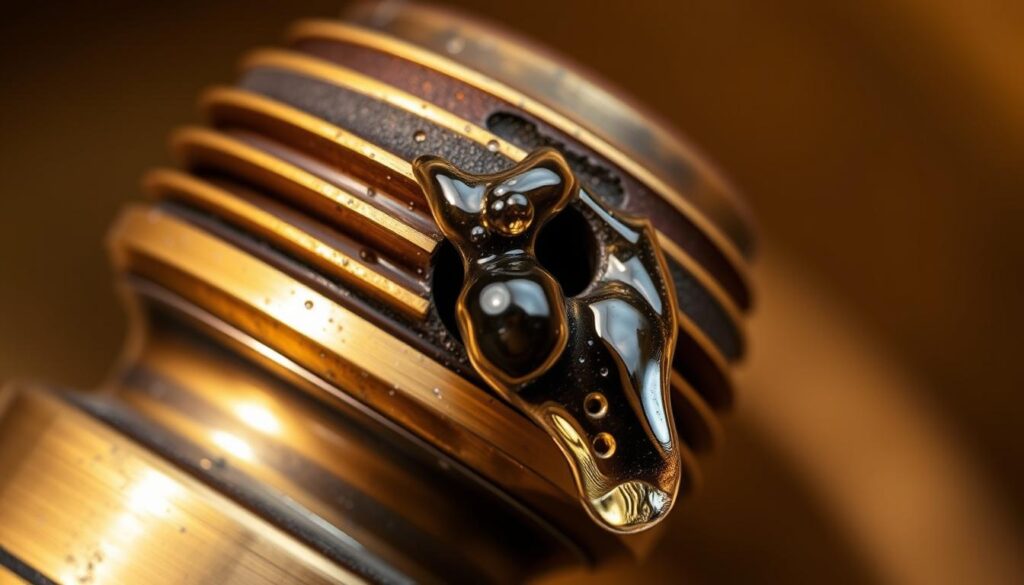
Common Causes of Stopcock Leaks
Leaks from your stopcock can occur due to various reasons, including worn-out gland nut packing, loose or damaged compression nuts, or issues with the head gear joint. “Age, wear and tear, and mineral deposits are common causes of stopcock deterioration that lead to leaks over time.” Identifying the specific cause of the leak is crucial for determining the correct repair approach.
There are three main types of stopcock leaks: compression nut leaks, gland nut leaks, and head gear joint failures. Visible water dripping from the sides typically indicates a problem with the compression nuts, while water seeping from around the spindle or handle area suggests a worn gland nut packing. If water continues to flow when the stopcock is turned off, the issue is likely with the head gear joint’s washer.
Essential Tools and Materials to Fix Dripping Stopcock Spindle

Before you start repairing your stopcock, it’s essential to gather the necessary tools and materials. Having everything you need on hand will make the process smoother and more efficient.
Basic Tools You’ll Need
You’ll require some basic tools to start the repair. These include an adjustable wrench or spanner, a screwdriver (usually a flathead or Phillips), and possibly a pair of pliers for gripping small parts. Ensuring you have these tools readily available will help you tackle the job with confidence.
PTFE Tape and Other Materials
PTFE tape, also known as plumber’s tape, is a crucial material for creating watertight seals. It’s a thin, white, non-adhesive tape that you wrap around threaded connections. To apply PTFE tape correctly, wrap it in a clockwise direction to prevent it from unwinding when you tighten the fitting. Typically, 3-5 wraps around a thread are sufficient. Be cautious not to use too much, as this can make the tap difficult to turn or prevent proper reassembly. Other useful materials include replacement washers, gland packing material, and silicone grease for lubricating moving parts.
Step-by-Step Repair Guide for Different Types of Leaks
To stop a leaking stop tap, you’ll need to diagnose the issue and apply the appropriate fix. Leaks can occur in various parts of the stopcock, including the compression nut, gland nut, and head gear joint. Understanding the source of the leak is crucial to applying the correct repair.
Fixing a Leaking Compression Nut
A leaking compression nut can often be fixed by tightening or applying PTFE tape. First, try tightening the compression nut to see if this stops the leak.
Tightening the Compression Nut
Use a wrench to tighten the nut clockwise. Be careful not to overtighten, as this can damage the stopcock.
Applying PTFE Tape to Seal the Leak
If tightening doesn’t work, apply PTFE tape around the threads of the compression nut. This will help create a tighter seal and stop the leak.

Repairing a Leaking Gland Nut
A leaking gland nut may require tightening or replacing the gland packing. Start by trying the simple tightening method.
Simple Tightening Method
Tighten the gland nut clockwise using a wrench. Check if the leak stops.
Replacing the Gland Packing
If tightening doesn’t work, you’ll need to replace the gland packing. Remove the old packing and wrap new PTFE tape around the spindle.
Addressing a Faulty Head Gear Joint
A faulty head gear joint often requires replacing the washer and reassembling the stopcock. Start by removing the old washer and replacing it with a new one.
Replacing the Washer
Wrap PTFE tape around the bottom of the spindle, just above the new washer, to create an additional seal.
Reassembling the Stopcock
Reinsert the spindle into the stopcock body, ensuring all components are properly aligned. Retighten the large central nut to the appropriate tension. Test the repair by gradually restoring water supply and checking that the stopcock fully stops water flow when closed.
After reassembling, it’s crucial to test the stopcock thoroughly. Turn on the water supply gradually and check for leaks around all parts. Ensure the stopcock fully stops tap water flow when closed. A properly functioning stopcock is essential for home safety, allowing quick water shutoff in emergencies. If the repair doesn’t resolve the issue, it may be time to consider replacing the entire stopcock unit or consulting a professional plumber to fix leaking issues and ensure your supply stopcock is working correctly.
Conclusion: Preventing Future Stopcock Problems
Maintaining your stopcock is crucial for water efficiency and household safety. By following the steps outlined in this guide, you’ve gained the skills to identify and fix common issues, ensuring a reliable water supply.
To prevent future problems, gently operate your stop tap every few months to prevent seizing. Annually, apply a drop of food-grade silicone lubricant to the spindle to keep the mechanism moving smoothly. Regularly check for early signs of leaks during under-sink cleaning, looking for mineral deposits or water stains.
Keep basic repair tools and supplies, such as PTFE tape and washers, on hand for quick fixes. Knowing the location of both internal and external stopcocks is vital for quick action during emergencies. By addressing small leaks promptly, you can prevent them from developing into larger, more costly problems, ensuring a safe and efficient water flow.