Did you know that a damaged tile can be more than just an eyesore? It can pose a significant safety hazard in your home, potentially causing trips or cuts. Whether it’s a large floor tile that’s been smashed or a small wall tile that’s been chipped, addressing the issue promptly is crucial.
Prompt replacement is essential for both aesthetic and practical reasons. This comprehensive guide will walk you through the process, from identifying the damage to achieving a professional-looking finish. You’ll learn how to assess the extent of the damage, gather the necessary tools and materials, and follow a methodical approach to ensure successful tile replacement.
Key Takeaways
- Understand the importance of replacing damaged tiles for safety and aesthetic reasons.
- Learn how to assess the extent of the damage and prepare for replacement.
- Gather the necessary tools and materials for the replacement process.
- Follow a step-by-step guide to replace the broken tile successfully.
- Discover how to apply grout for a seamless finish.
- Save costs by completing the project as a DIY task.
Essential Tools and Materials for Tile Replacement
A successful tile replacement project begins with the right tools and materials, ensuring a professional finish. To achieve this, you need to be well-prepared with the necessary equipment.

Safety Equipment You’ll Need
Proper safety equipment is essential when replacing a broken tile. This includes safety goggles to protect your eyes from flying debris and heavy-duty gloves to prevent cuts from sharp tile edges.
Tools for Removing the Old Tile
The tile removal process requires specific tools, including a grout remover or grout saw for clearing the surrounding grout, a hammer and chisel for breaking up the damaged tile, and a drill with a ceramic bit to create holes that make removal easier.
Materials for Installing the New Tile
When installing a new tile, you’ll need materials such as adhesive suitable for your tile type, spacers to maintain consistent grout lines, and a notched trowel for applying adhesive evenly. Ensuring you have the correct tools and materials will result in a professional-looking finish.
Removing the Broken Tile Safely
Safely removing a broken tile is crucial to a successful replacement. Before you start, make sure you are wearing safety goggles and heavy-duty gloves to protect yourself from sharp edges and flying debris.
Preparing the Area
To prevent damage to surrounding tiles, apply painter’s tape around their edges. This will protect them from accidental damage during the removal process. You should also cover nearby surfaces to catch any dust and debris.
Removing the Surrounding Grout
Use a grout saw or grout remover to carefully remove the grout from around the damaged tile. Work methodically to ensure complete removal without affecting adjacent tiles.

Breaking and Removing the Damaged Tile
Place a chisel in the centre of the tile and gently tap it with a hammer to create a crack. You can then drill evenly-spaced holes into the broken sections to make removal easier. Working from the centre outwards, use a hammer and chisel to remove the broken pieces.
Cleaning the Exposed Surface
Once the broken tile is removed, use a wider chisel to clean all the old thinset off the substrate. Thoroughly clean the exposed surface by vacuuming all dust and debris, then wipe with a damp cloth to remove any fine particles.
| Step | Action | Tools Required |
|---|---|---|
| 1 | Prepare the area around the damaged tile | Painter’s tape, coverings for nearby surfaces |
| 2 | Remove the surrounding grout | Grout saw or grout remover |
| 3 | Break and remove the damaged tile | Hammer, chisel, drill |
| 4 | Clean the exposed surface | Wider chisel, vacuum, damp cloth |
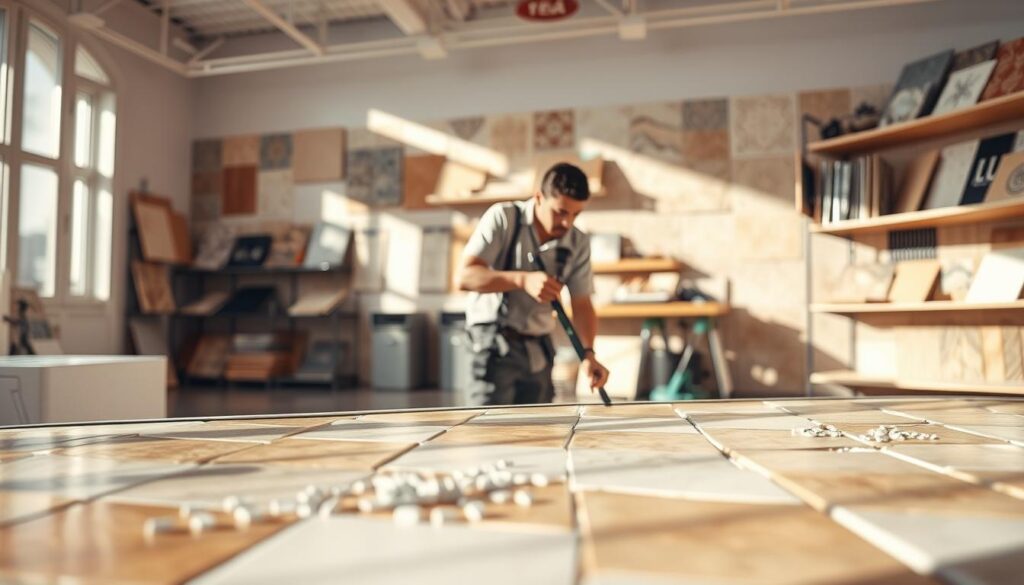
Replacing a Broken Tile: Installation Process
The next step in replacing a broken tile is to apply the adhesive and set the new tile in place. This process requires attention to detail to ensure a strong bond between the tile and the floor.
Applying the Adhesive Correctly
To begin, you’ll need to apply a liberal amount of pre-mixed thin-set adhesive to the bare floor using the flat edge of a notched trowel. The notches in the trowel help to create evenly spaced ridges in the adhesive, allowing air to escape when the new tile is laid down. For maximum adhesion, it’s also recommended to spread a layer of thin-set on the back of the new tile, a process known as “back-buttering.” This ensures complete coverage and a stronger bond between the tile and the floor.

Setting the New Tile in Place
While holding the edges of the new tile, position it flat above the notched adhesive and gently drop it into place. Once the tile is set, apply even pressure over its surface and lightly wiggle it to ensure proper adhesive contact. Make sure the tile is level and aligned with the surrounding tiles. You can check the alignment by using a level tool. For more detailed guidance, you can refer to This Old House’s guide on replacing a cracked floor.
Grouting and Finishing Touches
After allowing the adhesive to set according to the manufacturer’s recommended time, typically 24 hours, you can proceed with grouting. Using a rubber float, scoop a good amount of pre-mixed grout and work it into the joints at a 45° angle, using a sweeping arc motion. Clean off the excess grout with a damp grout sponge. Let the grout sit for about 15 minutes before final inspection.
| Step | Description | Tools/Materials Needed |
|---|---|---|
| 1 | Apply adhesive to the floor | Notched trowel, pre-mixed thin-set |
| 2 | Set the new tile in place | New tile, level |
| 3 | Apply grout to the joints | Rubber float, pre-mixed grout, grout sponge |
Conclusion
By following this guide, you’ll be able to replace a broken tile efficiently and effectively. DIY tile replacement can be a cost-effective option, especially if you only need to replace a few tiles. Contractors typically charge between £7-£30 per square foot for tile work, plus additional costs for regrouting shower or floor areas.
To ensure a professional-looking finish, it’s crucial to follow each step in this guide carefully, from preparing the area and removing the damaged tile to installing the new tile and applying grout. Regular maintenance of your tiles is also essential for preventing future damage. This includes cleaning tiles and grout regularly, using mats in high-traffic areas, and placing felt pads under furniture to prevent scratches.
For wall tiles in wet areas like showers, make sure to periodically check and reseal the grout to prevent water damage to the substrate. The key to successful tile replacement lies in patience and attention to detail. By taking your time with each step, you’ll achieve a more durable and aesthetically pleasing repair. Keeping spare tiles from your original installation can also ensure perfect matches for future replacements.
In conclusion, replacing a broken tile is a manageable DIY project that can save you significant money compared to hiring professional services. With the right tools and a bit of patience, you can achieve a professional-looking finish that blends seamlessly with your existing tiling.