Are you frustrated with your thermostat constantly disconnecting from your Wi-Fi network, leaving you without remote control over your home’s climate?
A stable connection is crucial for your thermostat to function properly, enabling you to access energy-saving features and maintain a comfortable temperature.
When your thermostat loses its connection to the Wi-Fi network, you can’t control it remotely or access advanced features, but it will continue to regulate your heating and cooling system based on its programmed schedule.
Key Takeaways
- Identify common causes of Wi-Fi disconnections affecting your thermostat.
- Apply quick fixes to re-establish a stable connection.
- Explore advanced network configuration solutions for long-term reliability.
- Understand how your thermostat operates when disconnected from Wi-Fi.
- Troubleshoot issues specific to major thermostat brands like Nest, Honeywell/Resideo, and Ecobee.
Understanding Smart Thermostat Wi-Fi Connectivity Issues
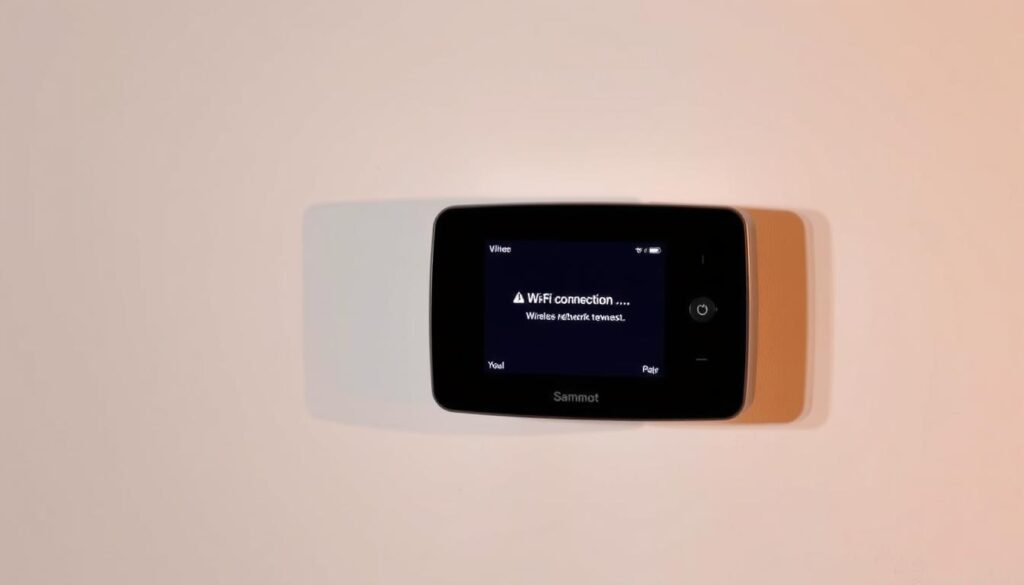
Smart thermostats rely on a stable Wi-Fi connection to function optimally, but sometimes this connection can be lost. When this happens, you may experience difficulties in controlling your thermostat remotely through the app. Your smart thermostat’s ability to learn and adapt to your temperature preferences is also compromised.
Why Smart Thermostats Disconnect from Wi-Fi
There are several reasons why your smart thermostat may disconnect from Wi-Fi. Interference from other devices, physical barriers, and issues with your router can all contribute to a lost connection. When your thermostat loses its Wi-Fi connection, you may notice that some advanced features become unavailable.
- Remote control through the app is lost
- Energy usage tracking and reporting are disrupted
- Smart learning features are compromised
The Impact of Wi-Fi Dropouts on Thermostat Functionality
When your smart thermostat loses Wi-Fi connectivity, it continues to operate based on its last programmed schedule. However, some features may not function as intended. For instance, geofencing and weather-based temperature adjustments require a stable internet connection.
| Feature | Impact of Wi-Fi Dropout |
|---|---|
| Remote Control | Lost |
| Energy Tracking | Disrupted |
| Smart Learning | Compromised |
Quick Fixes to Solve Smart Thermostat Wi-Fi Dropout
Don’t let Wi-Fi dropout disrupt your smart thermostat’s functionality; try these quick fixes. When your smart thermostat loses its Wi-Fi connection, it can be frustrating, but resolving the issue can be straightforward with a few simple steps.
Restart Your Thermostat
One of the simplest and most effective troubleshooting methods is to restart your thermostat. This process, often referred to as a “reboot,” can resolve connectivity problems by clearing out temporary glitches. To restart, locate the reset button or switch off the power to the device, wait for a few seconds, and then turn it back on.
Restart Your Wi-Fi Router
Your Wi-Fi router is the backbone of your smart home network. Restarting it can often resolve connectivity issues. Unplug the power cord, wait for about 30 seconds, and plug it back in. This simple action can refresh your network and potentially solve the Wi-Fi dropout problem with your thermostat.
Check for System Updates
Outdated firmware on your thermostat or its companion app can cause Wi-Fi connectivity problems. Ensure your thermostat and the associated app on your phone are up-to-date. Check for updates to your thermostat’s firmware through its settings menu or the mobile app. System updates often include fixes for known connectivity issues and improvements to Wi-Fi stability.

Checking Your Thermostat’s Power and Battery Status
Ensuring your smart thermostat’s power and battery status is crucial for maintaining a stable Wi-Fi connection. A well-functioning thermostat relies on a consistent power supply to operate its advanced features and stay connected to your Wi-Fi network.
How Low Battery Affects Wi-Fi Connectivity
A low battery can significantly impact your smart thermostat’s ability to maintain a stable Wi-Fi connection. When the battery level drops, the thermostat may struggle to communicate with your router, leading to intermittent or lost connections. As Stephen Hogarth, a renowned HVAC expert, once said,
“A smart thermostat’s power status is the backbone of its functionality; without it, the device is rendered useless.”
Some thermostats, like the Nest Learning Thermostat, display error codes related to power issues, such as E448, indicating no system power. It’s essential to check your thermostat’s diagnostic menus to determine if it’s receiving adequate voltage.
Verifying Power Supply and Wiring Issues
To verify your thermostat’s power supply, check for any wiring issues that might be causing intermittent power problems. Many smart thermostats require a C-wire (common wire) to provide consistent power for Wi-Fi and advanced features. Loose or improperly connected wiring can cause power issues, affecting Wi-Fi connectivity. Inspect the wiring connections at both the thermostat and HVAC control board to ensure they’re secure.
If your thermostat repeatedly loses power or fails to maintain charge, consider consulting a professional HVAC technician to inspect and rectify any wiring issues. They can also install power adapters or C-wire alternatives if your system lacks the necessary wiring.
Diagnosing Wi-Fi Signal Strength and Interference
Understanding the factors that affect Wi-Fi signal strength can help you troubleshoot connectivity issues with your smart thermostat. A stable connection between your thermostat and the router is crucial for the proper functioning of your heating and cooling system.
Measuring Your Thermostat’s Wi-Fi Signal Strength
To assess the Wi-Fi signal strength at your thermostat’s location, you can use various methods. Some routers and thermostats provide signal strength indicators, while others may require the use of third-party apps or software to measure the signal strength. You can also try moving your router to a different location to improve the signal strength.

Common Sources of Wireless Interference
Several devices and objects can interfere with your Wi-Fi signal, causing connectivity issues with your smart thermostat. Common sources of interference include other electronics operating on the 2.4GHz frequency, such as cordless phones, microwaves, and neighbouring Wi-Fi networks. You can mitigate this interference by changing the Wi-Fi channel on your router or switching off devices when not in use.
| Device | Potential Interference | Mitigation Strategy |
|---|---|---|
| Cordless Phones | 2.4GHz frequency overlap | Switch to 5GHz or change Wi-Fi channel |
| Microwaves | 2.4GHz frequency interference | Use microwave when Wi-Fi is not in use |
| Neighbouring Wi-Fi Networks | Channel overlap | Change Wi-Fi channel on your router |
Optimal Placement for Wi-Fi Routers and Thermostats
For optimal Wi-Fi coverage, place your router in a central, elevated location. Avoid placing it inside cabinets or near large metal objects that can block or reflect the signal. For more information on diagnosing and addressing Wi-Fi signal quality problems, you can visit CNET’s guide on Wi-Fi signal quality. Consider the vertical positioning of your router, as signals spread downward more effectively than upward through floors.
Optimising Router Settings for Smart Thermostats
Optimising router settings is essential to prevent Wi-Fi dropout issues with your smart thermostat. A stable connection between your router and thermostat is crucial for efficient temperature control and energy management in your home.
Essential Router Configuration for Thermostat Compatibility
To ensure compatibility between your router and smart thermostat, certain configurations are necessary. You should first check the frequency band your router is using. Most smart thermostats operate on the 2.4GHz band, while some may support the 5GHz band.
2.4GHz vs 5GHz Networks
The 2.4GHz band offers better range and penetration through walls, making it more suitable for devices like smart thermostats that may be located in different parts of your home. However, it’s more prone to interference. The 5GHz band offers faster data transfer rates but has a shorter range and is more susceptible to physical barriers.
DHCP Settings and Lease Times
Your router’s DHCP settings should be configured to allow your smart thermostat to maintain a stable IP address. Adjusting the lease time can help prevent connectivity issues by ensuring that your thermostat’s IP address is not frequently renewed.
Security Protocols and Firewall Considerations
Implementing robust security protocols, such as WPA2 (or WPA3 if supported), is vital to secure your network. Ensure your router’s firewall is configured to allow communication between your smart thermostat and the manufacturer’s servers.
When using Wi-Fi extenders or mesh networks, it’s essential to position them correctly to ensure optimal coverage. As one expert notes, “Proper placement of Wi-Fi extenders can significantly improve the signal strength and reliability of your smart thermostat’s connection.”
Using Wi-Fi Extenders and Mesh Networks
Wi-Fi extenders and mesh networks can enhance coverage and reduce the likelihood of Wi-Fi dropout. However, they may introduce additional complexity. When setting up a new thermostat, connect it directly to your primary router first. If you’re using mesh networks, be aware that some thermostats may struggle with the handoff between mesh nodes.
- Position Wi-Fi extenders halfway between your router and thermostat for optimal signal relay.
- Ensure all network components run the same firmware version to prevent compatibility issues.
Brand-Specific Troubleshooting Procedures
To effectively solve Wi-Fi dropout issues, understanding the specific troubleshooting steps for your smart thermostat brand is crucial. Different brands have unique approaches to resolving connectivity problems.
Nest Thermostat Connectivity Solutions
Nest thermostats have specific troubleshooting procedures. One common issue is the W5 error code, which indicates a problem with the Wi-Fi network connection.
Dealing with W5 Error Codes
If you encounter the W5 error code, check your Wi-Fi network for any issues. Ensure your network is functioning correctly and that your Nest thermostat is connected to the right network.
Reconnecting Nest to a New Network
To reconnect your Nest thermostat to a new network, you’ll need to update the network settings. Make sure you’re using the correct Wi-Fi network credentials.
Honeywell/Resideo Thermostat Connectivity Solutions
Honeywell and Resideo thermostats also have their own set of troubleshooting steps. Ensuring your thermostat is properly paired with the Resideo app is essential.
Pairing with the Resideo App
To pair your Honeywell/Resideo thermostat with the Resideo app, follow the in-app instructions. Select the correct Wi-Fi network and enter the password. Ensure your phone is connected to the same network as your thermostat. You can do this by turning off your phone’s mobile data or by activating “Airplane Mode” and then connecting to the same Wi-Fi network as your thermostat.
When reconnecting your Honeywell/Resideo thermostat after changing your network, you’ll need to go through a similar process as the initial setup. Ensure your phone is connected to the same Wi-Fi network you want your thermostat to use. If using a mobile hotspot for setup, both your phone and thermostat must connect to the same hotspot network.
After reconnection, verify that your thermostat shows as online in the Resideo app and test the remote control functionality to confirm successful setup.
Conclusion: Maintaining Reliable Smart Thermostat Connectivity
A reliable smart thermostat connection is vital for your home’s comfort. To maintain this, ensure your router’s firmware is updated to have the latest security patches and performance improvements. Position your router optimally to strengthen your network connection.
Follow these steps to keep your thermostat connected:
- Regularly update your router’s firmware and schedule automatic restarts during low-usage hours.
- Keep your thermostat’s firmware updated through its companion app.
- Monitor for potential sources of interference when adding new devices to your home network.
- Adjust your router’s placement seasonally to maintain optimal connectivity.
By making sure these steps are followed, you can enjoy a seamless smart thermostat experience. Even if Wi-Fi connectivity fails, your smart thermostat will continue to control your heating and cooling system based on its programmed schedule, ensuring your home remains comfortable.