Are you struggling with a cooker hood that’s not extracting kitchen fumes efficiently? A dirty or worn-out charcoal filter could be the culprit. Your kitchen’s air quality depends on the proper functioning of this crucial component.
Understanding when and how to replace your filter is vital for maintaining a clean and healthy kitchen environment. A cooker hood with a recirculation system cleans the air by passing it through a charcoal filter before releasing it back into your kitchen. Regular maintenance ensures optimal performance and prevents grease build-up.
Key Takeaways
- Identify when your charcoal filter needs replacing to maintain air quality.
- Follow a step-by-step guide to replace your cooker hood filter effectively.
- Learn safety precautions and necessary tools for the replacement process.
- Discover maintenance tips to extend the life of your cooker hood.
- Ensure proper ventilation in your kitchen by keeping your hood in good condition.
Understanding Cooker Hood Filters
Understanding the different types of cooker hood filters is essential for optimal kitchen ventilation. Cooker hood filters are crucial for capturing grease, odors, and other particles emitted during cooking, thus maintaining a cleaner and healthier kitchen environment.
Types of Cooker Hoods: Recirculation vs. Vented
Cooker hoods primarily operate in two modes: recirculation and vented. Recirculation cooker hoods clean the air using carbon filters and release it back into the kitchen, while vented cooker hoods expel the air outside through a ducting system. Understanding the type of cooker hood you have is vital for choosing the right filter.
Different Filters and Their Functions
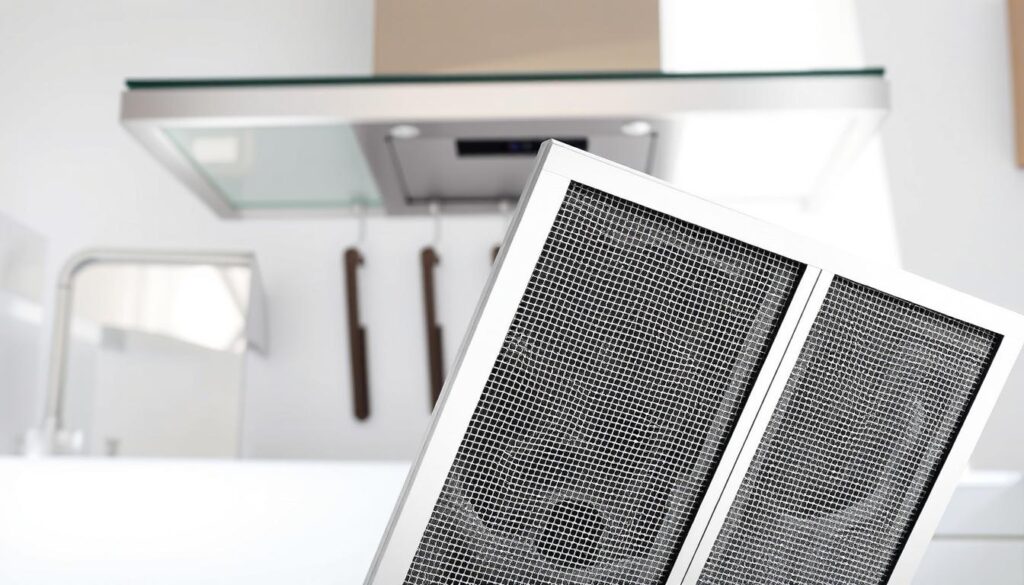
Cooker hoods use different types of filters to clean the air. Grease filters, often made of metal mesh, capture grease particles and should be cleaned or replaced regularly. In recirculation cooker hoods, carbon filters absorb cooking odors and need to be replaced approximately every four months. The table below summarizes the key characteristics of these filters.
| Filter Type | Function | Maintenance |
|---|---|---|
| Grease Filter | Captures grease particles | Clean or replace every 3-6 months |
| Carbon Filter | Absorbs cooking odors | Replace every 4 months |
When to Replace Your Cooker Hood Charcoal Filter
To keep your kitchen free from grease and odours, it’s essential to know when to replace your cooker hood’s charcoal filter. The charcoal filter plays a crucial role in eliminating cooking fumes and maintaining air quality. Regular replacement ensures your cooker hood operates efficiently.
Signs Your Filter Needs Replacing
If you notice a decrease in your cooker hood’s performance, such as reduced airflow or increased noise, it may be a sign that the charcoal filter needs replacing. Additionally, if your kitchen is filling with grease or cooking odours, it’s likely that the carbon filter is saturated and no longer effective.
Recommended Replacement Intervals
Manufacturers typically recommend replacing charcoal filters every 3-4 months under normal cooking conditions. However, if you engage in heavy cooking or frequent frying, you may need to replace the filter more often, possibly every 2-3 months. Keeping track of when you last changed your filters helps maintain a regular replacement schedule.
| Cooking Frequency | Recommended Replacement Interval |
|---|---|
| Normal Cooking | Every 3-4 months |
| Heavy Cooking/Frequent Frying | Every 2-3 months |
Some modern cooker hoods feature indicator lights that signal when filter replacement is needed based on usage. It’s also worth considering seasonal changes in cooking habits, such as more indoor cooking during winter, which might require adjusting your replacement schedule accordingly. For optimal performance, ensure you have the correct filter cooker hood replacement.
Preparation for Replacing Cooker Hood Charcoal Filter
To replace your cooker hood charcoal filter effectively, you need to prepare by taking a few crucial steps. This preparation will ensure that the replacement process is smooth and hassle-free.
Safety Precautions
Before starting, ensure your safety by switching off the cooker hood and unplugging it from the power source. This prevents any accidental start-ups or electrical shocks. Always refer to your user manual for specific safety instructions related to your cooker hood model.
Tools and Materials Needed
Gather the necessary tools and materials, including a new charcoal filter compatible with your cooker hood model, a screwdriver (if required), and any other accessories mentioned in your user manual. Having everything ready will streamline the replacement process.
Accessing Your Cooker Hood Filters
You’ll need to open your cooker hood to access the filters. Most cooker hoods have a simple access method, typically involving removing or opening a panel on the underside. Check your model’s manual for the exact method, and be gentle to avoid damaging any clips or hinges.
| Step | Action | Notes |
|---|---|---|
| 1 | Switch off and unplug the cooker hood | Ensure safety by preventing accidental start-ups |
| 2 | Gather necessary tools and materials | Include a new charcoal filter and any required accessories |
| 3 | Access the cooker hood filters | Refer to your user manual for the specific access method |
Step-by-Step Guide to Replace Cooker Hood Charcoal Filter
You can easily replace your cooker hood charcoal filter by following a few simple steps. This process ensures your kitchen remains free from grease and odours, maintaining a clean and healthy environment.
Removing the Grease Filter
Start by removing the grease filter to access the charcoal filter. Typically, this involves sliding the grease filter out or releasing a clip. Refer to your cooker hood’s manual for specific instructions, as the mechanism can vary between models.
Locating the Charcoal Filter
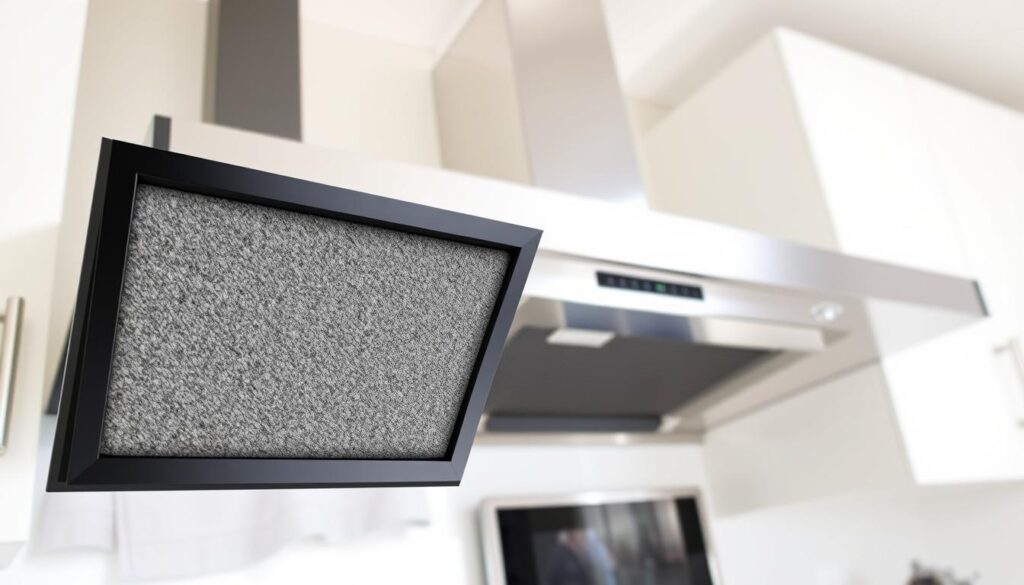
Once the grease filter is removed, locate the charcoal filter. It’s usually positioned behind or near the grease filter. Take note of its orientation and how it’s secured, as this will be crucial for installing the new filter.
Removing the Old Charcoal Filter
Gently pull out the old charcoal filter, taking care not to touch any electrical components. If it’s stuck, check for any clips or screws holding it in place.
Installing the New Charcoal Filter
To install the new charcoal filter, first unpack it and verify it matches the size and shape of the old one. If necessary, trim it to fit using the old filter as a template. Insert the new filter, ensuring it’s seated correctly and securely fastened, typically by twisting it clockwise. Make sure it’s firmly in place to prevent it from coming loose during operation.
Maintaining Your Cooker Hood for Optimal Performance
To extend the lifespan of your cooker hood, maintenance is key. Regular maintenance ensures your cooker hood continues to extract smoke and odours effectively. Grease filters should be replaced every three to six months, and carbon filters should be changed around once every four months. Metal mesh filters, on the other hand, can be cleaned rather than replaced.
Beyond filter replacement, there are several practices that help keep your cooker hood in optimal condition. Regular cleaning of external surfaces prevents grease accumulation and maintains the appearance of your appliance. Understanding the maintenance schedule for different components helps you plan and budget for replacements, ensuring your cooker hood continues to function efficiently and contributes to better air quality in your kitchen.
