Are you tired of lugging hoses around your garden or struggling to find a convenient water source for your outdoor chores? Installing a tap outside can be a game-changer, making it easier to water your plants, wash your car, or fill a paddling pool.
You can easily buy an outside tap kit from most DIY stores, which includes everything needed to get your tap plumbed in. This practical home improvement project can be completed in about 30 minutes to 2 hours, depending on your home’s configuration and your level of DIY experience.
With the right tools and a bit of know-how, you can have a functional wall-mounted tap that will provide years of convenient access to water for various tasks.
Key Takeaways
- Installing an outside tap is a straightforward DIY project that enhances garden maintenance.
- The process involves selecting the right location, preparing the necessary tools, and following proper plumbing techniques.
- A typical installation takes between 30 minutes to 2 hours to complete.
- Using an outside tap kit simplifies the process by providing all necessary components.
- A properly installed tap ensures efficient water usage and complies with water regulations.
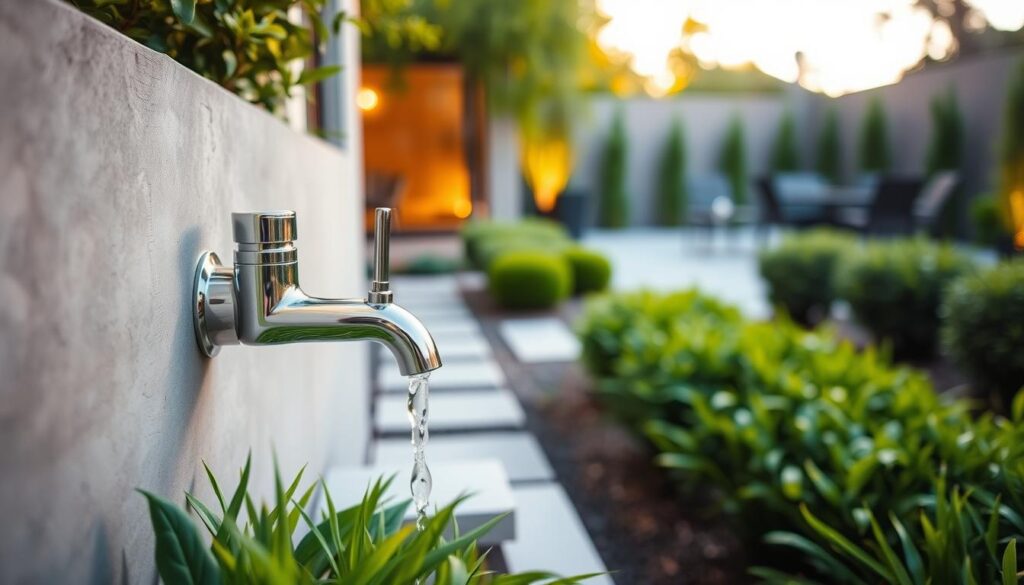
Benefits of Having an Outdoor Garden Tap
Having a tap outside can make a significant difference in your gardening routine. You’ll have immediate access to water exactly where you need it, making various tasks more manageable.
Garden Maintenance Made Easy
An outside tap provides direct access to water for your garden, eliminating the need to carry heavy watering cans across your garden. With a hose attached, you can efficiently water plants, lawns, and vegetable patches.
Time-Saving for Outdoor Cleaning Tasks
The convenience of an outdoor tap extends to cleaning tasks around your house exterior. You can wash windows, patio furniture, and decking areas with ease. Having a tap outside also saves time when washing vehicles, as you won’t need to repeatedly fill and carry buckets of water. This added service enhances your overall gardening experience.

Essential Tools and Materials You’ll Need

Before you start installing your outdoor garden tap, it’s crucial to gather all the necessary tools and materials. This will ensure a smooth process without interruptions to find missing items.
Required Tools for Installation

You’ll need a drill with a bit that’s at least 20mm to accommodate a 15mm pipe. Other essential tools include pipe cutters, adjustable spanners, and a flat-head screwdriver for accessing the stopcock.
Materials and Fittings Checklist

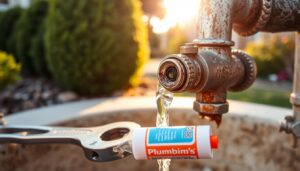
For materials, you’ll need an outdoor tap with a double check valve, a hose union backplate, 15mm pipe, pipe connectors (T-shaped Speedfit connector and elbow connectors), an isolation valve, PTFE tape, and silicone sealant. Selecting the right type of pipework and fittings is crucial, and opting for brass components can offer superior durability.
Preparation Steps Before You Install Outdoor Garden Tap
Before you start installing your outdoor garden tap, there are several preparation steps you need to take. Proper preparation is crucial to avoid costly repairs and water damage.
Choosing the Right Location
When selecting a location for your outdoor tap, look for an external wall that has direct access to your home’s cold water supply. Ideally, this will be near your kitchen sink for the simplest installation. Take a good look at the pipes and whatever is on the outside wall to ensure there’s nothing in the way on the other side.

Understanding Water Regulations and Safety
It’s essential to understand the regulations regarding outdoor taps. According to UK plumbing standards, any outdoor tap must have a double check valve to prevent contamination of your mains water supply through backflow. You must also fit an isolation valve to shut off the water supply to your new tap.
Turning Off Your Water Supply
Before beginning any work, you must turn off your water supply using the main stopcock, typically located under the sink or stairs in most British homes. After turning off the water supply, open an existing tap to drain any remaining water from the pipes and confirm that the stopcock is functioning correctly.
As emphasized by plumbing experts, “Correct preparation and adherence to regulations are vital to ensure a safe and functional outdoor tap installation.” Ensuring you follow these steps will help you avoid potential issues and ensure a successful installation.
Step-by-Step Installation Process
With the right tools and a bit of patience, you can successfully install an outdoor garden tap by following these step-by-step instructions. The process involves several key stages that ensure a secure and functional tap.
Drilling Through the Wall
The first step is to drill through your outside wall using a hammer drill with a bit that’s slightly larger than your pipe diameter. Typically, a 20mm bit is used for a 15mm pipe. It’s recommended to drill from the outside in for a neater finish, but you may need to drill from the inside if you’re avoiding existing pipework.
Connecting to Your Water Supply
Before connecting to your water supply, identify the correct cold water pipe. Measure and cut the appropriate lengths of pipe using a pipe cutter, and plan your connection route. Use appropriate fittings such as T-joints or elbow connectors to ensure secure and watertight connections.
| Pipe Diameter | Drill Bit Size | Fitting Type |
|---|---|---|
| 15mm | 20mm | T-joint |
| 15mm | 20mm | Elbow Connector |
Mounting and Securing the Tap
To mount the tap, first attach the backplate to the wall using appropriate screws and rawlplugs. Apply silicone sealant around the pipe entry point to prevent water ingress. Secure the tap to the backplate by wrapping PTFE tape around the threads in a clockwise direction to create a watertight seal, then tighten by hand before final adjustment with a spanner.
By following these steps, you can ensure a successful installation of your outdoor garden tap. Remember to keep your work area clean and have towels or rags handy to quickly address any water spillage when connecting to existing pipework.
Testing, Maintenance and Winterizing Your Outdoor Tap
Having successfully installed your new outdoor garden tap, it’s time to test and maintain it. First, turn your water supply back on by opening the stopcock and check for any leaks around the connection points and the tap itself.
Next, test your new outdoor tap thoroughly by running water through it at different pressures and checking that the valve operates smoothly without dripping when closed. Regular maintenance includes checking for leaks, ensuring the hose connection remains secure, and verifying that the check valve is functioning correctly.
To winterize your outdoor tap, consider installing an insulated tap cover or jacket before the first frost, or drain and isolate the tap during winter months if it won’t be in use. This protects against freezing temperatures that can cause significant damage to your home.