Updating your home’s flooring can be a daunting task, but what if you could achieve a professional-looking result without the hassle? Self-adhesive vinyl tiles offer a practical and cost-effective solution, allowing you to revamp any room with ease.
With minimal tools and expertise required, you can give your home a fresh new look. Our comprehensive guide will walk you through each step of the installation process, from preparing your floor to adding the finishing touches.
By following our detailed instructions, you’ll be able to achieve durable and attractive vinyl flooring that enhances your home’s aesthetic.
Key Takeaways
- Understand the benefits of using vinyl tiles for your home renovation.
- Learn how to properly prepare your floor for installation.
- Discover techniques for cutting and fitting tiles in challenging spaces.
- Execute a professional-looking installation with minimal tools and expertise.
- Achieve durable and attractive vinyl flooring that enhances your home’s aesthetic.
Understanding Self-Adhesive Vinyl Tiles
Self-adhesive vinyl tiles are a versatile and practical solution for homeowners looking to renovate their floor. These tiles are designed to be easy to install, requiring minimal tools and expertise. They are suitable for a variety of flooring types, making them an ideal choice for many homeowners.
Benefits of Self-Adhesive Vinyl Tiles
The benefits of using self-adhesive vinyl tiles include their water resistance, ease of cleaning, and durability. They are also available in a wide range of designs, allowing you to choose a style that suits your room‘s décor. Additionally, these tiles are relatively inexpensive compared to other flooring options, making them a cost-effective solution for tile installation.
Where to Use Self-Adhesive Vinyl Tiles
Self-adhesive vinyl tiles can be installed in various areas of your home, including kitchens, bathrooms, and living areas. They are particularly suitable for areas with high moisture levels, such as bathrooms, due to their water-resistant properties. The tiles will stick to various surfaces, including laminate flooring, sheet vinyl flooring, ceramic tiles, and concrete floors, provided they are properly prepared.
When installing self-adhesive vinyl tiles, it’s essential to ensure the surface is smooth and free of imperfections. This will help achieve a professional-looking finish and ensure the longevity of your new tile flooring.
Tools and Materials You’ll Need
To achieve a professional-looking result, you’ll need to have the right tools and materials on hand. The right tools and materials are essential for a successful self-adhesive vinyl tile installation.

Essential Tools for Installation
You’ll require a set of basic tools to ensure a smooth installation process. These include a Stanley or craft knife, metal rule, scissors, tape measure, chalk line, and pencil. A rolling pin or tile roller will also be necessary for securing the tiles.
Recommended Materials
To complement your tools, you’ll need the following materials: self-adhesive vinyl tiles, 6mm plywood, screws, PVA solution, and a suitable floor cleaner. If your subfloor requires preparation, you may also need hardboard, plywood, or self-levelling compound. For concrete subfloors, a primer specifically designed for vinyl tile installation is recommended.
Preparing for Installation
Adequate preparation is the foundation for a successful self-adhesive vinyl tile installation. To ensure a smooth and efficient process, you must prepare both the tiles and the subfloor.
Acclimating Your Tiles
Before installation, allow your self-adhesive vinyl tiles to acclimate to the room’s conditions. This step is crucial for ensuring that the tiles adjust to the ambient temperature and humidity, thereby reducing the risk of expansion or contraction issues post-installation. Typically, leaving the tiles in the installation room for 24 to 48 hours is sufficient.
Assessing and Preparing the Subfloor
The subfloor must be suitable for the installation of self-adhesive vinyl tiles. For a successful installation, your subfloor should be made of sealed plywood, such as plywood painted with a 1:5 PVA/Water solution. Make sure the plywood is firmly attached to the floor underneath, and all screw heads are countersunk. It’s essential to note that these tiles will not adhere properly to old floorboards or large chipboard flooring sheets commonly found in new builds.

Cleaning the Surface Properly
A meticulously clean subfloor is essential for the proper adhesion of self-adhesive vinyl tiles. Begin by thoroughly sweeping or vacuuming the entire surface to remove dust, dirt, and debris. Follow this with a deep cleaning using an appropriate cleaner that removes grease and residue. Make sure to rinse thoroughly if using a detergent-based cleaner, as any residue can interfere with adhesion. Allow ample time for the floor to dry completely, as moisture trapped beneath tiles can cause adhesive failure.
- Pay special attention to corners, edges, and areas near walls where dust tends to accumulate.
- Avoid using cleaners that leave behind a film or residue, such as oil-based or wax-containing products.
- A final wipe with isopropyl alcohol can help ensure the surface is completely clean and free of any residual oils.
By following these steps, you can ensure a well-prepared subfloor that is ready for the installation of your self-adhesive vinyl tiles, ultimately leading to a successful and durable flooring solution.
Planning Your Tile Layout
To achieve a professional-looking result, planning the layout of your self-adhesive vinyl tiles is a vital step. Ensuring that your tiles are laid out correctly will not only enhance the aesthetic appeal of your floor but also simplify the installation process.
Finding the Centre Point of Your Room
First of all, make sure the tiles and the room are warm before you start, as cold glue will not work effectively. The best laying method involves finding the midpoint on each wall and using a chalk line to mark a cross at the centre of the floor. You can find detailed instructions on how to use a chalk line by searching online.
Creating a Layout Plan
A well-conceived layout plan ensures balanced tile placement and minimizes awkward cuts along walls and fixtures. To create your plan:
- Begin by placing loose tiles along your chalk lines to visualize the layout.
- Adjust the position of your starting line if necessary to avoid having narrow tile strips at the walls.
- Consider the visual impact of your tile pattern, particularly if using tiles with directional designs.
- For rooms with irregular shapes, create a paper template to plan complicated areas.
- Determine whether a straight or diagonal layout suits your space best.
- Plan the position of your first tile carefully, as it influences the placement of every subsequent tile.
- Take photographs of your dry layout for reference during the actual installation.
By following these steps, you can ensure a successful and visually appealing installation of your self-adhesive vinyl tiles.
How to Install Self-Adhesive Vinyl Tiles Step by Step
To ensure a durable and visually appealing result, it’s crucial to install self-adhesive vinyl tiles correctly. This involves a systematic approach, starting from the centre of the room and working your way outwards.

Starting from the Centre Point
Begin by identifying the centre point of your room, as determined in your layout plan. Starting from this point ensures that the tiles are evenly distributed and that any cuts are made at the edges, maintaining a symmetrical appearance.
Carefully peel back the backing paper from the first tile and align it with your centre point. Press the tile firmly onto the floor, ensuring it is straight and properly positioned.
Peeling and Placing Techniques
When peeling and sticking each tile, make sure to align it closely with the adjacent tiles, leaving no gaps. Use a gentle pressing motion to secure the tile, starting from the centre and moving outwards to avoid trapping air bubbles.
To achieve a professional finish, it’s essential to handle the tiles correctly. Avoid touching the adhesive surface excessively, as oils from your skin can compromise the adhesive properties.
- After placing each section of tiles, use a roller to ensure complete adhesion to the subfloor.
- A specialized tile roller provides the ideal pressure, but a rolling pin can serve as an effective alternative.
- Begin rolling from the centre of each tile toward its edges to push out any trapped air.
- Apply firm, consistent pressure across the entire surface of each tile.
Securing Tiles with a Roller
Securing the tiles with a roller is a critical step that enhances the longevity of your installation. By applying even pressure, you ensure that the adhesive makes full contact with the subfloor, minimizing the risk of lifting or bubbles.
| Tool | Purpose |
|---|---|
| Tile Roller | Provides ideal pressure for securing tiles |
| Rolling Pin | Effective alternative for applying pressure |
For best results, roll the entire floor again after completing the installation to ensure uniform adhesion.
Cutting and Fitting Edge Tiles
When it comes to installing self-adhesive vinyl tiles, one of the most challenging tasks is cutting and fitting the edge tiles. The key to a successful installation lies in accurately cutting and fitting these tiles to ensure a seamless finish.
Measuring for Edge Cuts
To make precise cuts, you need to measure the edge tiles accurately. Measure the length and width of the area where the tile will be placed, taking into account any obstructions or irregularities. Use a pencil to mark the cutting line on the tile, ensuring it is clear and visible.
Making Straight Cuts
For straight cuts, use a metal rule and a Stanley or craft knife. Score a line on the surface of the tile, then snap and slice through the backing paper. This technique ensures a clean and precise cut. Always use a sharp blade to avoid damaging the tile.
Handling Complex Cuts Around Obstacles
Complex cuts around door frames, pipes, and other obstacles require special techniques. Create a template using thin card, gradually snipping away until you achieve a good fit. Transfer the template pattern to the tile, marking the cutting lines clearly. For circular cuts, measure from adjacent tiles to locate the centre point of the pipe, then use a hole cutter or drill with the appropriate diameter.
When cutting irregular shapes, make relief cuts to navigate curves more easily. For extremely complex cuts, consider creating a paper template of the entire area first. This will help you achieve a precise fit and avoid errors.
Conclusion
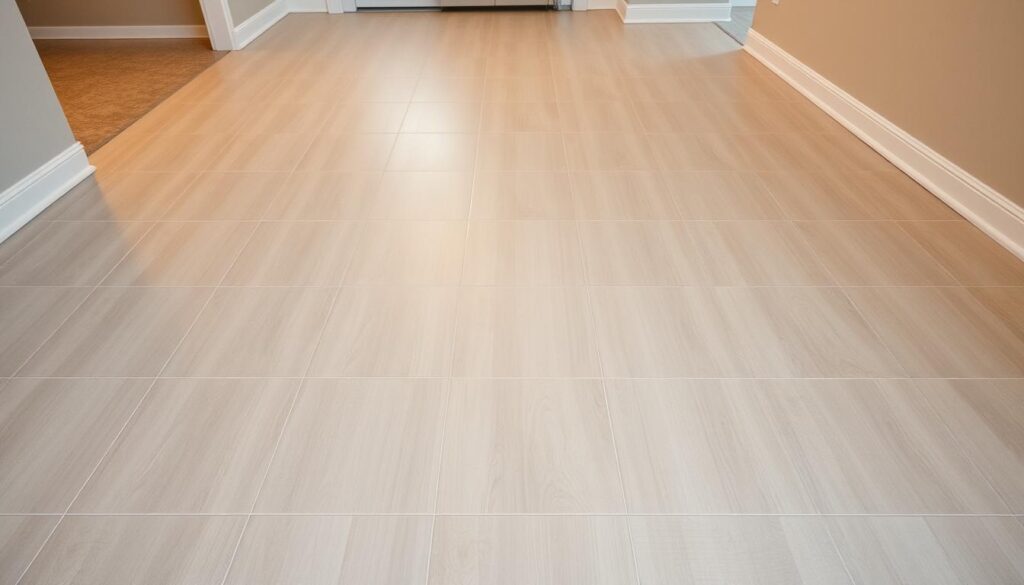
As you step back to admire your handiwork, you’ll appreciate the transformation that self-adhesive vinyl tiles can bring to your room’s design. By following the step-by-step guide outlined in this article, you’ve successfully installed a beautiful vinyl floor that will provide years of service with minimal maintenance.
The key to your success lies in thorough preparation, careful planning, and patient execution of each installation step. Remember, taking the time to properly acclimate your tiles and prepare your subfloor will pay dividends in the durability of your installation. With the versatility of self-adhesive vinyl tiles, you’ve enhanced your home’s aesthetic appeal at a fraction of the cost of more expensive flooring materials.
Congratulations on completing your vinyl tile installation—enjoy your beautiful new floor! Consider keeping a few extra tiles for potential future repairs or replacements that may be needed.