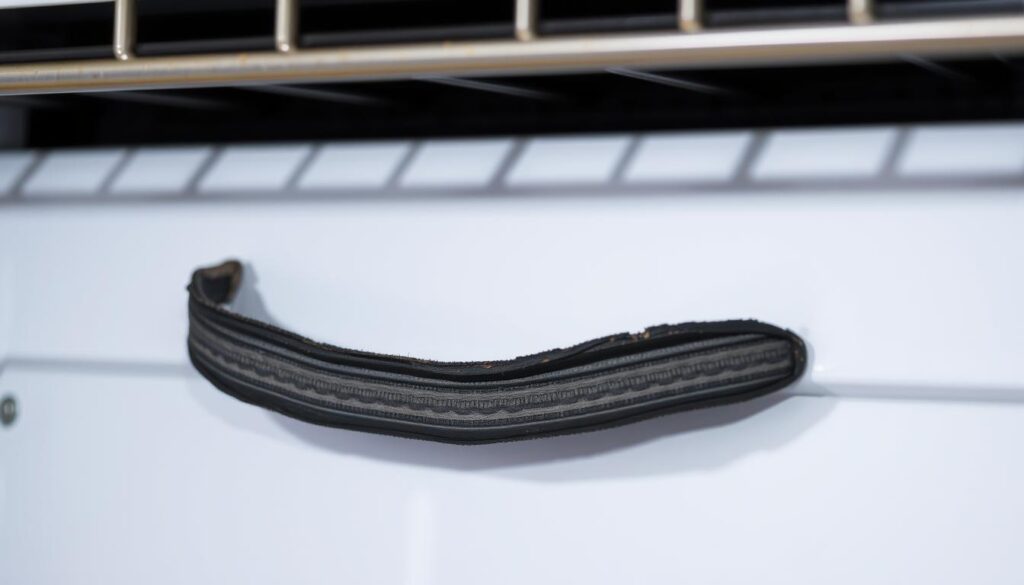
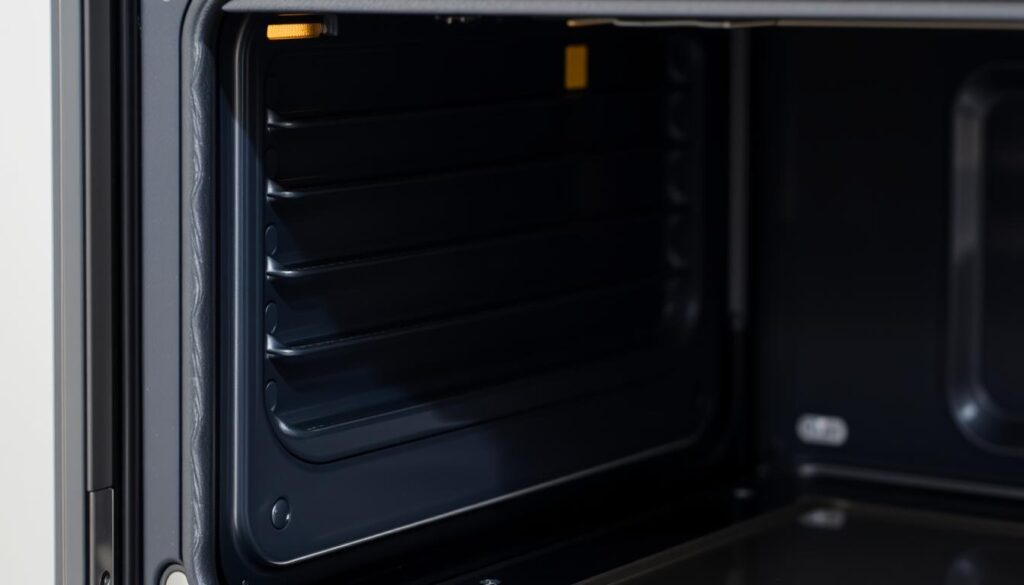
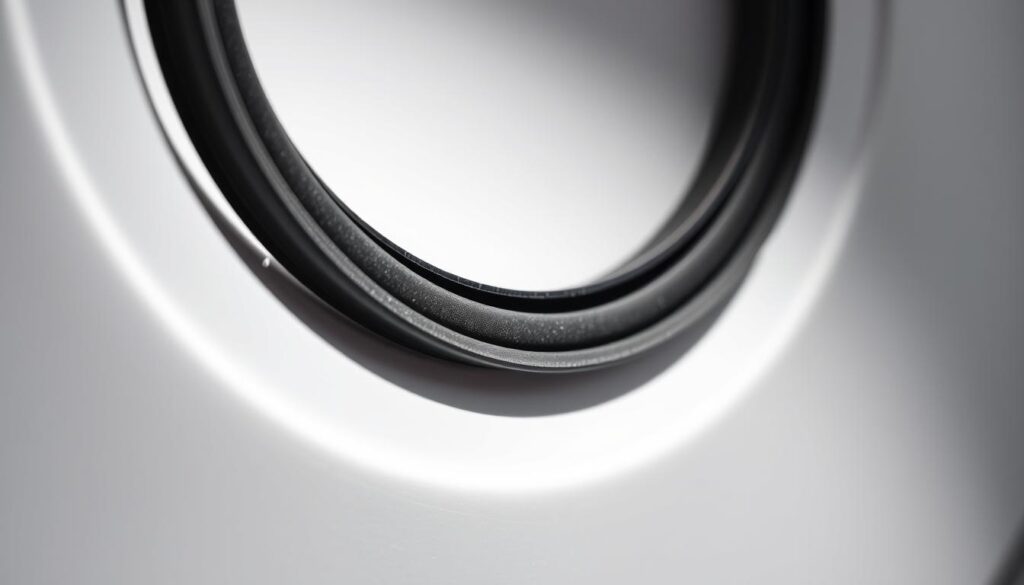
Are you struggling with uneven cooking or soaring energy bills due to a faulty oven seal? A worn or split oven door gasket can significantly impact your cooking results and energy efficiency. Many homeowners are unaware that replacing the oven door seal is a relatively simple DIY task that can be completed in about 30 minutes.
Understanding the importance of a properly functioning oven seal can help extend the life of your appliance and improve its performance. Replacing a damaged seal is easier than you think and can make a significant difference in your oven’s overall efficiency.
Key Takeaways
- Identify when your oven seal needs replacement to prevent cooking issues.
- Replacing the oven door seal is a simple DIY task.
- A properly functioning seal can improve your oven’s energy efficiency.
- Extending the life of your oven through regular maintenance.
- Simple steps to follow for a successful seal replacement.
Signs You Need a New Oven Door Gasket
Your oven’s performance is heavily reliant on the condition of its door gasket. A well-maintained gasket ensures that your oven operates efficiently, cooking your food evenly and safely.
There are several signs that indicate your oven door gasket needs replacement. These signs are crucial in determining whether your oven’s performance issues stem from a faulty gasket.
Uneven Cooking Results
If your oven is producing uneven cooking results, it could be due to a compromised gasket. This unevenness can lead to some parts of your food being overcooked while others remain undercooked.
Increased Heating Times
An oven with a failing door gasket may take longer to heat up or maintain the desired temperature. This inefficiency can be a clear sign that the gasket is no longer sealing properly.
Heat Escaping Around the Door
The best way to test for this is to pass your hand around the oven door, being careful not to touch it, while the oven is turned on. If you can feel heat escaping, the gasket needs replacement.
| Signs of a Faulty Gasket | Description |
|---|---|
| Uneven Cooking | Causes some parts of the food to be overcooked while others remain undercooked. |
| Increased Heating Times | Oven takes longer to heat up or maintain the desired temperature. |
| Heat Escaping | Heat can be felt escaping around the oven door when it is turned on. |
By identifying these signs, you can determine if your oven door gasket is faulty and needs replacement, ensuring your oven operates efficiently and cooks your food evenly.
Why Replacing Your Oven Seal Is Essential
A new oven seal can significantly improve your cooking experience. Replacing the seal ensures that your oven operates at its best, providing consistent cooking results and maintaining energy efficiency.
Improved Energy Efficiency
When your oven door seal is compromised, heat escapes, causing your oven to work harder and consume more energy. By replacing the seal, you can prevent this unnecessary energy loss, making your cooking processes more environmentally friendly and cost-effective.
Better Cooking Performance
A properly sealed oven door is crucial for achieving consistent cooking results. As professional chefs understand, temperature fluctuations can ruin delicate dishes. By maintaining a precise internal temperature, you can ensure that your food is cooked evenly and predictably.
As a culinary expert once said,
“A good cook is like a sorceress, and a properly sealed oven is her most trusted tool.”
This highlights the importance of a reliable oven seal in achieving culinary success.
- A properly sealed oven door maintains a consistent internal temperature, crucial for successful baking and roasting.
- Temperature fluctuations caused by a faulty seal can ruin delicate recipes.
- Your food will cook more evenly and predictably with a precise oven temperature.
| Benefits of Replacing Oven Seal | Impact on Cooking |
|---|---|
| Improved Energy Efficiency | Reduced energy consumption and lower bills |
| Better Cooking Performance | Consistent cooking results and reduced food waste |

Getting a quote for a new seal is a worthwhile investment when considering the food waste and disappointment caused by unpredictable cooking results. If not addressed, your food will not cook evenly, and your oven will not operate efficiently, potentially leading to costly consequences.
How to Replace Oven Door Gasket: Step-by-Step Guide
Replacing your oven door gasket is a straightforward process that can significantly improve your oven’s performance. To achieve this, follow a systematic approach to ensure a secure and proper fit.
Safety Preparations
Before starting, ensure your oven is cool and disconnected from the power supply to avoid any accidents. Always wear protective gloves when handling tools and the new gasket.
Removing the Old Gasket
Carefully remove the old gasket from the door frame, taking note of its positioning and how it is secured. If your model uses screws, be sure to remove them without damaging the surrounding area.
Cleaning the Channel Area
Clean the channel area thoroughly to remove any debris or residue from the old gasket. This ensures a clean surface for the new seal.
Installing the New Seal Properly
To install the new gasket, start at the top of the door frame and work your way down, easing it around the corners.  Ensure it is pressed firmly into place. Check that the seal is evenly seated and forms a complete barrier around the door.
| Step | Description |
|---|---|
| 1 | Start at a corner or top of the door frame for a secure fit. |
| 2 | Press the new seal firmly into the channel, working around the door. |
| 3 | If your model requires screws, replace them in the same positions. |
By following these steps, you can effectively replace your oven door gasket and improve your oven’s efficiency.
Conclusion
Replacing your oven’s door gasket is a simple yet effective way to maintain its performance. By doing so, you can enjoy better cooking results and lower energy bills. Regular inspection and maintenance of your oven’s seal are crucial for its longevity.
If you’re not comfortable with the replacement process, consider hiring a professional service like Ovenclean, who offer a free quote on 0800 840 7127. By taking care of your oven, you can ensure it continues to serve you well.


