Are you tired of being limited by a single switch when controlling your home’s lighting? Do you wish you could manage your lighting from multiple locations with ease?
Wiring a three-way light switch system allows you to do just that, providing you with the flexibility and convenience you need. This comprehensive guide will walk you through the process, ensuring that you can achieve your desired lighting control.
Whether you’re a seasoned DIY enthusiast or a homeowner looking to improve your property, this guide is designed to be accessible and informative. You’ll learn about the essential components, safety precautions, and step-by-step installation processes.
Key Takeaways
- Understand the fundamentals of a three-way lighting circuit and its benefits.
- Learn the essential components required for a three-way switch system.
- Discover the step-by-step process for wiring a three-way light switch.
- Identify safety precautions to take during installation.
- Explore the advantages of having multiple lighting control points in your home.
Understanding Three-Way Light Switches
Unlike single-pole switches, three-way switches enable you to control a light or group of lights from two separate locations. This functionality makes them particularly useful in various settings within your home.
What Is a Three-Way Light Switch?
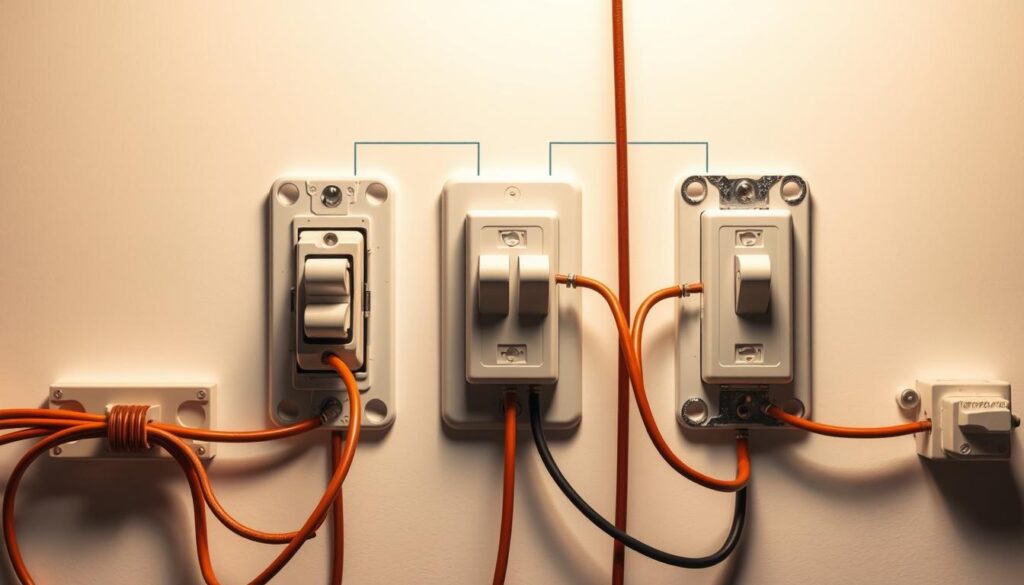
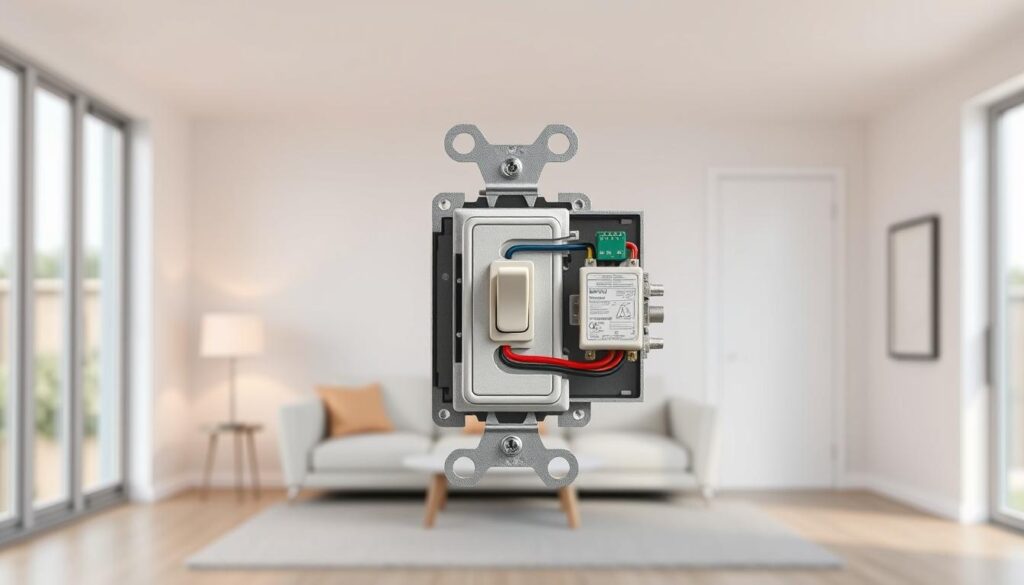
A three-way light switch is designed to control lighting from two different locations. It requires a special switch with four terminals, known as an intermediate switch. You will also need two “two-way” switches, each having three terminals.
How Three-Way Switches Differ from Standard Switches
Standard single-pole switches have two terminals: one for power in and one for power out. In contrast, three-way switches feature three terminals: one common terminal and two traveler terminals. The circuit requires two three-way switches and a special wiring configuration using traveler wires that communicate between the switches to complete the circuit regardless of switch position.
| Switch Type | Terminals | Functionality |
|---|---|---|
| Single-Pole | 2 | Controls light from one location |
| Three-Way | 3 | Controls light from two locations |
| Intermediate | 4 | Used in conjunction with three-way switches |
Common Applications for Three-Way Switching
Three-way switch systems are particularly useful in lighting control for staircases, long hallways, large rooms with multiple entrances, and master bedrooms. They improve convenience and safety by eliminating the need to walk across dark rooms to access lighting controls.
By understanding the terminal configuration and the role of traveler wires, you can effectively implement three-way switching in your home project, enhancing both functionality and safety.
Safety Precautions and Required Tools
Before you begin wiring a three-way light switch, it’s essential to take necessary safety precautions. Electrical work can be hazardous if not done properly, so it’s crucial to be aware of the potential risks and take steps to mitigate them.
Essential Safety Measures Before You Begin
To ensure your safety, always turn off the power to the circuit at the consumer unit (fuse box) before starting work. Verify that the circuit is dead using a voltage tester to avoid electrical shock.
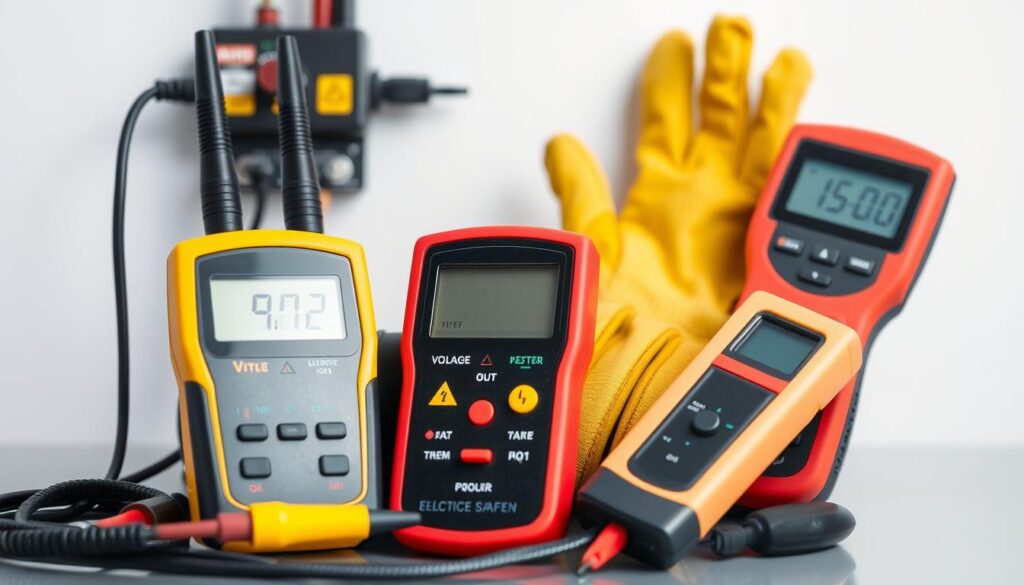
Additionally, always wear insulated gloves when working with electrical circuits, and avoid working on wet surfaces or with wet hands.
Tools and Materials Needed
To complete this project, you’ll need a range of tools and materials. Essential tools include screwdrivers (both flathead and Phillips), wire strippers, a voltage tester, pliers, electrical tape, and a torch for working in dark spaces.
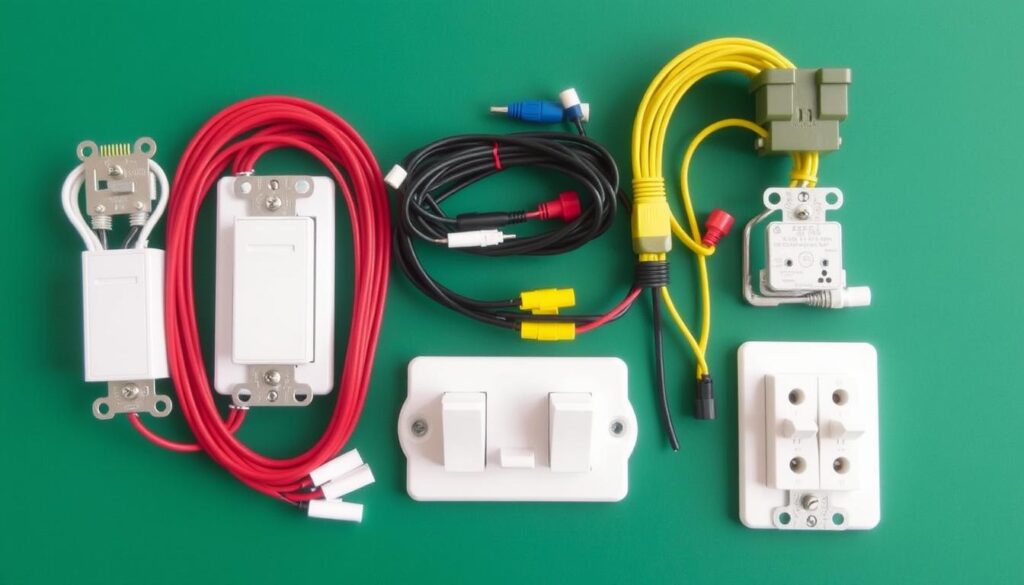
The materials required include two three-way switches, one intermediate switch, appropriate cable (three-core and earth), wire nuts or terminal blocks, and electrical tape.
Understanding Wiring Colours in the UK
It’s crucial to understand the UK wiring colour codes to ensure that your wiring is done correctly. The standard colours are: brown for live (previously red), blue for neutral (previously black), and green/yellow for earth.
Three-core and earth cable, which includes brown, black, and grey conductors, is required for three-way switching.
How to Wire a Three-Way Light Switch: Step-by-Step Guide
To wire a three-way light switch, you’ll need to follow a series of straightforward steps that ensure a safe and functional installation. This guide will walk you through the process, from turning off the power to testing the final circuit.
Turning Off the Power and Testing for Safety
Begin by turning off the power at the consumer unit and verify the circuit is dead using a voltage tester; this critical safety step prevents electrical shock while working on the wiring. Ensure you take this precaution to avoid any potential hazards.
Identifying the Circuit Components
Identify all components of your three-way circuit: you’ll need two three-way switches (with three terminals each), an intermediate switch (with four terminals), appropriate cable, and the light fixture itself. Understanding the role of each component is crucial for a successful installation.
Connecting the First Switch
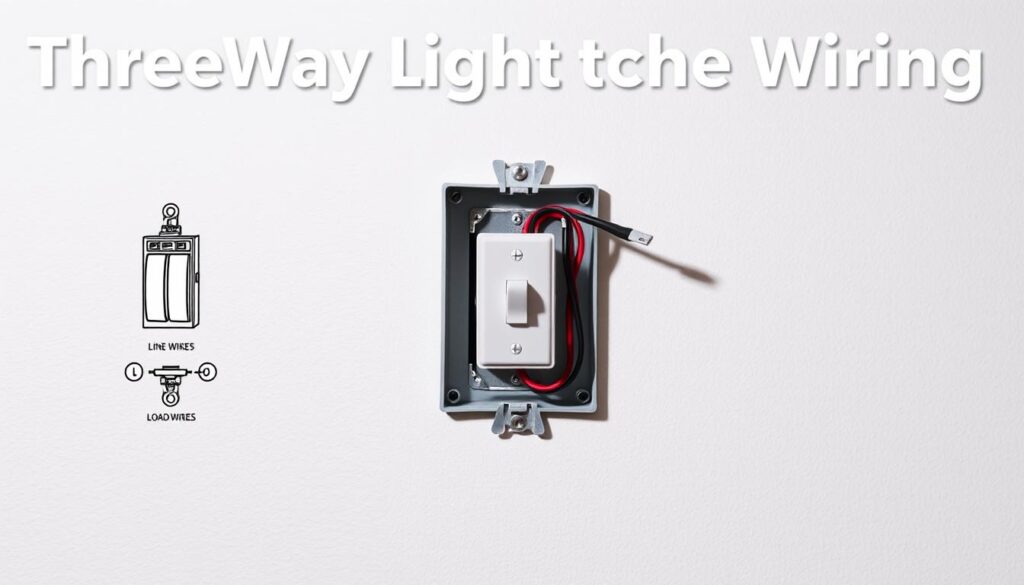
For the first switch, connect the permanent live wire to the common terminal (marked “COM” or “C”), and connect the two traveler wires to the L1 and L2 terminals; these travelers will run to the intermediate switch. Ensure the connections are secure to prevent any issues downstream.
Wiring the Intermediate Switch
When wiring the intermediate switch, connect the incoming traveler wires from the first switch to the L1 terminals, and connect the outgoing traveler wires to the second switch to the L2 terminals. This step is critical for ensuring the circuit functions as intended.
Installing the Second Switch
For the second three-way switch, mirror the first switch’s connections: connect the switched live wire (going to the light) to the common terminal, and connect the two traveler wires from the intermediate switch to the L1 and L2 terminals. This mirroring ensures consistency and reliability in the circuit.
Connecting the Light Fixture
When connecting the light fixture, ensure the neutral wire (blue) connects directly to the light, while the switched live wire connects from the common terminal of the second switch to the light’s live terminal. Proper connections here are vital for the safe operation of the light.
| Component | Connection | Terminal |
|---|---|---|
| Permanent Live Wire | First Switch | Common (C) |
| Traveler Wires | First Switch to Intermediate Switch | L1, L2 |
| Switched Live Wire | Second Switch to Light | Common (C) |
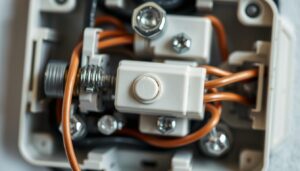
Throughout the installation, maintain proper cable management inside each switch box, keeping wires neatly arranged and ensuring no bare copper is exposed outside the terminal connections. Test the circuit thoroughly after installation by turning the power back on and verifying the light can be controlled from all three switch locations.
By following these steps and ensuring each connection is secure and correctly made, you’ll achieve a reliable three-way lighting circuit that enhances the functionality and convenience of your lighting system.
Converting an Existing Single Switch to a Three-Way System
When converting a single switch setup to a three-way switching system, it’s essential to understand the wiring requirements. This process involves assessing your current wiring configuration, running new cables between switch locations, and rewiring the existing switch.
Assessing Your Current Setup
Begin by assessing your current single switch setup, identifying the existing wiring configuration, and determining the best locations for the additional switches in your three-way system. You’ll need to identify the type of cable used and the existing wiring setup to ensure compatibility with the new three-way switching system.
It’s crucial to note that the existing wiring configuration may need to be adapted to accommodate the new three-way switching system. This may involve reconfiguring the wiring to ensure that the circuit functions properly.
Running New Cables Between Switch Locations
You’ll need to run new three-core and earth cable from your existing switch location to the new switch locations, which may require accessing wall cavities, lifting floorboards, or routing through ceiling spaces. Proper cable routing is essential for a clean installation; consider using cable clips to secure wires along joists and ensure all cables are protected from damage in wall cavities or under floors.
When running new cables between switch locations, ensure you maintain proper distances from other services (water pipes, gas lines) and use appropriate cable protection where needed.
Rewiring the Existing Switch
When converting the existing switch, you’ll need to replace it with a three-way switch and reconfigure the wiring: the existing live wire will connect to the common terminal, while the will be moved to one of the traveler terminals. These two wires are the permanent live and switched live wires.
As noted in electrical guidelines, “there are no fixed regulations for which wire goes where, but following a consistent colour-coding scheme can simplify the process.”
“The key to a successful three-way switching system is proper wiring and cable management. Ensuring that all cables are securely fastened and protected from damage is crucial for a safe and reliable installation.”
| Wiring Component | Function |
|---|---|
| Live Wire | Carries the electrical current to the light fixture |
| Switched Live Wire | Controls the flow of electrical current to the light fixture |
| Traveler Wires | Enable the three-way switching functionality |
By following these steps and ensuring proper wiring and cable management, you can successfully convert your existing single switch to a three-way system.
Conclusion
As you conclude the wiring of your three-way light switch, the convenience and safety it offers become immediately apparent. This DIY project enhances both the functionality and value of your home’s lighting setup, particularly in areas with multiple entry points.
By following the step-by-step guide provided, you’ve successfully navigated the wiring process, even if it initially seemed complex. Remember, safety is paramount when working with electrical systems; don’t hesitate to consult a professional electrician if you encounter any complications.
To ensure continued safe operation, regularly test your three-way switch system, checking for loose terminal connections or damaged wires. With proper installation and maintenance, your lighting system will provide years of convenient control, enhancing both the safety and comfort of your living space.
Consider documenting your wiring configuration for future reference, which will be invaluable for troubleshooting or modifying the circuit later.
