Joining pipes can be a daunting task, especially when you’re dealing with complex plumbing systems. However, with the advent of push fit pipe connectors, the process has become significantly simpler. These innovative connectors have revolutionised modern plumbing by offering a quick, reliable, and tool-free method of joining pipes without soldering or complex techniques.
You can now easily connect pipes using push fit fittings, regardless of whether you’re working with plastic or copper pipes. This comprehensive guide will walk you through everything you need to know about installing these connectors for your plumbing projects.
Key Takeaways
- Understand the different types of push fit connectors available for various pipe materials.
- Learn the essential tools needed for a professional installation.
- Follow step-by-step instructions for proper installation techniques.
- Discover troubleshooting tips for common issues with push fit connectors.
- Gain confidence in tackling your own plumbing projects using push fit technology.
Understanding Push Fit Pipe Connectors
Understanding push fit pipe connectors is essential for any plumbing project, offering a convenient and efficient solution. Push fit fittings simplify the process of connecting pipes, making them an indispensable tool for both professionals and DIY enthusiasts.
What Are Push Fit Fittings?
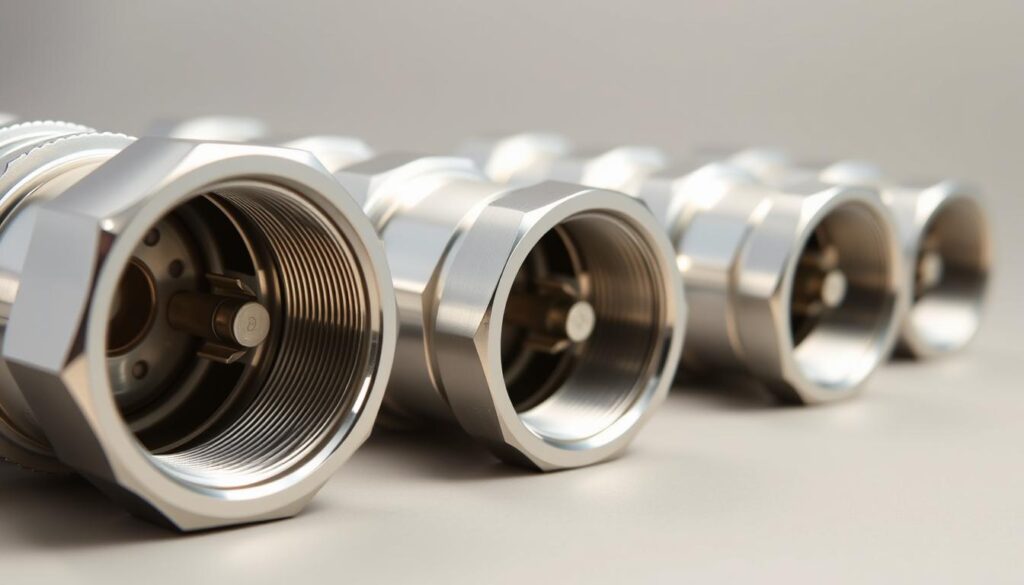
Push fit fittings are innovative plumbing components designed to create secure connections through a mechanical grip system, eliminating the need for traditional soldering or compression methods. These fittings contain internal components, including an O-ring seal and a stainless steel grip ring, which work together to create a watertight seal when a pipe is inserted.
Types of Push Fit Connectors
Various types of push fit connectors are available, including straight couplers, elbows, tees, reducers, and valves, each designed for specific plumbing configurations and requirements. This variety ensures that you can find the right fitting for your plumbing needs, whether you’re working on a simple repair or a complex installation.
Compatibility with Different Pipe Materials
Most push fit systems are compatible with both copper and plastic pipes, making them versatile for mixed plumbing systems. However, it’s crucial to note that they cannot be used with stainless steel or chrome-plated copper pipes. Understanding the compatibility and limitations of push fit connectors is essential for a successful plumbing project.
By recognising the types of push fit connectors available and their compatibility with different pipe materials, you can make informed decisions for your plumbing projects, ensuring a reliable and efficient installation.
Essential Tools and Materials for Installing Push Fit Pipe Connectors
The key to a professional-looking push fit installation lies in using the correct tools and materials. To achieve a secure and leak-free connection, you’ll need to have the right equipment.
Required Tools for a Professional Installation
For a successful push fit installation, you’ll need a quality pipe cutter to ensure clean, square cuts that won’t damage the internal “O” ring seal. Avoid using a hacksaw as it creates burrs and uneven edges that can damage the “O” ring and lead to leaks.

Choosing the Right Push Fit Fittings
When selecting push fit fittings, consider the specific requirements of your project, including pipe material compatibility, pressure ratings, and whether you need straight connectors, elbows, tees, or reducing fittings.
Measuring and Preparation Tips
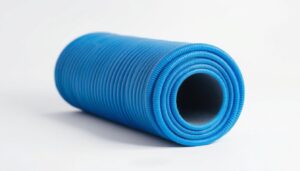
To ensure accurate pipe measurement and marking insertion depths, use a measuring tape and marker pen. For plastic pipes, use appropriate pipe inserts that support the pipe internally and prevent it from collapsing when the fitting’s grip ring engages.
How to Install Push Fit Pipe Connectors Step-by-Step
To ensure a leak-free plumbing system, follow these step-by-step instructions for installing push fit pipe connectors. The process involves a few straightforward steps that, when followed correctly, guarantee a secure and reliable connection.

Installing Push Fit Connectors on Plastic Pipes
When working with plastic pipes, it’s crucial to follow a specific sequence to ensure a proper fit. Begin by measuring and marking the required length on the pipe.
Measuring and Cutting the Pipe
Use a dedicated plastic pipe cutter to cut the pipe, ensuring a clean, square cut that won’t damage the O-ring in the fitting. Avoid using a hacksaw, as cutting imperfections can increase the risk of leaks.
Inserting the Pipe Insert and Marking Depth
Fit the pipe insert into the pipe, making sure it’s fully seated. Then, measure and mark the correct insertion depth on the pipe using the fitting as a guide.
Connecting and Securing the Fitting
Insert the pipe into the fitting, ensuring it passes through the O-ring until it reaches the stop point and correct insertion depth. Check that the assembly is secure by gently pulling the pipe away from the fitting.
Installing Push Fit Connectors on Copper Pipes
The process for copper pipes is similar, with a few key differences. Start by cutting the copper pipe using a rotational pipe cutter.
Proper Cutting Techniques
Use a rotational pipe cutter to make a clean cut, avoiding hacksaws that can cause damage.
Deburring and Cleaning the Pipe
After cutting, deburr and clean the pipe end to prevent O-ring damage.
Making a Secure Connection
Insert the copper pipe into the fitting, ensuring it reaches the internal stop. Verify that the connection is secure by gently tugging on the pipe.
Testing Your Installation
Once all connections are made, test your installation by visually inspecting all joints, then gradually introducing water pressure to the system while checking for leaks.
Troubleshooting Common Issues
Common issues include leaking connections, often caused by insufficient insertion depth or damaged O-rings, and difficult removal, requiring the proper release technique or tool. For systems using twist-lock mechanisms, ensure the lock is fully engaged after insertion.
By following these steps and being mindful of the specific requirements for plastic and copper pipes, you can ensure a successful installation of push fit pipe connectors.
Conclusion: Benefits and Best Practices for Push Fit Plumbing
You now understand the simplicity and versatility of push fit pipe connectors for your plumbing projects. The significant advantages of push fit plumbing systems include faster installation times, reduced labour costs, and the ability to work with both copper and plastic pipes without needing special tools or transition fittings.
To ensure a successful installation, follow best practices such as using pipe inserts with plastic pipes, cutting pipes squarely, marking insertion depths, and performing pressure tests before concealing pipework. While push fit fittings may have a higher initial cost, the overall savings in time and skill requirements make them an economical choice for both professional plumbers and DIY enthusiasts.
For long-term, watertight seals, especially in concealed installations, select high-quality push fit fittings from reputable manufacturers. By doing so, you can confidently create reliable plumbing systems that stand the test of time.